Перейти к основному содержанию

Dell Latitude ST Camera Replacement

Выберете то, что вам нужно

  1. Dell Latitude ST Camera Replacement, Battery: шаг 1, изображение 1 из 3 Dell Latitude ST Camera Replacement, Battery: шаг 1, изображение 2 из 3 Dell Latitude ST Camera Replacement, Battery: шаг 1, изображение 3 из 3
    • Locate the back panel tab.

    • Press down on the tab to remove the panel.

  2. Dell Latitude ST Camera Replacement: шаг 2, изображение 1 из 3 Dell Latitude ST Camera Replacement: шаг 2, изображение 2 из 3 Dell Latitude ST Camera Replacement: шаг 2, изображение 3 из 3
    • Using a Phillips #0 screwdriver, remove the four 6mm screws attaching the inside panel to the device.

  3. Dell Latitude ST Camera Replacement: шаг 3, изображение 1 из 3 Dell Latitude ST Camera Replacement: шаг 3, изображение 2 из 3 Dell Latitude ST Camera Replacement: шаг 3, изображение 3 из 3
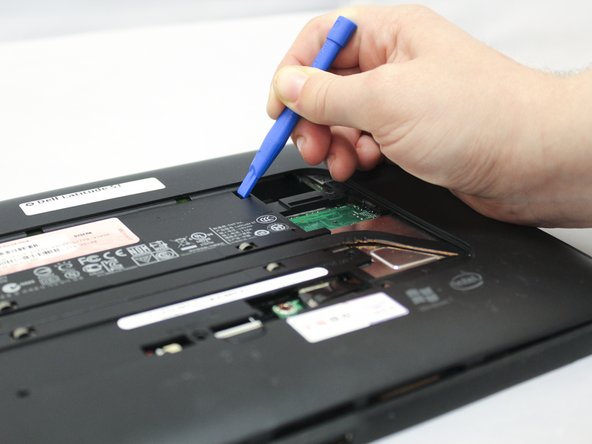
    • Use the blue plastic opening tool to push in the tab located on the backside of the device.

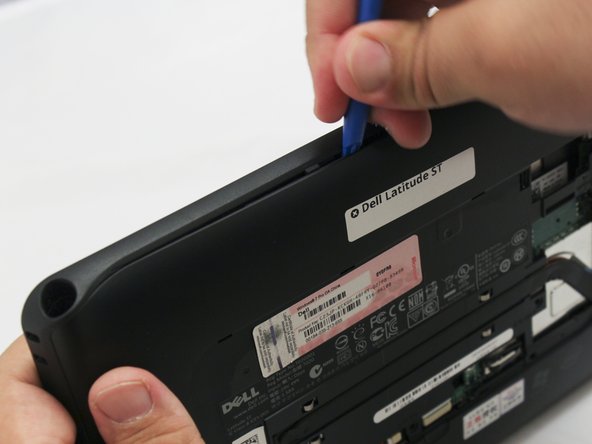
    • Slide the tool around the edges of the device to unsnap the tabs and pry the frame off.

  4. Dell Latitude ST Camera Replacement: шаг 4, изображение 1 из 3 Dell Latitude ST Camera Replacement: шаг 4, изображение 2 из 3 Dell Latitude ST Camera Replacement: шаг 4, изображение 3 из 3
    • Remove the three 6mm Phillips #0 screws attaching the battery.

  5. Dell Latitude ST Camera Replacement: шаг 5, изображение 1 из 3 Dell Latitude ST Camera Replacement: шаг 5, изображение 2 из 3 Dell Latitude ST Camera Replacement: шаг 5, изображение 3 из 3
    • Using your hands or a plastic opening tool, unplug the white battery cable.

    • Push forward on the top part of the cable to disconnect it from the device.

  6. Dell Latitude ST Camera Replacement: шаг 6, изображение 1 из 3 Dell Latitude ST Camera Replacement: шаг 6, изображение 2 из 3 Dell Latitude ST Camera Replacement: шаг 6, изображение 3 из 3
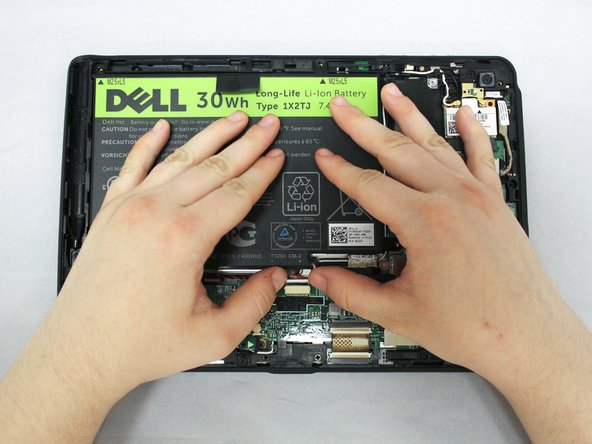
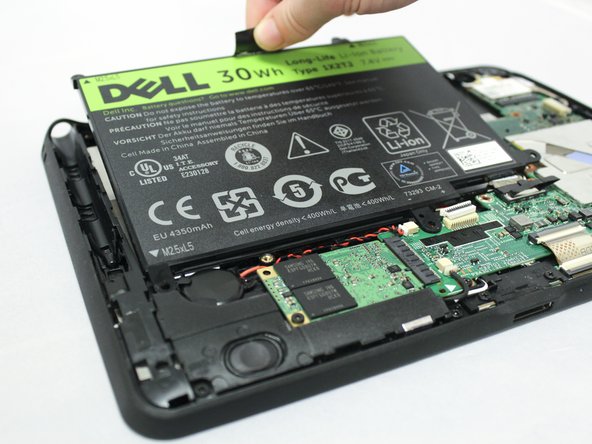
    • Pull up on the black tab located at the top of the battery to remove the battery from the device.

  7. Dell Latitude ST Camera Replacement, Screen: шаг 7, изображение 1 из 3 Dell Latitude ST Camera Replacement, Screen: шаг 7, изображение 2 из 3 Dell Latitude ST Camera Replacement, Screen: шаг 7, изображение 3 из 3
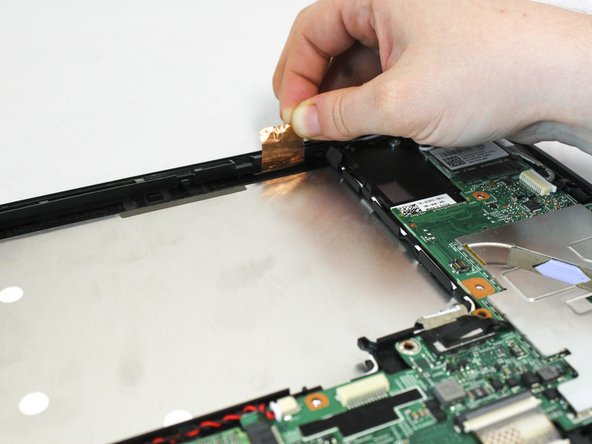
    • Pull up on the copper antenna tape to loosen it from the base.

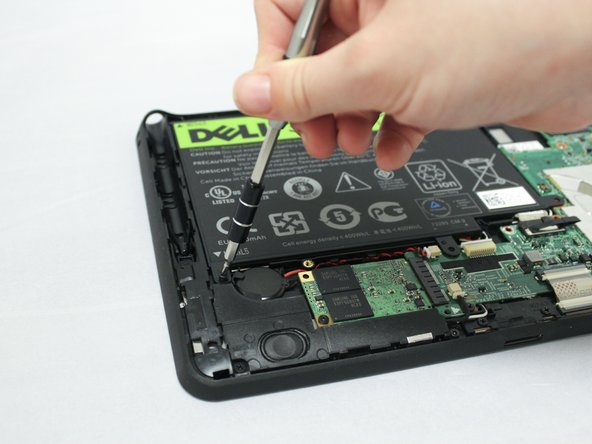
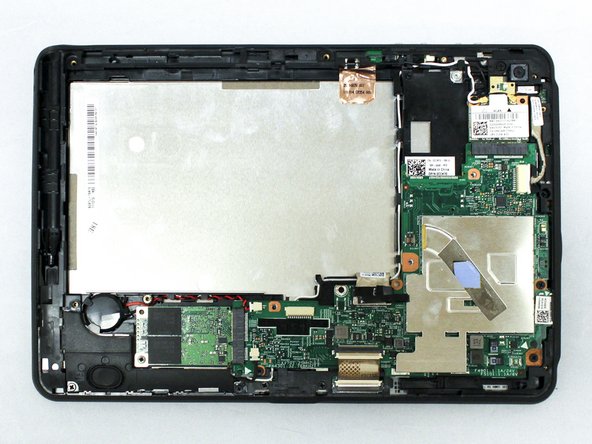
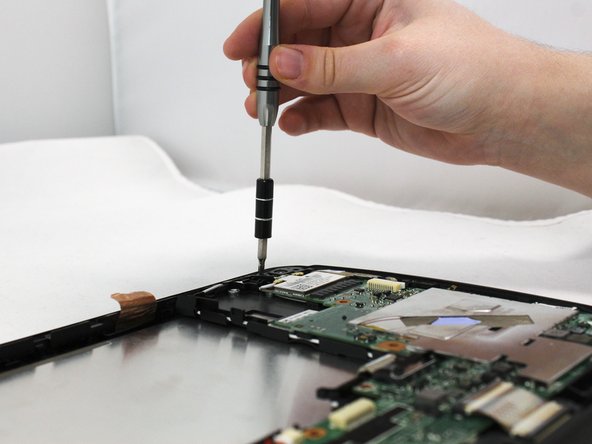
    • Unscrew the seven 6mm Phillips #0 screws from the base.

  8. Dell Latitude ST Camera Replacement: шаг 8, изображение 1 из 2 Dell Latitude ST Camera Replacement: шаг 8, изображение 2 из 2
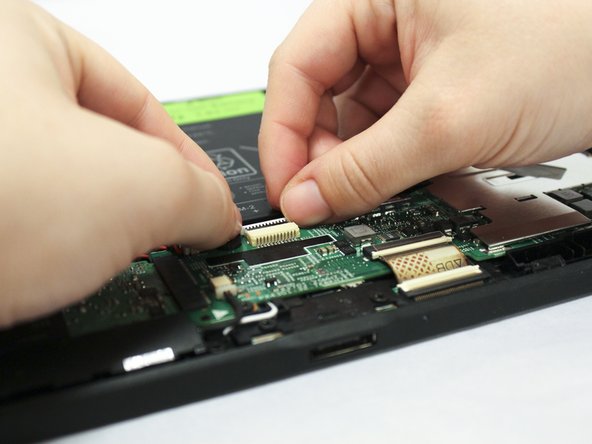
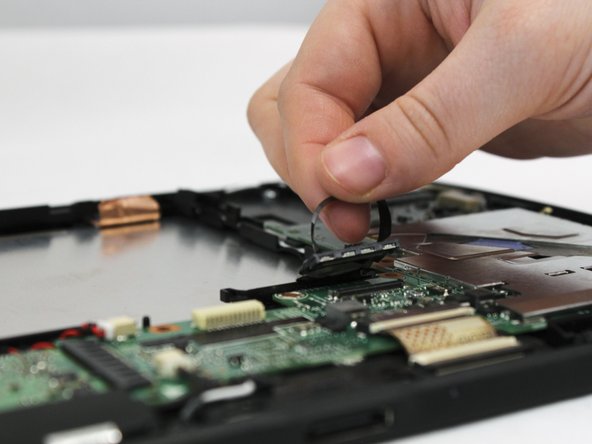
    • Locate the grey LCD cable attached to the motherboad on the device.

    • Pull up on the black tape handle attached to the LCD cable to disconnect the cable.

    • Be sure to pull on the back rather than the LCD cable itself.

  9. Dell Latitude ST Camera Replacement: шаг 9, изображение 1 из 3 Dell Latitude ST Camera Replacement: шаг 9, изображение 2 из 3 Dell Latitude ST Camera Replacement: шаг 9, изображение 3 из 3
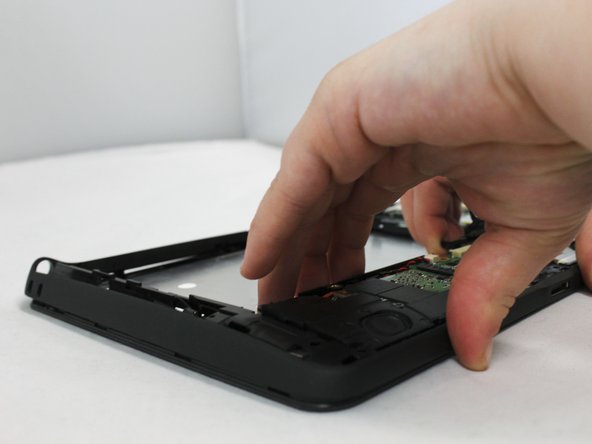
    • Using your hands or the blue plastic opening tool, go along the edges of the frame and unsnap the screen from the middle frame.

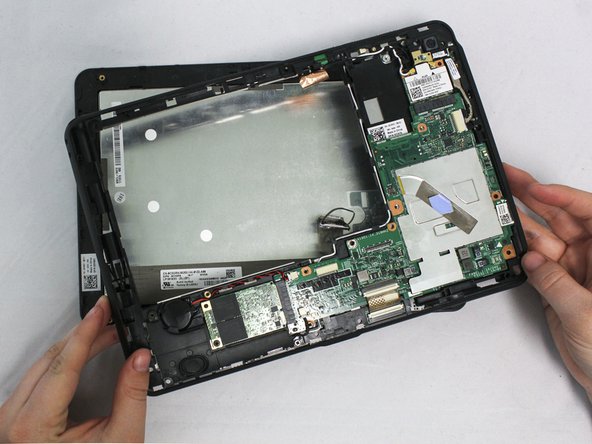
    • Lift the middle frame away from the screen.

  10. Dell Latitude ST Camera Replacement, Camera: шаг 10, изображение 1 из 2 Dell Latitude ST Camera Replacement, Camera: шаг 10, изображение 2 из 2
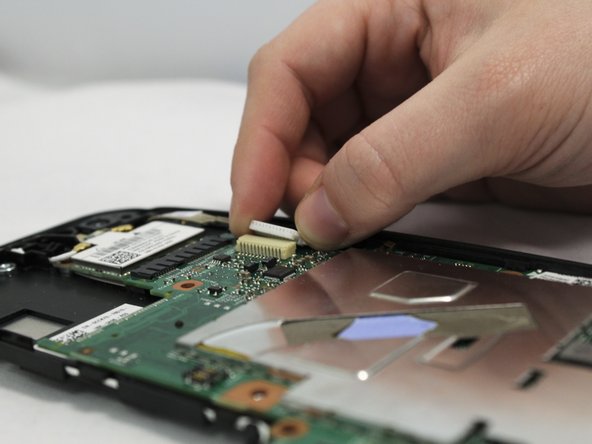
    • Unplug the white camera cord located on the right side of the middle frame under the WLAN card.

    • Using your hands, or the blue plastic opening tool, pull the white part of the cable to the right to disconnect it.

  11. Dell Latitude ST Camera Replacement: шаг 11, изображение 1 из 3 Dell Latitude ST Camera Replacement: шаг 11, изображение 2 из 3 Dell Latitude ST Camera Replacement: шаг 11, изображение 3 из 3
    • Flip over the middle frame.

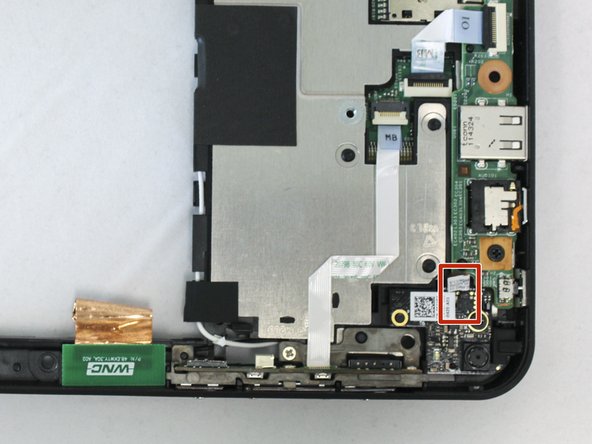
    • Locate the black and red cables attached to the camera assembly.

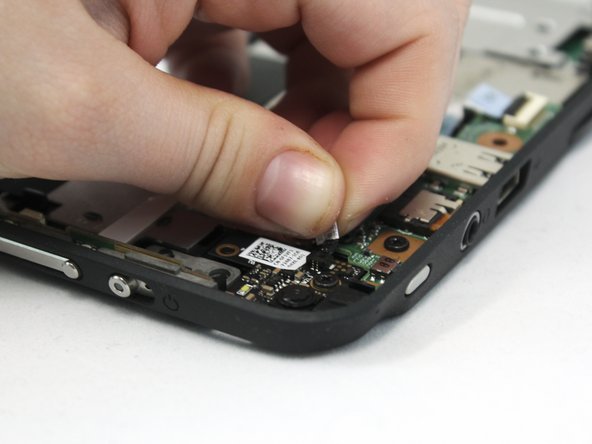
    • Gripping them by the white tag, disconnect the black and red cables from their socket on the camera assembly.

  12. Dell Latitude ST Camera Replacement: шаг 12, изображение 1 из 3 Dell Latitude ST Camera Replacement: шаг 12, изображение 2 из 3 Dell Latitude ST Camera Replacement: шаг 12, изображение 3 из 3
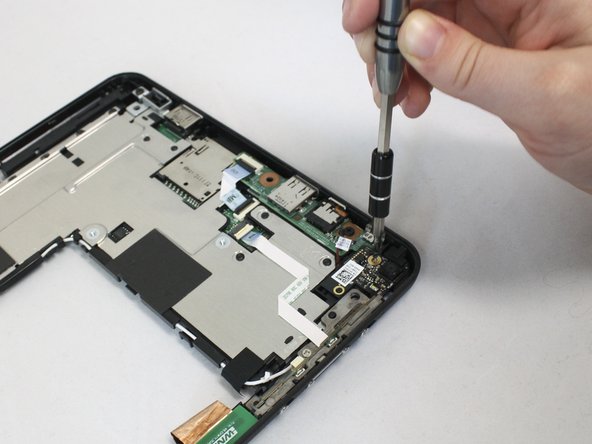
    • Remove the 6mm Phillips #0 screw next to the camera.

    • Pull the camera out to remove it from the device.

Заключение

To reassemble your device, follow these instructions in reverse order.

Addie Kenney

Участник с: 04/11/17

416 Репутация

Автор 4 руководств

Команда

Eastern Washington University, Team S1-G1, Crane Spring 2017 Участник Eastern Washington University, Team S1-G1, Crane Spring 2017

EWU-CRANE-S17S1G1

3 членов

Автор 5 руководств

0 Комментариев

Добавить комментарий

Просмотр статистики:

За последние 24часов: 0

За последние 7 дней: 4

За последние 30 дней: 5

За всё время: 283