Введение
This guide will walk you through step by step how to replace the Motherboard of a Dell Optiplex 745 Desktop. In order to do so, we will have to remove the casing as well as all the core components of the computer to access the Motherboard.
The Motherboard of a computer is the most vital part of the computer. It's essentially the "brain" of the computer. It tells all the components what to do and when to do it to ensure everything operates together efficiently.
Выберете то, что вам нужно
-
-
Orientate the computer so the case lock is on the left corner, like so.
-
Pull the tab that locks the casing in place.
-
While the tab is pulled, lift the casing off the computer.
-
-
-
Lift the three tabs locking the face into place. (The plastic prying tool makes this easier.)
-
Pull the plastic face off of the computer.
-
-
-
Pinch the two tabs locking the fan mount (annotated in a blue square).
-
Pull the mount up and out of the computer.
-
-
-
Pull the orange connector out of the CD drive (annotated in an orange square).
-
Pull out the smaller connector (annotated in a black square). Tweezers make it easier but aren't required.
-
-
-
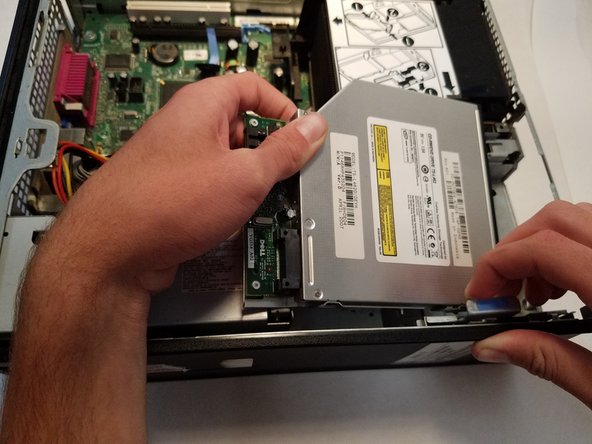
Pull the CD drive lock (annotated in blue) straight up.
-
While holding the lock up, pull out the CD drive.
-
-
-
-
Unscrew the two screws (annotated with red circles) holding the GPU heatsync in place.
-
Swing it open then pull it straight up.
-
-
-
Unscrew the two screws (annotated with a red circle).
-
Pull out the hinge for the GPU heatsync.
-
-
-
Pull out the large white power connector that is connected to the Motherboard.
-
Use the plastic prying tool to pull it up.
-
Alternate sides when prying until it comes loose.
-
-
-
Unscrew the three screws (annotated in red).
-
Slide out the AC adapter.
-
If all the cables are detached, it should slide right out. If not, detach the remaining cables.
-
-
-
Remove the blue wire connected to the Motherboard.
-
Remove the orange wire connected to the Motherboard.
-
Remove the wide grey connector from the Motherboard.
-
Use the yellow handle to pull it up.
-
-
-
Remove the last wire connected to the Motherboard.
-
Remove the grey wire connected to the fan.
-
-
-
Unscrew the two screws holding the Motherboard down (annotated with the red circles).
-
-
-
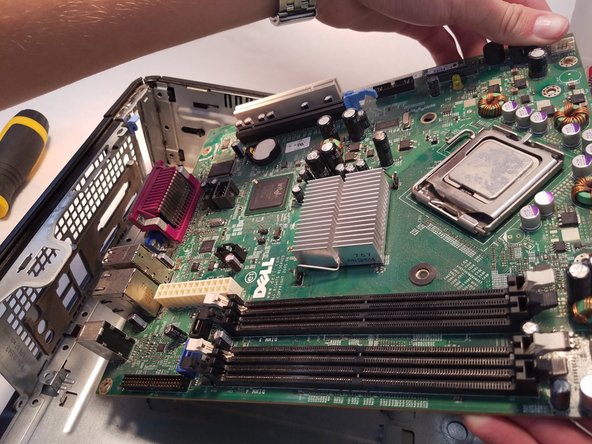
Carefully lift the right side of the Motherboard.
-
After lifting it above the fan, pull it to the right to remove the Motherboard.
-
-
-
Starting with the left side, insert the new Motherboard.
-
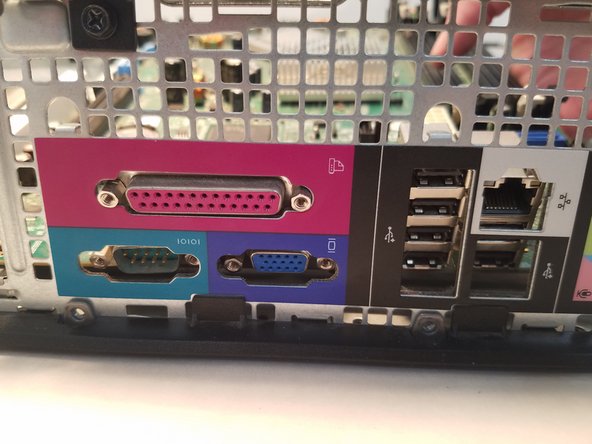
Once the ports are lined up, set down the right side of the Motherboard.
-
Then screw it back in and reassemble.
-


To reassemble your device, follow these instructions in reverse order.
To reassemble your device, follow these instructions in reverse order.
Отменить: Я не выполнил это руководство.
4 участников успешно повторили данное руководство.

Команда

Central Coast New Tech High, Team 6-11, Rushing Spring 2016 Участник Central Coast New Tech High, Team 6-11, Rushing Spring 2016
CCNTH-RUSHING-S16S6G11
2 членов
Автор 1 руководств
Один комментарий
Thank you and your contributors for providing this guide. I did not replace motherboard but three 2200 u capacitors on it. The thing works again!