Перейти к основному содержанию

Dell Optiplex GX620 Front panel Replacement

Выберете то, что вам нужно

  1. Dell Optiplex GX620 Front panel Replacement, How to unplug and discharge before repair: шаг 1, изображение 1 из 2 Dell Optiplex GX620 Front panel Replacement, How to unplug and discharge before repair: шаг 1, изображение 2 из 2
    • Power down your PC and remove the power cord from the back.

  2. Dell Optiplex GX620 Front panel Replacement: шаг 2, изображение 1 из 2 Dell Optiplex GX620 Front panel Replacement: шаг 2, изображение 2 из 2
    • Press and hold the power button for about 10 seconds, then release.

    • This helps drain any remaining power stored in the capacitors, so that you can safely work on the internal components.

  3. Dell Optiplex GX620 Front panel Replacement, Dell Optiplex GX620 Side Panel Disassembly: шаг 3, изображение 1 из 1
    • With the computer standing upright, firmly pull on the tab at the back of the computer.

    • When the side panel pops free, gently pull the panel away from the computer.

    • If you have trouble freeing the side panel from the case, you may need to pull the tab a bit harder.

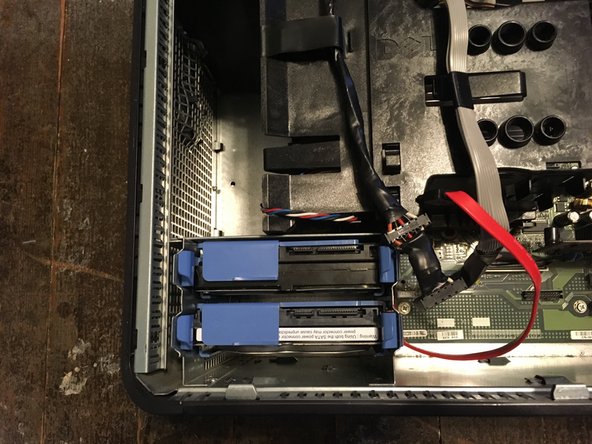
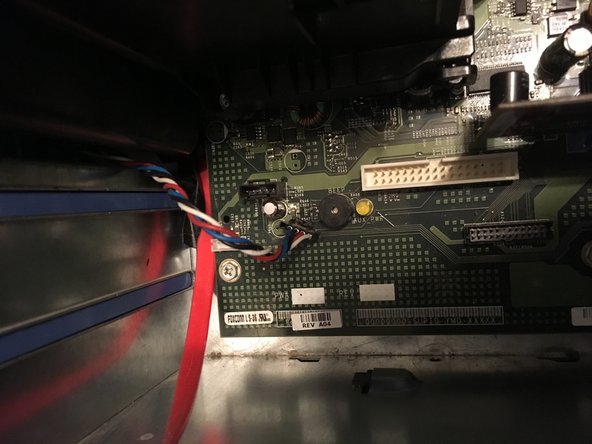
  4. Dell Optiplex GX620 Front panel Replacement, Unplug your hard drive.: шаг 4, изображение 1 из 3 Dell Optiplex GX620 Front panel Replacement, Unplug your hard drive.: шаг 4, изображение 2 из 3 Dell Optiplex GX620 Front panel Replacement, Unplug your hard drive.: шаг 4, изображение 3 из 3
    • Remove the SATA power and data cables.

    • SATA Power

    • SATA Data

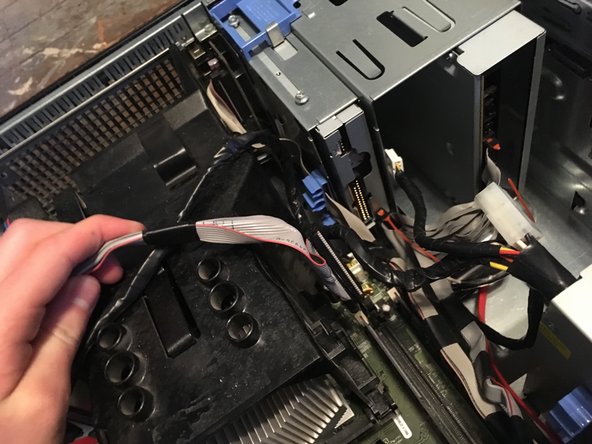
  5. Dell Optiplex GX620 Front panel Replacement, Unplug your floppy drive.: шаг 5, изображение 1 из 3 Dell Optiplex GX620 Front panel Replacement, Unplug your floppy drive.: шаг 5, изображение 2 из 3 Dell Optiplex GX620 Front panel Replacement, Unplug your floppy drive.: шаг 5, изображение 3 из 3
    • Unplug the power and data cables.

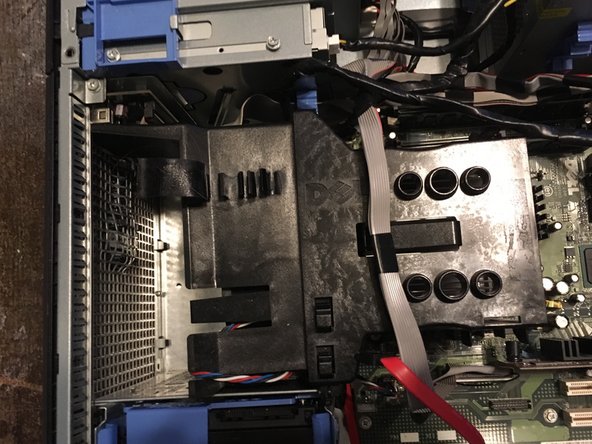
  6. Dell Optiplex GX620 Front panel Replacement, Unplug the fan.: шаг 6, изображение 1 из 2 Dell Optiplex GX620 Front panel Replacement, Unplug the fan.: шаг 6, изображение 2 из 2
    • Unplug the fan.

  7. Dell Optiplex GX620 Front panel Replacement: шаг 7, изображение 1 из 2 Dell Optiplex GX620 Front panel Replacement: шаг 7, изображение 2 из 2
    • Remove the two Phillips #2 screws.

  8. Dell Optiplex GX620 Front panel Replacement, Remove the heat sink.: шаг 8, изображение 1 из 3 Dell Optiplex GX620 Front panel Replacement, Remove the heat sink.: шаг 8, изображение 2 из 3 Dell Optiplex GX620 Front panel Replacement, Remove the heat sink.: шаг 8, изображение 3 из 3
    • Pull the heat sink up.

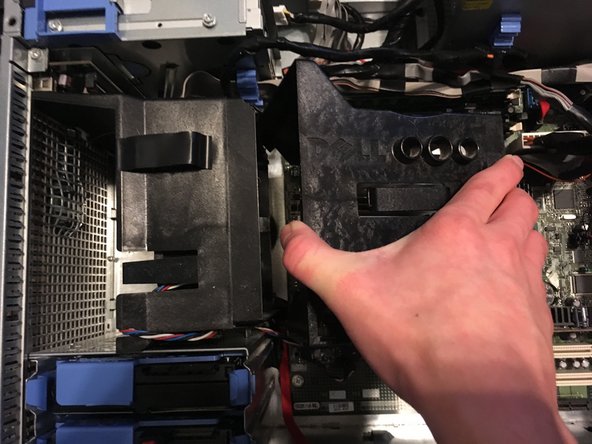
  9. Dell Optiplex GX620 Front panel Replacement: шаг 9, изображение 1 из 3 Dell Optiplex GX620 Front panel Replacement: шаг 9, изображение 2 из 3 Dell Optiplex GX620 Front panel Replacement: шаг 9, изображение 3 из 3
    • Pull the two tabs and pull it out.

    • This needs a lot of force to take it off.

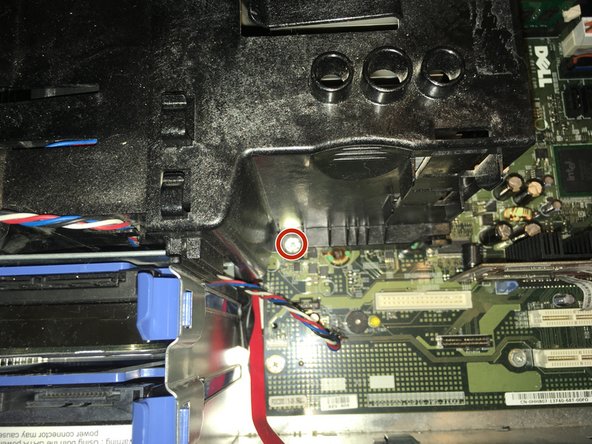
  10. Dell Optiplex GX620 Front panel Replacement, Remove front panel: шаг 10, изображение 1 из 2 Dell Optiplex GX620 Front panel Replacement, Remove front panel: шаг 10, изображение 2 из 2
    • Remove the one Phillips #2.

    • Remove the Data cable.

    • Taking this cable off will brake some of the plastic thats locking it in. But you can still plug the cable back in.

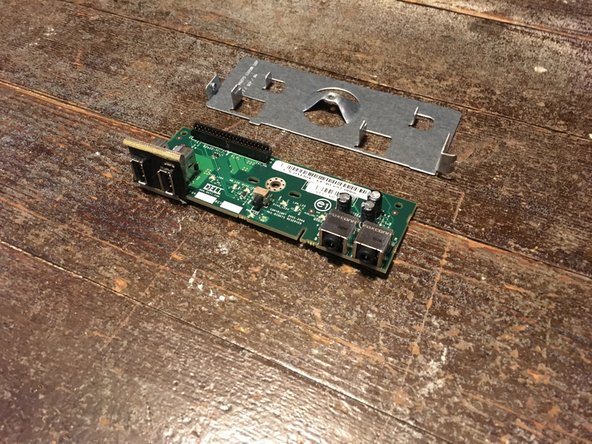
  11. Dell Optiplex GX620 Front panel Replacement, Remove the last screw.: шаг 11, изображение 1 из 2 Dell Optiplex GX620 Front panel Replacement, Remove the last screw.: шаг 11, изображение 2 из 2
    • Remove the one Phillips #2 screw.

    • Now you can replace it with a new one.

Заключение

To reassemble your device, follow these instructions in reverse order.

Еще один человек закончил это руководство.

Padraic Hoselton

Участник с: 08/22/17

4 180 Репутация

Автор 12 руководств

Команда

Master Techs Участник Master Techs

Community

322 членов

Автор 2 528 руководств

0 Комментариев

Добавить комментарий

Просмотр статистики:

За последние 24часов: 1

За последние 7 дней: 5

За последние 30 дней: 19

За всё время: 1,497