Введение
This guide show the procedure for replacing the display of the Dell XPS 13. It requires opening the back case and removing the battery and speakers. The display is hooked up to the motherboard by six separate connectors, and cannot be removed unless the laptop is open. Use this guide if have a cracked or malfunctioning Dell XPS 13 display.
Выберете то, что вам нужно
-
-
Use opening picks or a plastic pry tool to pry open the case clips, beginning from the back edge.
-
-
-
-
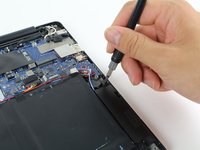
Pull the battery cable connector towards the battery to disconnect it from its socket.
-
If the connector is stubborn, push a little at one side, then the other, to "walk" it out of its socket.
-
If you have trouble walking the connector out of the socket, use the point of a spudger to gently push on the connector indent to slide the connector out.
-
Open the display and press the power button for five seconds to drain any remaining charge from the system.
-
-
-
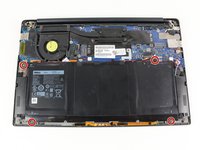
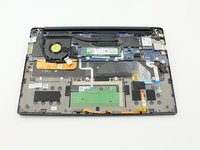
Remove the four 3 mm Phillips #0 screws located on each corner of the battery.
-
-
-
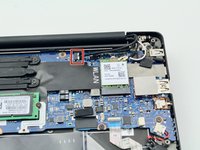
Pull the battery cable connector towards the battery to disconnect it from its socket.
-
-
-
Pull the sliding touchscreen connector gently to the right and out of the motherboard.
-
-
-
Use your fingers to remove the sliding camera connector out from the motherboard.
-
-
-
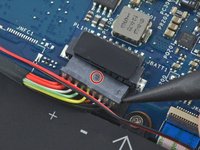
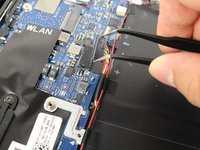
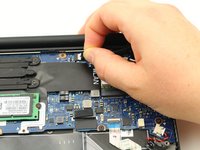
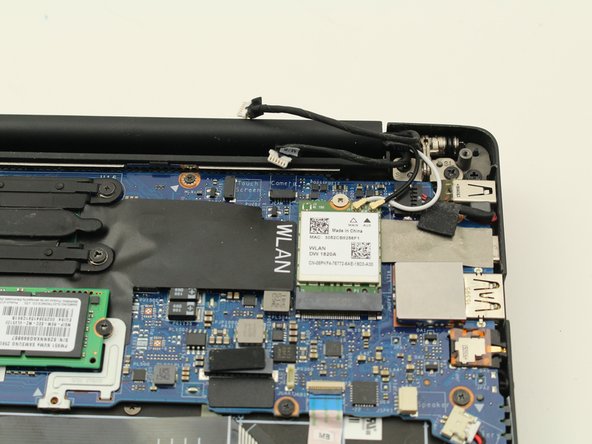
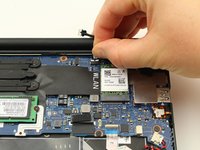
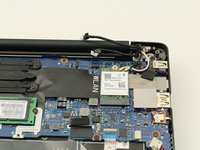
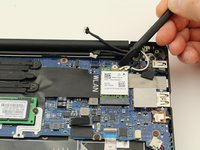
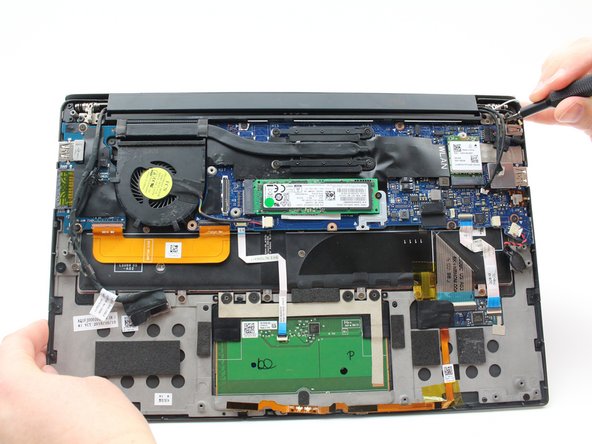
Pop the coaxial antenna cables up from the wireless card with the flat end of the spudger.
-
-
-
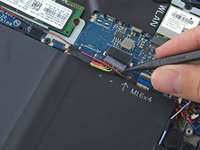
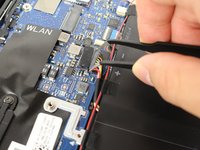
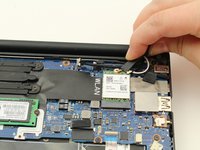
Using a spudger, pry up the press fit connector on the end of the left cable bundle.
-
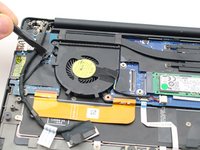
Gently remove the sliding cable connector from its port to the left of the fan.
-
-
-
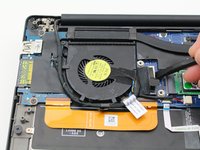
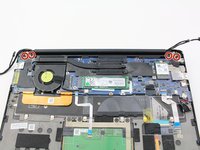
Remove the four, black 4.6 mm screws from the display mounts using a Phillips #0 screwdriver.
-
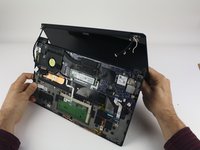
Remove the display assembly.
-


To reassemble your device, follow these instructions in reverse order.
Отменить: Я не выполнил это руководство.
12 человек успешно провели ремонт по этому руководству.
