Эта версия возможно содержит некорректные исправления. Переключить на последнюю проверенную версию.
Выберете то, что вам нужно
-
Этот шаг не переведен. Помогите перевести
-
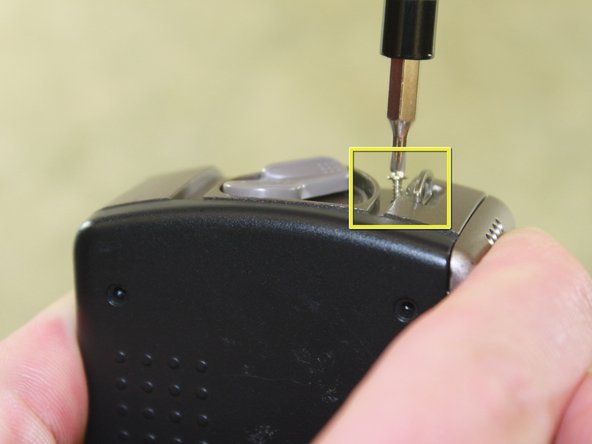
Locate and remove two 6.4mm screws on the bottom of the camera with a Phillips #00 screwdriver.
-
-
Этот шаг не переведен. Помогите перевести
-
Locate the latch on the battery door marked by the word "BATT." Use your finger to pry it open.
-
-
Этот шаг не переведен. Помогите перевести
-
Remove the battery from the camera by pulling the battery door outwards.
-
-
-
Этот шаг не переведен. Помогите перевести
-
Locate and remove three black 3.80mm screws on the back of the camera with the Phillips #00 screwdriver.
-
-
Этот шаг не переведен. Помогите перевести
-
Locate and remove the 6.4mm screws located on either side of the camera with a Phillips #00 screwdriver.
-
-
Этот шаг не переведен. Помогите перевести
-
Locate the film door latch located on the side of the camera.
-
Insert the spudger under the latch.
-
Pry the latch upward, applying force perpendicular to the camera.
-
-
Этот шаг не переведен. Помогите перевести
-
Insert the flat edge of the spudger between the gold front casing and the black back casing.
-
Pry the spudger upward until the black back casing snaps out and is dislodged on that edge of the camera.
-
-
Этот шаг не переведен. Помогите перевести
-
Squeeze the camera by placing a thumb on the tab marked CE.
-
Pull the back half of the camera firmly away from the camera body.
-
-
Этот шаг не переведен. Помогите перевести
-
Locate and remove the 3.80mm screw inside the film compartment with the Phillips #00 screwdriver.
-
-
Этот шаг не переведен. Помогите перевести
-
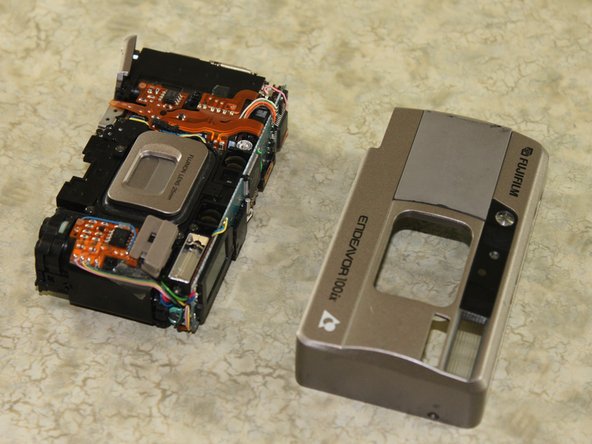
Pull the front cover off of the camera by lifting the tripod tab over the tripod hole.
-


Команда

Cal Poly, Team 13-5, Forte Winter 2011 Участник Cal Poly, Team 13-5, Forte Winter 2011
CPSU-FORTE-W11S13G5
5 членов
Автор 11 руководств