Эта версия возможно содержит некорректные исправления. Переключить на последнюю проверенную версию.
Выберете то, что вам нужно
-
Этот шаг не переведен. Помогите перевести
-
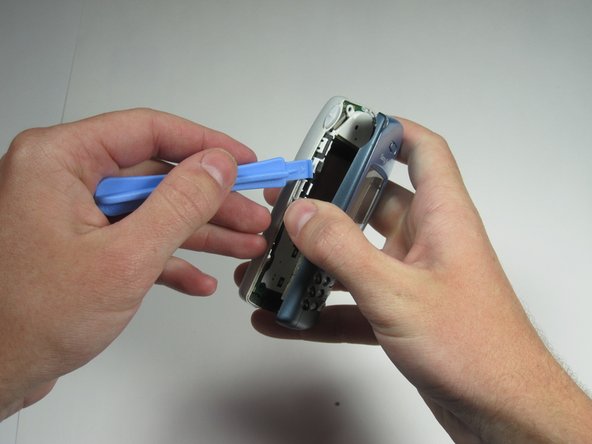
Remove the plastic cover from the back. Pry it off from the top first with a thin plastic shim, then remove it from the two bottom clips.
-
-
Этот шаг не переведен. Помогите перевести
-
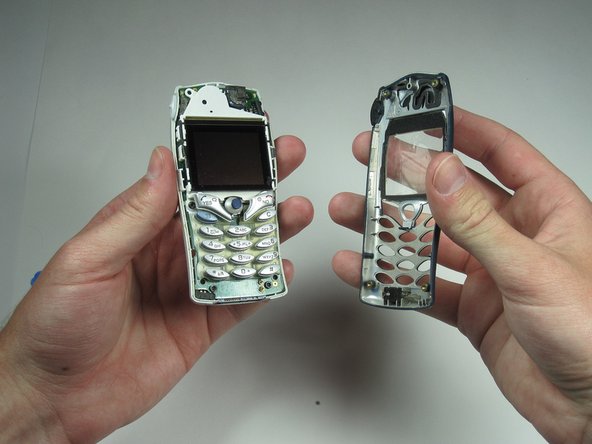
After removing the screws, the two halves will separate. If not, then pry them gently apart.
-
-
-
Этот шаг не переведен. Помогите перевести
-
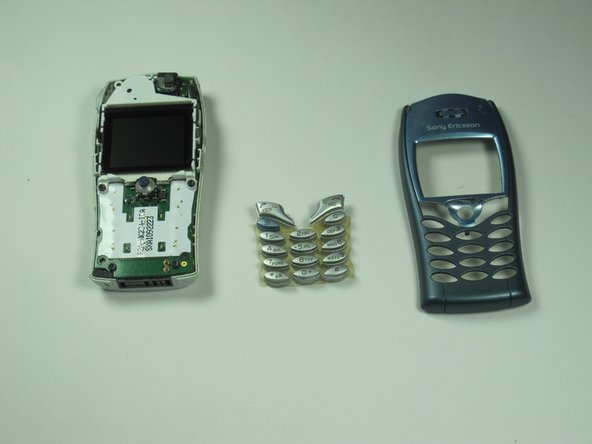
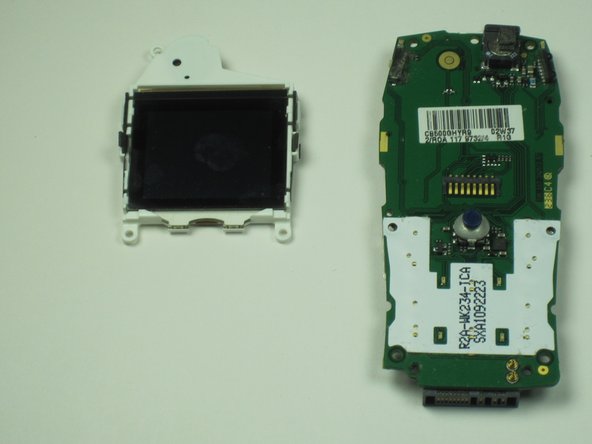
Remove the circuit board and screen from the device.
-
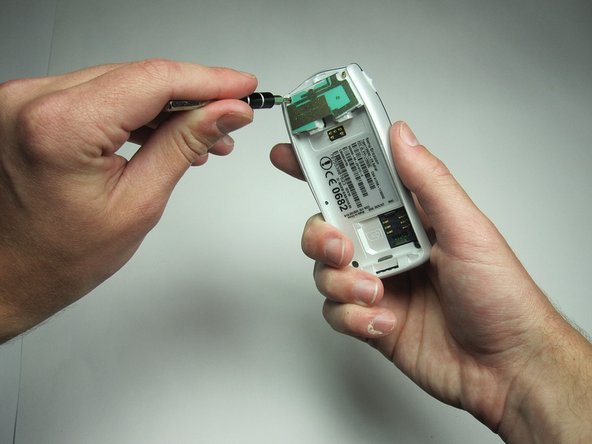
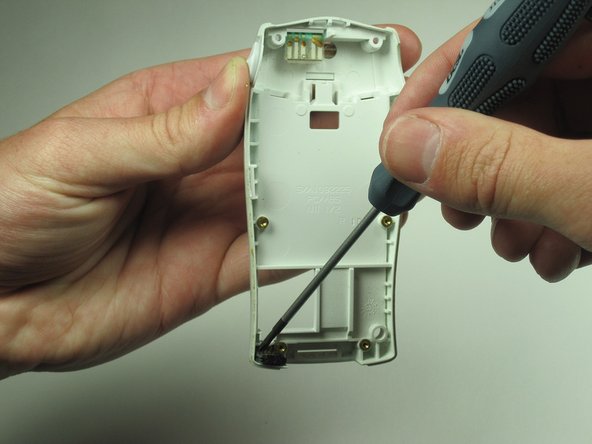
Use your T6 to remove the 4 screws holding the cover on.
-
-
Этот шаг не переведен. Помогите перевести
-
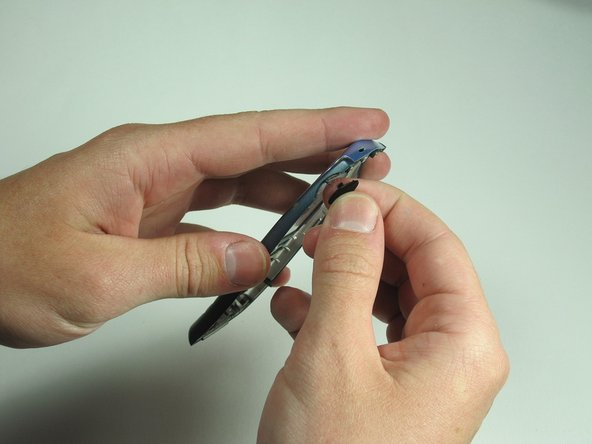
Lever out the microphone using a small screwdriver or any similar tool.
-
-
Этот шаг не переведен. Помогите перевести
-
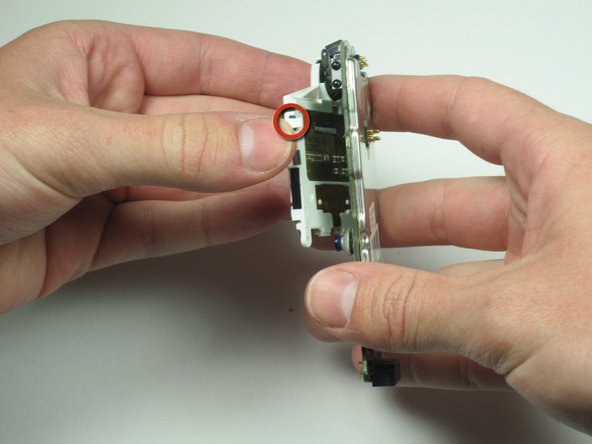
Carefully remove the plastic clips holding the screen on the board.
-
-
Этот шаг не переведен. Помогите перевести
-
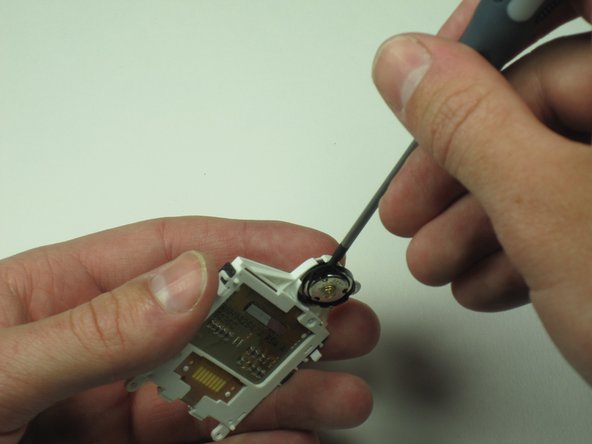
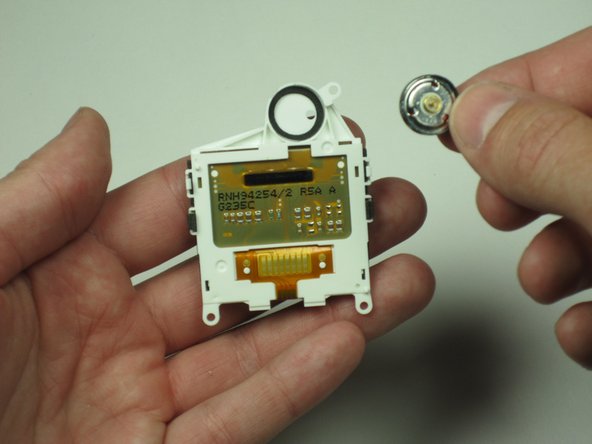
Remove the speaker located in the screen housing just above the screen.
-
Gently pry it out with a small screwdriver or similar tool.
-
-
Этот шаг не переведен. Помогите перевести
-
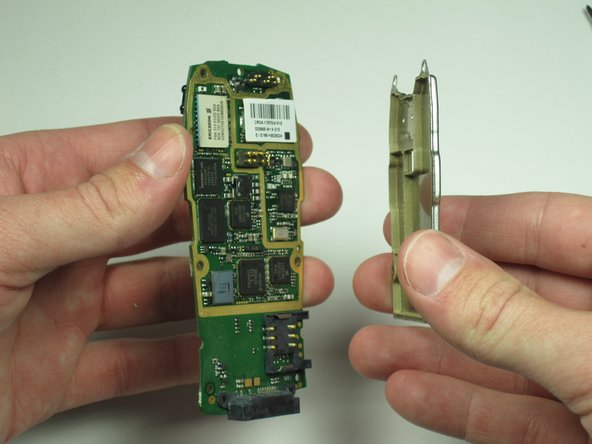
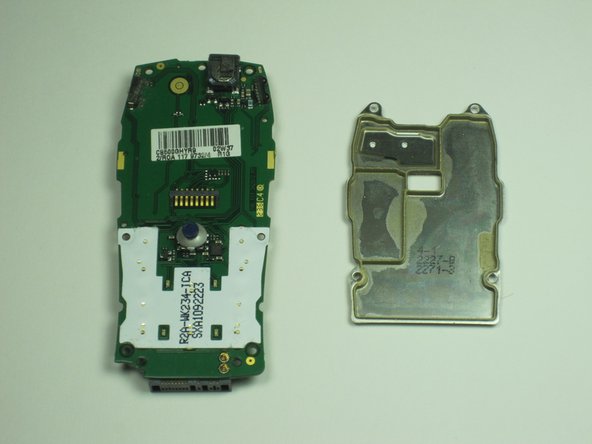
Remove the plate from the circuit board protecting the more delicate processing parts.
-
-
Этот шаг не переведен. Помогите перевести
-
Congratulations, you have successfully disassembled your Sony Ericsson T68i!
-


Отменить: Я не выполнил это руководство.
6 участников успешно повторили данное руководство.
Команда

Cal Poly, Team 26-34, Regan Spring 2010 Участник Cal Poly, Team 26-34, Regan Spring 2010
CPSU-REGAN-S10S26G34
4 членов
Автор 13 руководств