Введение
In this guide, we will demonstrate how to repair and re-stuff a standard dog bed. This guide is meant to provide general instructions and should apply to a wide variety of similar products.
These repairs will require the use of a needle and thread. It is recommended that one reviews basic sewing before proceeding, as the procedure in this guide is not all-inclusive.
Выберете то, что вам нужно
-
-
Fill the tear/hole with new stuffing until your desired thickness is achieved.
-
-
-
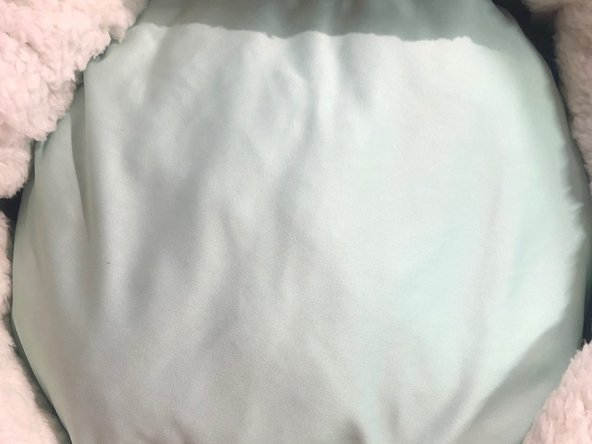
Lay the new piece of fabric flat on the table and set the dog bed on top of the fabric.
-
Using a pair of fabric scissors, cut the fabric around the shape of the dog bed.
-
-
-
-
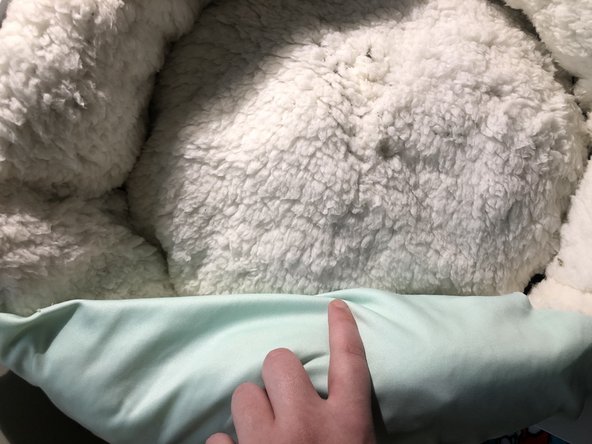
Remove the fabric from under the dog bed and place it down with the wrong side (the side which should not be seen) facing the dog bed.
-
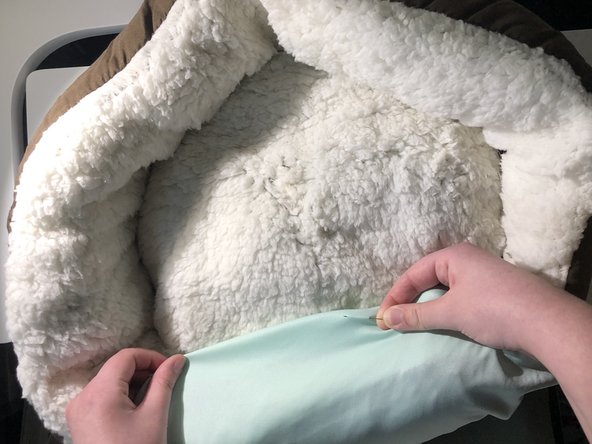
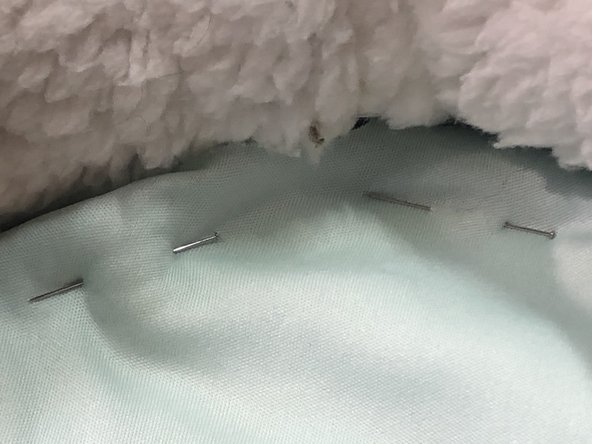
Make sure that the the fabric covers the entire side of the dog bed cushion. Then, take a pin and fasten one corner of the fabric to the dog bed.
-
-
-
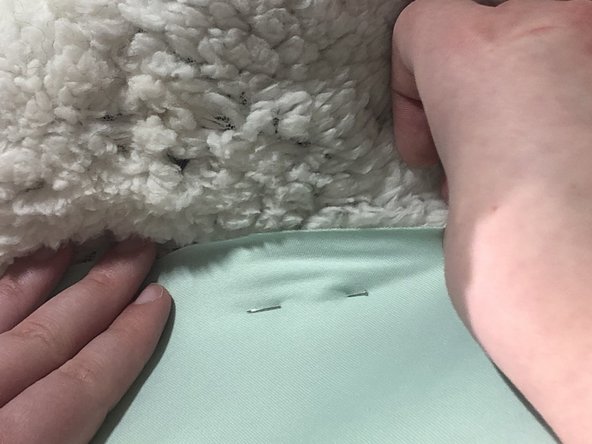
Now that the fabric has been pinned in one corner, finish pinning the same side of the fabric straight down the one side of the dog bed.
-
-
-
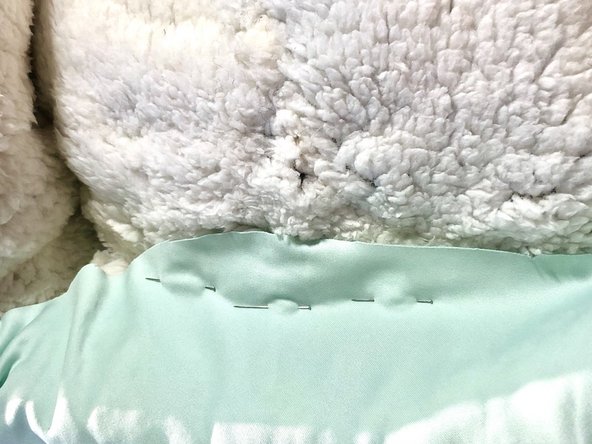
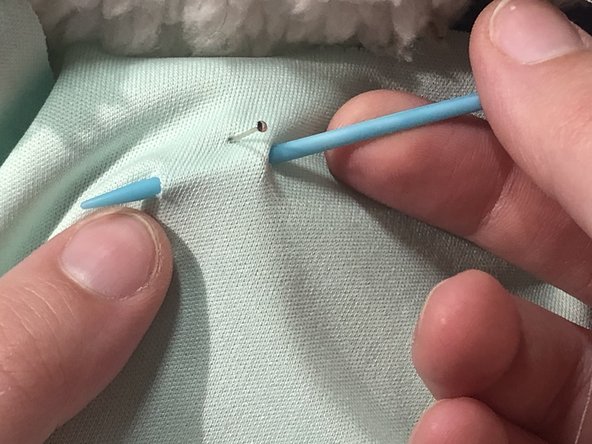
By hand, stitch down the entire length of the fabric that has been pinned to the bed. Try to keep the stitches the same size and with even placement. The goal is to keep the stitches looking as neat as possible.
-
-
-
Stop sewing and fold the fabric over the rest of the dog bed, covering the entire cushion.
-
Tuck any excess fabric around the edges of the cushion until it is neatly underneath.
-
-
-
Pin the fabric down alongside the entire diameter of the bed, following the same procedure as steps 5 and 6. Continue stitching alongside the entire bed, starting where left off.
-


To reassemble your device, follow these instructions in reverse order.
To reassemble your device, follow these instructions in reverse order.

Команда

Marist, Team S1-G1, Chaterdon Spring 2021 Участник Marist, Team S1-G1, Chaterdon Spring 2021
MARS-CHATERDON-S21S1G1
2 членов
Автор 2 руководств