Введение
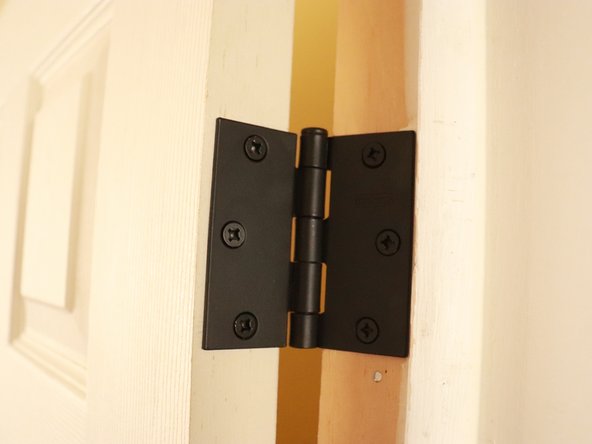
Doors are a major part of our lives, and we use them on a day-to-day basis. Some problems may occur with constant use and age, which can be solved with an extremely quick fix by replacing the door’s old hinge with a new one.
If your door is having problems opening and closing, it may be because of your old door hinge being damaged due to age and general wear-and-tear.
Before proceeding with this guide, you must know how to use a screwdriver and tape measure.
Step 2 requires you to secure the door to prevent it from falling over while you’re replacing the old hinge. Take extra precaution to prevent the door from falling over
Выберете то, что вам нужно
-
-
Take measurements of the door hinge using a tape measure and use the measurements to find a replacement door hinge.
-
-
-
Use two sturdy pieces of wood or cardboard that can keep the door in place and put them underneath the door.
-
-
-
Remove the three screws from the hinge that are connected to the door by using a Phillips 1 screwdriver.
-
Remove the three screws from the hinge that are connected to the door frame using a Phillips #1 screwdriver.
-
-
-
-
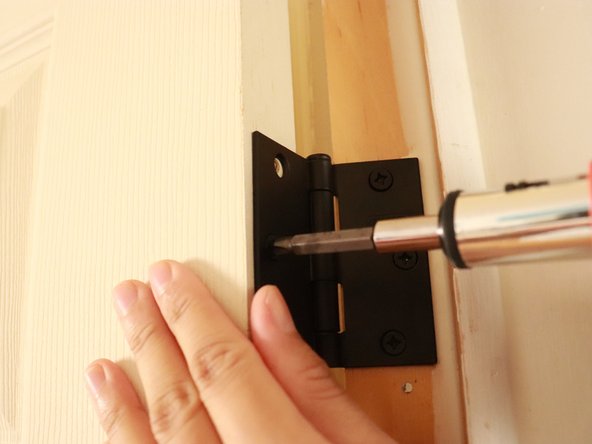
Align the new door hinge with the screw holes in the frame and screw in the new door hinge in the frame.
-
Repeat this with the bottom area of the door.
-
-
-
Align the new door hinge with the screw holes in the door and screw in the new door hinge.
-
Repeat this with the bottom area of the door.
-
-
-
Spray a small amount of WD-40 at the back top and bottom hinge and wipe it down with an old rag.
-
Отменить: Я не выполнил это руководство.
Еще один человек закончил это руководство.


