Введение
This is likely the simplest repair possible for this device. Simply access the shaft lock pin after opening the case.
Выберете то, что вам нужно
-
-
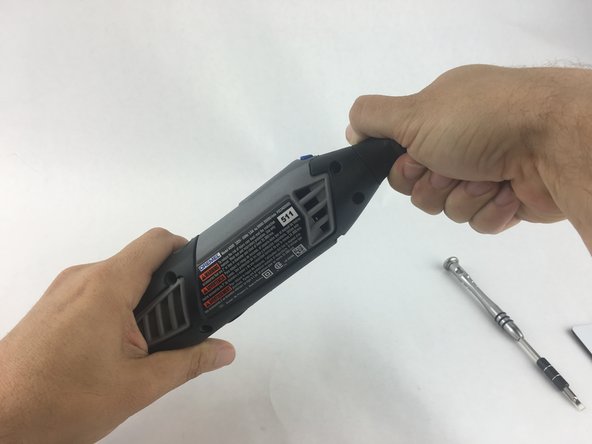
Start by removing the housing cap by unscrewing it.
-
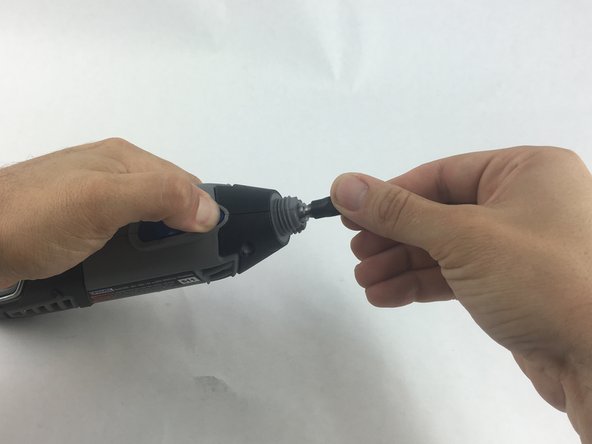
Next, unscrew the now exposed collet nut while holding down the shaft lock button.
-
-
-
Using your hands, carefully remove hanger from casing.
Mine seems to have solid caps without the slot. How are this type removed?
This is getting worse. Maybe skipping the Collet Nut part threw me off - as there is no hanger. This description is PATHETIC!!!
I love how these pictures show you NOTHING related to what this guy is talking about
-
-
-
Remove the brush caps (one on each side) by using a flathead screwdriver bit.
I have found that the brushes are the most likely failure point on the Dremel tool. I haven’t purchased a new one in many years but they used to come with a spare set.
In general commutator brushes are made of a soft high carbon compound, usually found with new springs attached. The brushes can be carefully reshaped using files, sandpaper and a razor knife to fit the recesses of the tool.
Use the original to get necessary dimensions, a dial caliper is very helpful here to duplicate channels and recesses as well as determining how long the brushes should be. Should you need to shorten the brush a new concave can be established using a pencil or dowel wrapped in sandpaper being sure to match the concave to the channels so it matches the armature. It is preferable the curve be wider than the armature so edges don’t catch, it will naturally wear into a perfect curve. Blow off before installing.
Once the tool is reassembled turn on and off several times then run for a while varying the speed.
-
-
-
-
Using the Torx 15 screwdriver tip, remove the 5 screws (12.5 mm) that hold the casing together.
-
-
-
Use your hands to carefully remove the back casing so that none of the components fall out.
-
-
-
If the shaft lock pin is not engaging the rotary gear, or if the spring is missing or damaged, it will need to be replaced.
-
Remove the damaged shaft lock pin and spring by hand.
-


To reassemble your device, follow these instructions in reverse order.
To reassemble your device, follow these instructions in reverse order.
Отменить: Я не выполнил это руководство.
2 участников успешно повторили данное руководство.
Команда

USF Tampa, Team 15-4, Remmell Spring 2016 Участник USF Tampa, Team 15-4, Remmell Spring 2016
USFT-REMMELL-S16S15G4
4 членов
Автор 13 руководств
2 Комментариев
These instructions are idiotic! I want to replace the shaft lock pin because it is not WORKING. Step 1 instructs me to use the shaft lock pin to remove the exposed collet nut. The reason I am changing the shaft lock pin is because it won’t hold the shaft for loosening the collet nut. DUH!
three years later and I came to the same conclusion: DUH
Is this a joke??? Wanna maybe possibly tell US WHAT A COLLET NUT LOOKS LIKE?? I mean it's obviously very exposed (not exposed one bit. My Dremel 4000 looks exactly like it did before. No Collet nut suddenly stood out) and not all of us have advanced degrees in Dremel parts
Jeff Wagner - Ответить
Dam Jeff. I am not sure if you are being sarcastic or not, but maybe you should go lie down for while.
itguyfla - Ответить