Введение
Technical issues can occur at any time when it comes to video game consoles and their peripherals. Video gamers, like many people may get angry from time to time, which could result in a fractured or warped controller shell which may need to be replaced. Other causes that may result in a shell replacement are dropping or tossing the controller. Even if no problems occur one may wish to customize the appearance of their controller.
If you wish to have the shell of your Dualshock 4 controller replaced, this guide will show you exactly how to replace the front and/or back shell of a Dualshock 4 CUH-ZCT2U controller.
Выберете то, что вам нужно
-
-
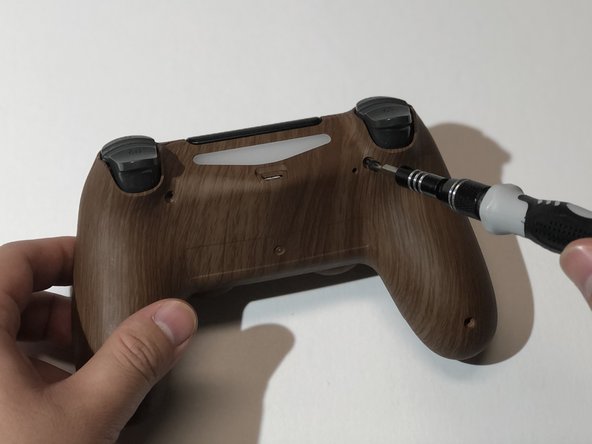
Remove the four 6 mm Phillips #00 screws on the back of the controller.
-
-
-
Squeeze the sides of the handles to create an opening in the crease.
-
Insert an opening tool into the crease you created and move it along the crease to loosen the tabs located near the shoulder buttons and the thumb sticks.
-
-
-
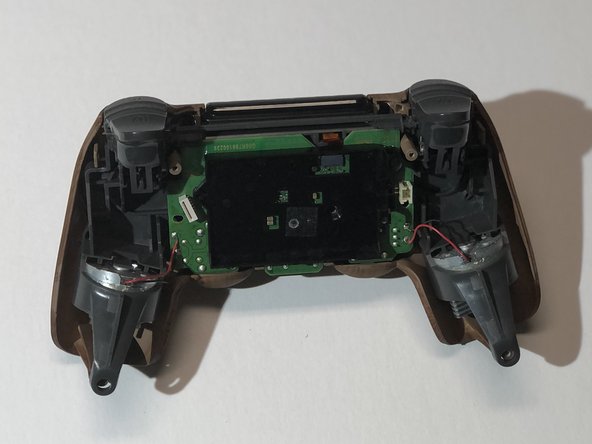
Gently lift the back shell off the controller.
-
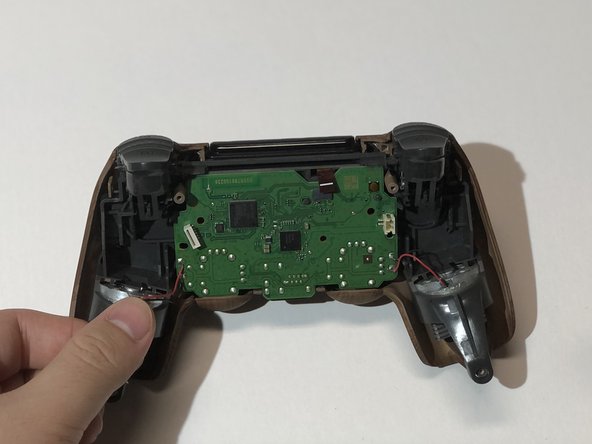
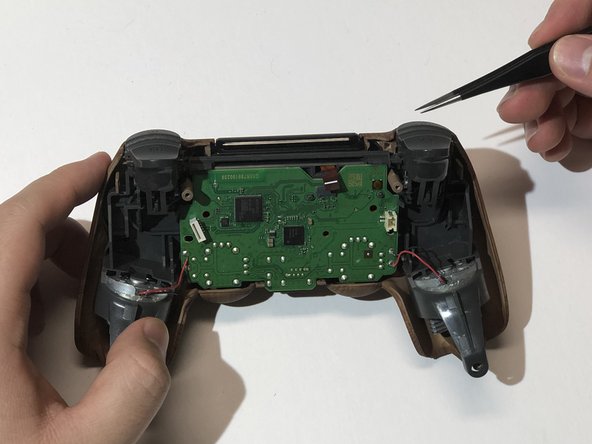
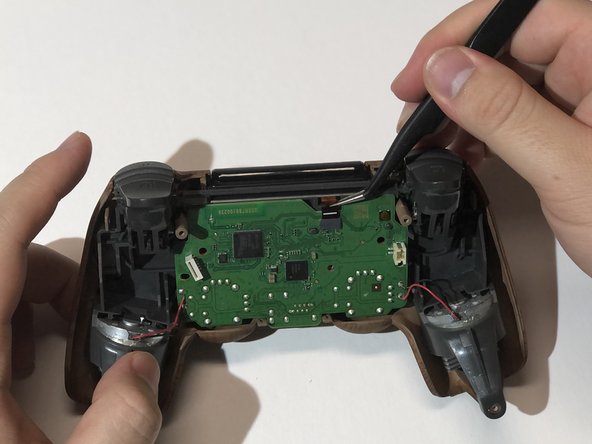
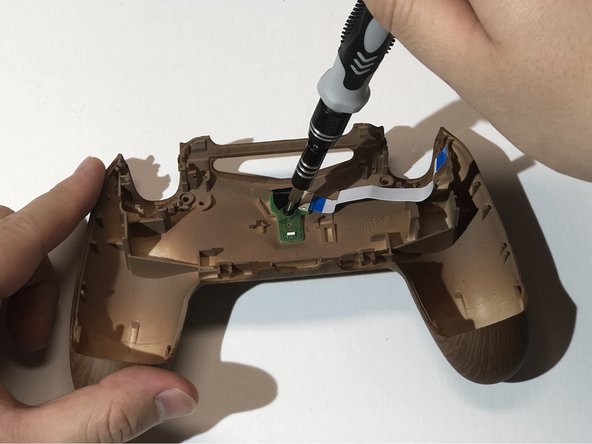
Use tweezers to pull the ribbon cable out of the socket on the motherboard.
-
-
-
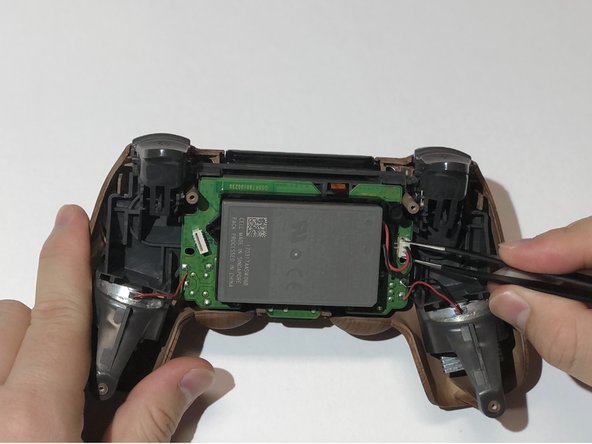
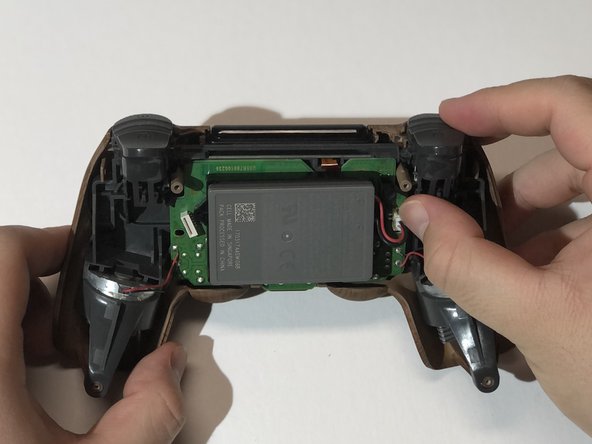
Clasp onto the battery plug on the right side of the controller using tweezers and slowly wiggle it out of the socket.
-
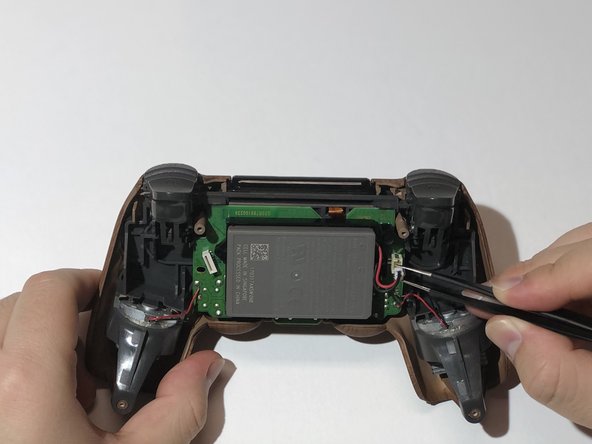
Once the plug is removed from the socket, lift the battery off the battery housing.
-
-
-
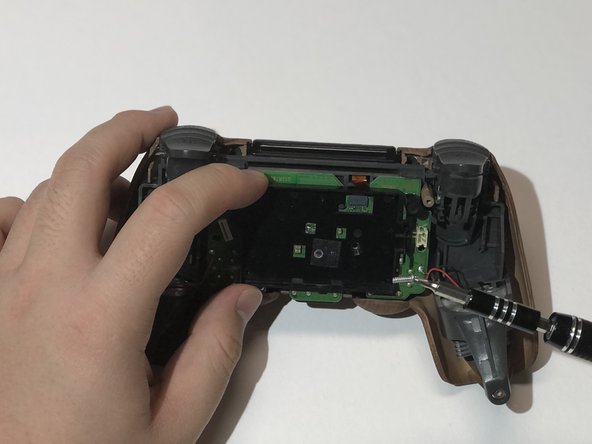
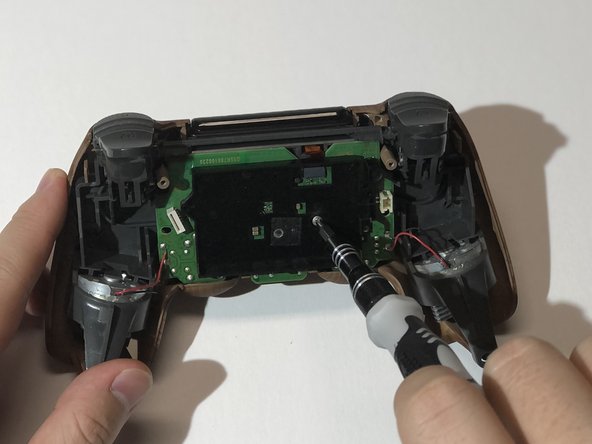
Remove the 6 mm Phillips #00 screw keeping the battery housing in place.
-
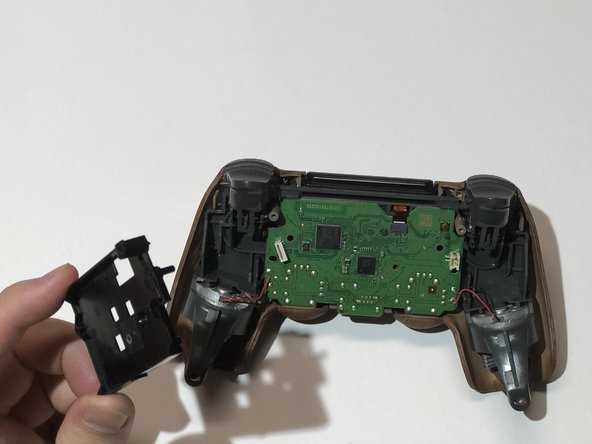
Lift the battery housing off the motherboard.
-
-
-
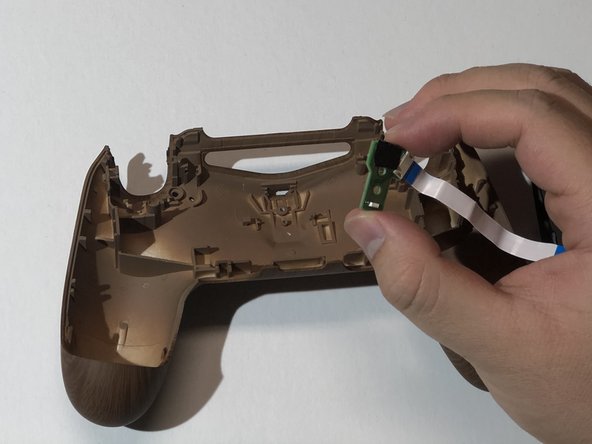
Gently pull the ribbon cable near the top right of the motherboard out of the socket using tweezers.
-
-
-
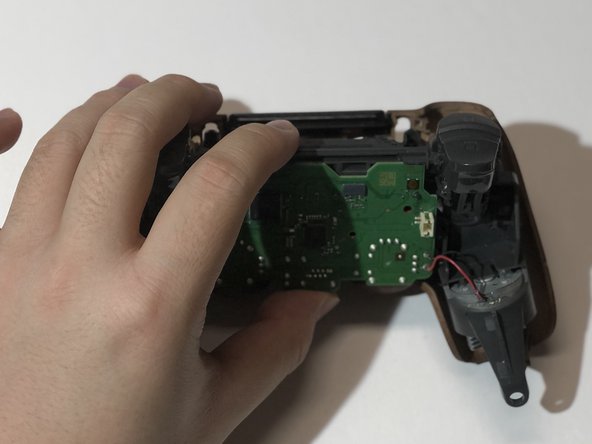
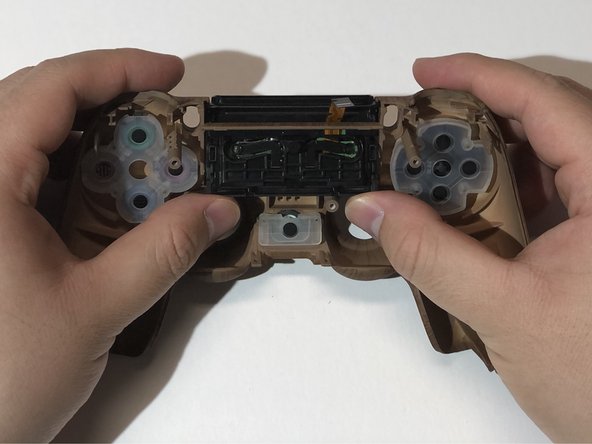
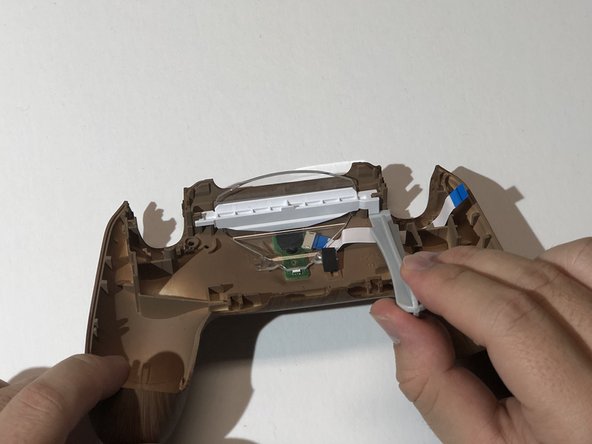
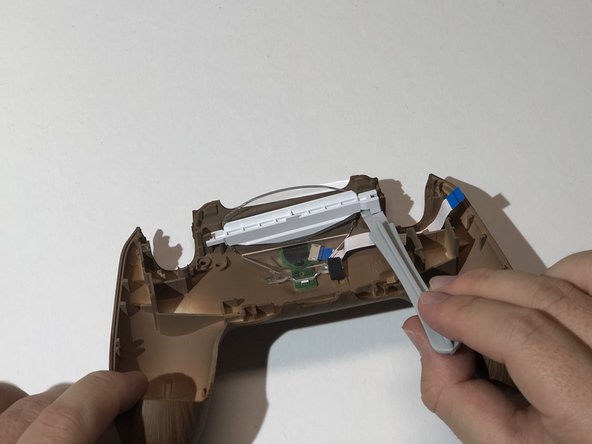
Holding the edges, lift the controller frame off the front shell and make sure the ribbon cable does not snag on the frame.
-
-
-
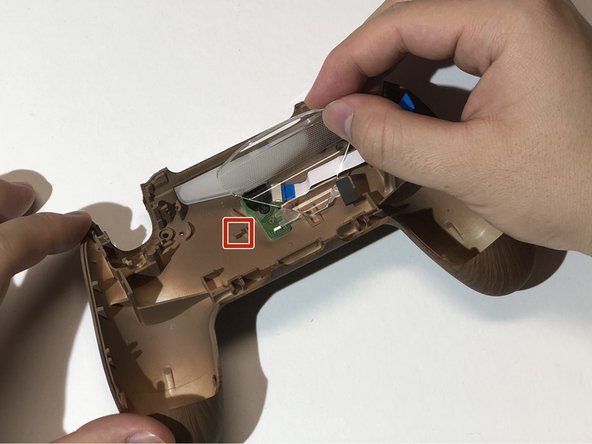
Once left with the front shell, peel off the rubber coverings for the buttons.
-
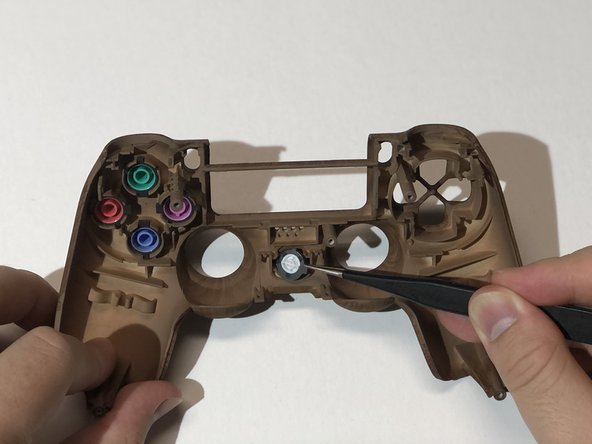
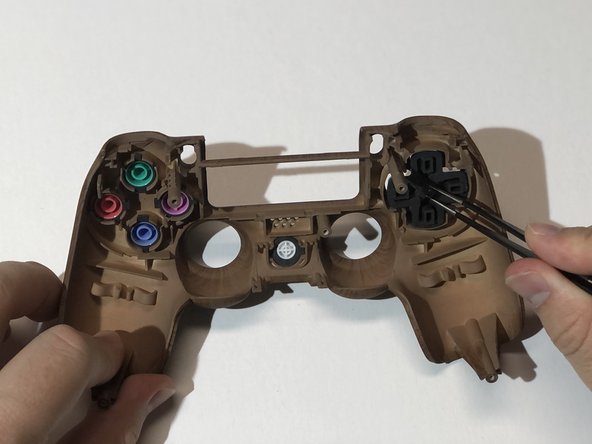
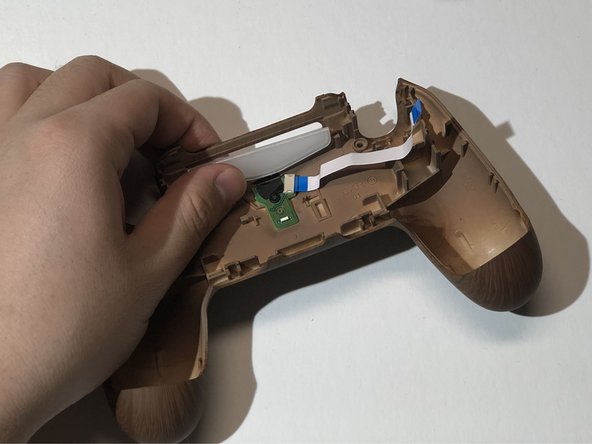
Push the buttons inwards from the front side of the shell to lift them out of the socket, then proceed to remove them.
-
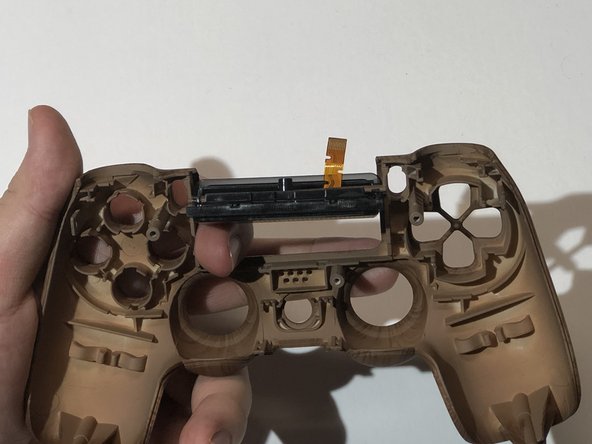
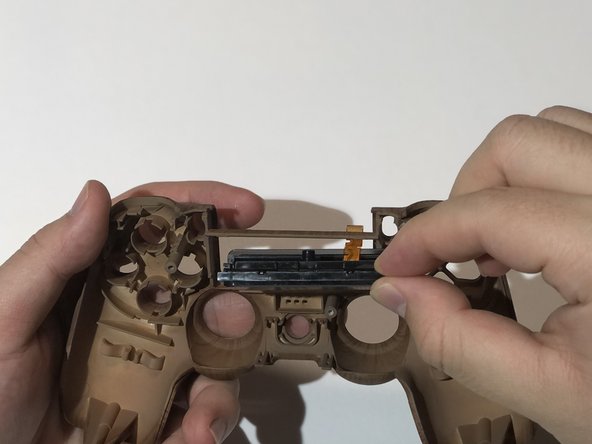
To remove the touch bar, push inwards on the base of the touch bar from the front side of the shell.
-
-
-
-
Place the buttons into the new shell by aligning the nubs on each button with the grooves of the sockets it is being placed into.
-
-
-
Place the rubber covering over the buttons.
-
Make sure the holes on each corner of the rubber covering is occupied by one of the corresponding prongs on the shell and apply pressure to fit it in place.
-
-
-
Insert the top of the touch bar through the space below the separation bar.
-
Move the touch bar upwards towards the separation bar on the shell. It should naturally find its way into place.
-
-
-
Place the controller frame and motherboard back on the front shell.
-
Use tweezers to keep the ribbon cable that is connected to the touch bar inside the small rectangular hole on the controller frame.
-
Reconnect the ribbon cable into the socket on the motherboard.
-
-
-
Align the battery housing with the support holes on the motherboard and place it down on top of the motherboard.
-
Use a 6 mm Phillips #00 screw to screw the battery housing into place.
-
-
-
Place the battery onto the battery housing.
-
Push the battery plug into the socket.
-
-
-
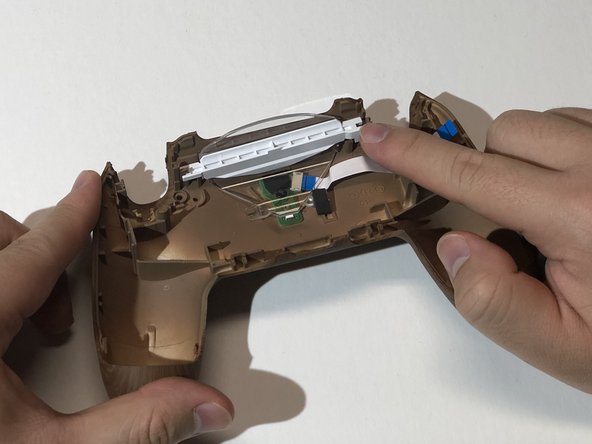
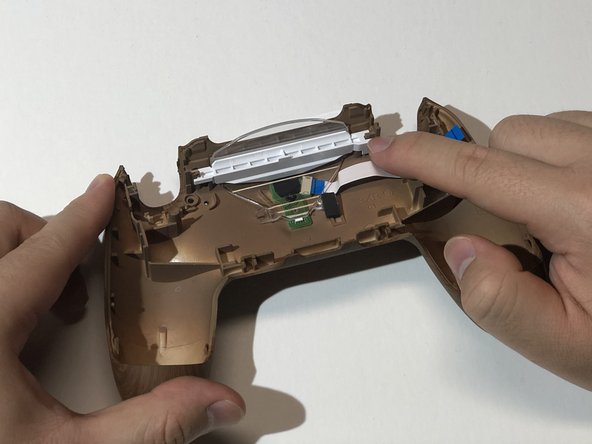
Using an opening tool, gently pry upwards from the bottom right side of the white plastic chassis.
-
Remove the white plastic chassis from the shell.
-
-
-
Peel back the rubber tape connecting the transparent plastic light screen to the shell.
-
Slide the transparent plastic light screen away from the hook to remove it.
-
Pop the translucent plastic light screen out of the slot after removing the transparent plastic light screen.
-
-
-
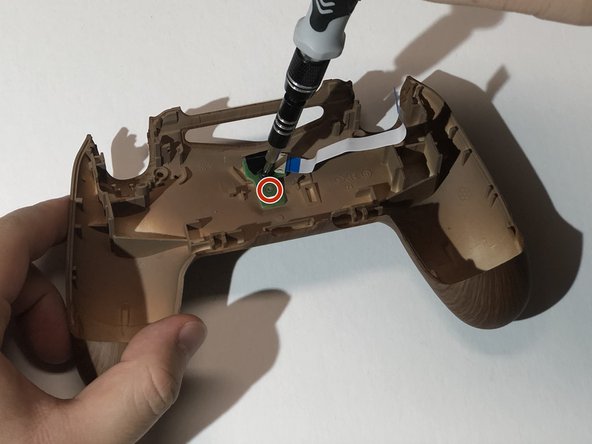
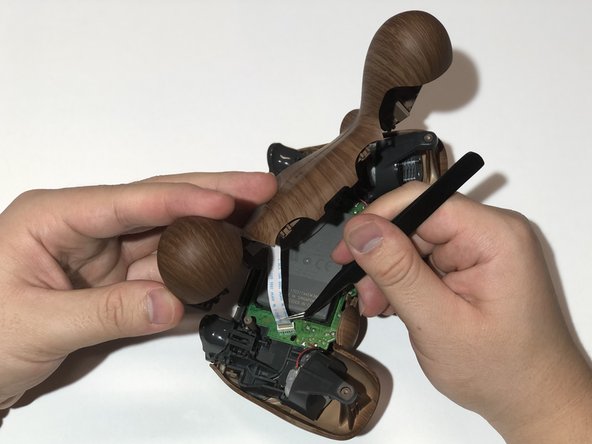
Gently peel back the tape covering the screw on the charging port.
-
Remove the 4 mm Phillips #00 screw from the charging port.
-
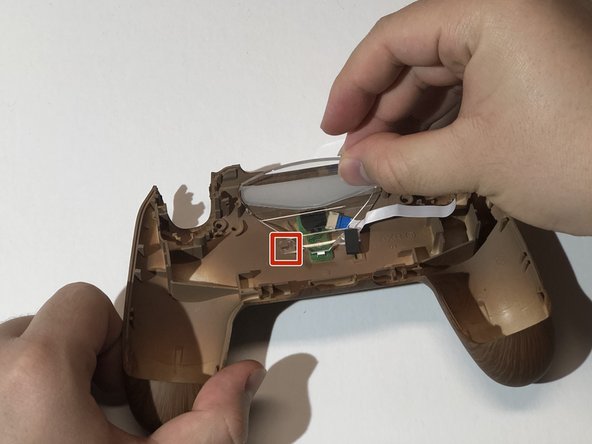
Remove the charging port from the shell.
-
-
-
Align the standoff on the new shell with the hole on the charging port board.
-
Screw the charging port into the shell with the 4 mm Phillips #00 screw.
-
Gently move the tape back onto the shell and over the screw.
-
-
-
Place the translucent light screen into the slot on the top of the shell.
-
Slide the transparent light screen over the charging port and into the hook on the shell to hold both light screens together.
-
Stick the rubber tape on the transparent light screen onto the new shell.
-
-
-
With the smooth side of the white plastic chassis facing away from you, insert the left edge of the plastic chassis into the groove on the top left side of the back shell.
-
Align the clip on the right edge of the plastic chassis with the post on the top right side of the back shell and press the clip down to hold the light screens in place.
-
-
-
Take the ribbon cable that is connected to the back shell and insert the golden connectors into the socket on the motherboard facing away from the battery.
-
-
-
Align the tabs on both shells and bring the two halves together. Make sure the transparent plastic light screen slides into the slit on the controller frame before closing the shell
-
Apply even force on both sides of the controller until the two shells click into place.
-
Screw in the four 6 mm Phillips #00 screws on the back of the controller.
-


Отменить: Я не выполнил это руководство.
5 участников успешно повторили данное руководство.
Команда

York University, Team S1-G14, O'Regan Summer 2021 Участник York University, Team S1-G14, O'Regan Summer 2021
YORK-O'REGAN-SU21S1G14
1 член
Автор 8 руководств