Введение
As there is a difference between the screen of the device and the display it is important to know which part needs replacing. If the outer plastic clear portion of your device has cosmetic scratches, cracks, or dents, use this is guide to replace the screen. Run a finger on the outer surface of the device to determine which part has been damaged.
Выберете то, что вам нужно
-
-
Unscrew the four screws (size: 3.175mm) on the left and right side of the Element Electronics GC-1020 device using the PH#0 screwdriver.
 Спросите у FixBot
-
-
-
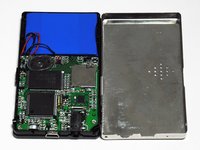
Carefully pull the back of the device (the silver portion) apart from the rest of the device.
-
-
-
-
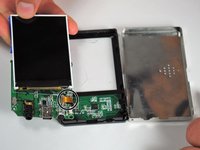
Unscrew the bottom of left and right sides of the motherboard.
-
-
Инструмент, используемый на этом этапе:Tweezers$4.99
-
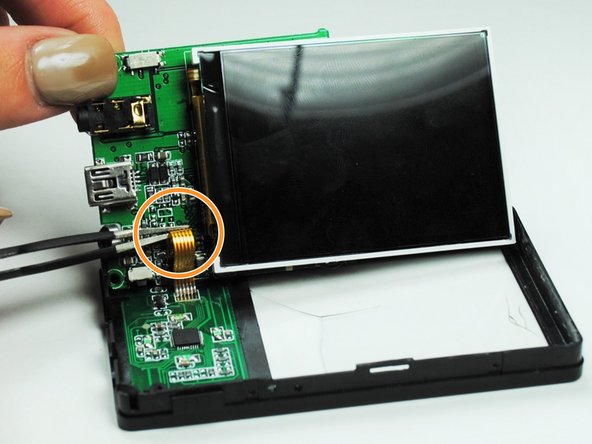
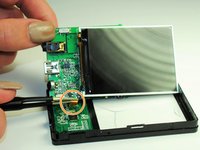
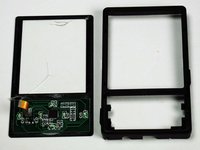
Detach the screen by disconnecting the thin piece of ribbon cable attached to the PCB (printed circuit board).
-
Use a pair of tweezers to carefully pull the ribbon from the circuit board.
-
-
-
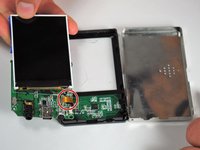
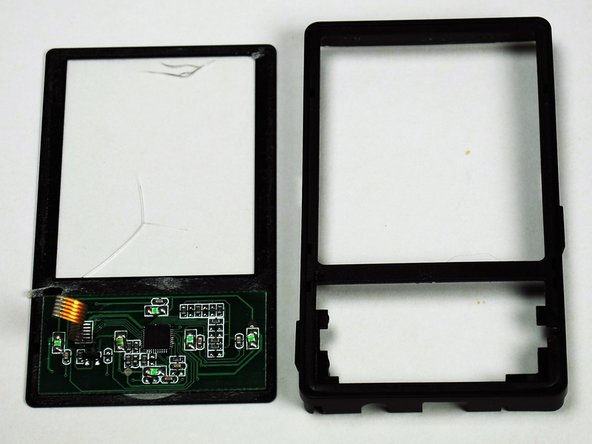
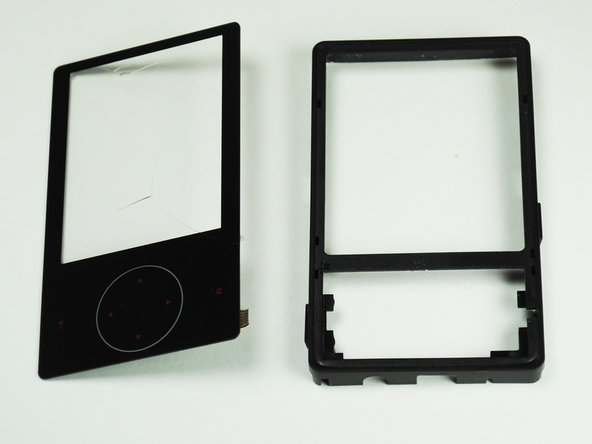
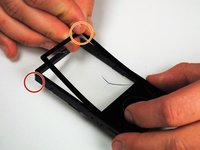
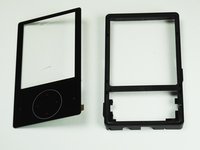
Carefully pry apart the screen from the frame of the device.
-
Separate the two by peeling away the thin plastic layer that makes up the screen of the device.
-


To reassemble your device, follow these instructions in reverse order.
Отменить: Я не выполнил это руководство.
2 человек успешно провели ремонт по этому руководству.
Команда

University of Tampa, Team 1-4, Whiteside Fall 2015 Участник University of Tampa, Team 1-4, Whiteside Fall 2015
UT-WHITESIDE-F15S1G4
4 членов
Автор 5 руководств