Этот документ имеет более свежие изменения. Перейти к последней непроверенной версии.
Введение
This guide will take you through the process of replacing the input jack of a Epiphone Les Paul Special.
The input jack is the component in which you insert the instrument cable. If your input jack is faulty you may experience the sound cutting in and out as you play or possibly no sound at all.
It should be noted that it may not always be the input jack, but instead the instrument cable. Before trying to replace the jack, try using another cable just to make sure.
Выберете то, что вам нужно
-
-
Using a Phillips #1 screwdriver, remove the four 7 mm screws holding the input jack cover.
-
-
-
-
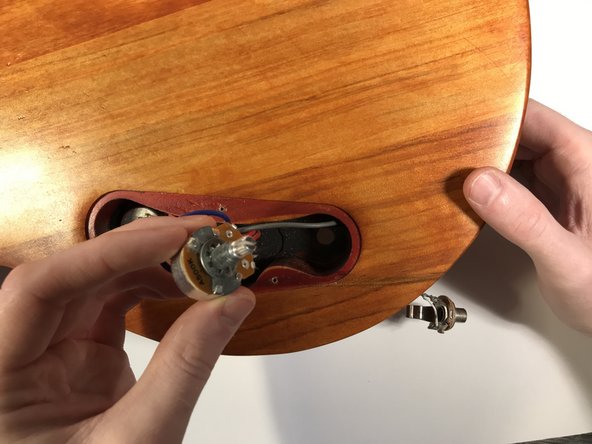
With a Phillips #1 screwdriver, remove the three 7 mm screws holding on the back plate.
-
-
-
Solder the wires to the input jack
-
Repeat steps 7-1 in reverse order to put it all back together.
-


To get everything back into its original place, follow steps 1-7 in reverse order.
To get everything back into its original place, follow steps 1-7 in reverse order.
Отменить: Я не выполнил это руководство.
2 участников успешно повторили данное руководство.

Команда

University of Memphis, Team S1-G6, Bishop Fall 2020 Участник University of Memphis, Team S1-G6, Bishop Fall 2020
UM-BISHOP-F20S1G6
1 член
Автор 2 руководств