Перейти к основному содержанию

Epson Powerlite Power Supply Replacement

Выберете то, что вам нужно

  1. Epson Powerlite Power Supply Replacement, Motherboard: шаг 1, изображение 1 из 1
    • Flip the projector over.

    • Remove all 8 screws on the bottom of the projector.

  2. Epson Powerlite Power Supply Replacement: шаг 2, изображение 1 из 2 Epson Powerlite Power Supply Replacement: шаг 2, изображение 2 из 2
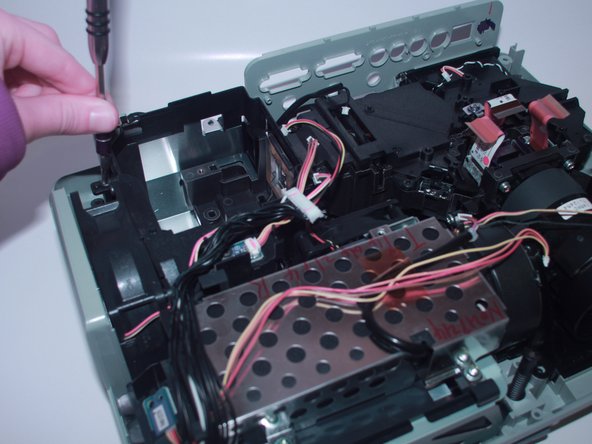
    • Now, flip the projector back over and pry the top of it open revealing the inside of the projector.

  3. Epson Powerlite Power Supply Replacement: шаг 3, изображение 1 из 2 Epson Powerlite Power Supply Replacement: шаг 3, изображение 2 из 2
    • Use the spudger to disconnect it from the motherboard.

  4. Epson Powerlite Power Supply Replacement: шаг 4, изображение 1 из 2 Epson Powerlite Power Supply Replacement: шаг 4, изображение 2 из 2
    • Using your finger gently move back and forth the JST cable that connects the top to the motherboard.

    • Now completely take off the top of the projector.

  5. Epson Powerlite Power Supply Replacement: шаг 5, изображение 1 из 2 Epson Powerlite Power Supply Replacement: шаг 5, изображение 2 из 2
    • Remove the 3 screws that secure the motherboard in place.

  6. Epson Powerlite Power Supply Replacement: шаг 6, изображение 1 из 3 Epson Powerlite Power Supply Replacement: шаг 6, изображение 2 из 3 Epson Powerlite Power Supply Replacement: шаг 6, изображение 3 из 3
    • Gently move back and forth the 11 JST connectors until they come out.

  7. Epson Powerlite Power Supply Replacement: шаг 7, изображение 1 из 2 Epson Powerlite Power Supply Replacement: шаг 7, изображение 2 из 2
    • With the spudger lift the red plastic tabs from their connectors.

  8. Epson Powerlite Power Supply Replacement: шаг 8, изображение 1 из 3 Epson Powerlite Power Supply Replacement: шаг 8, изображение 2 из 3 Epson Powerlite Power Supply Replacement: шаг 8, изображение 3 из 3
    • Lift the motherboard and disconnect the JST connector underneath.

  9. Epson Powerlite Power Supply Replacement: шаг 9, изображение 1 из 1
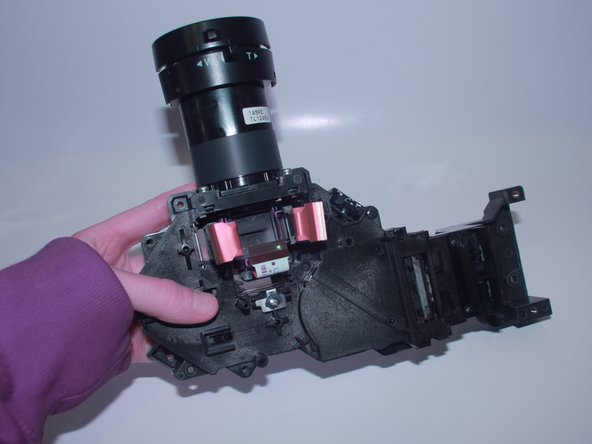
    • Now, the motherboard is completely removed from the projector and you are ready to replace it.

  10. Epson Powerlite Power Supply Replacement, Projector Lens: шаг 10, изображение 1 из 3 Epson Powerlite Power Supply Replacement, Projector Lens: шаг 10, изображение 2 из 3 Epson Powerlite Power Supply Replacement, Projector Lens: шаг 10, изображение 3 из 3
    • Unscrew the four 6mm screws that hold together the fan bracket.

  11. Epson Powerlite Power Supply Replacement: шаг 11, изображение 1 из 2 Epson Powerlite Power Supply Replacement: шаг 11, изображение 2 из 2
    • Unscrew the four 6mm screws that secure the projector.

  12. Epson Powerlite Power Supply Replacement: шаг 12, изображение 1 из 2 Epson Powerlite Power Supply Replacement: шаг 12, изображение 2 из 2
    • Pull out the loose projector.

  13. Epson Powerlite Power Supply Replacement, Power Supply: шаг 13, изображение 1 из 2 Epson Powerlite Power Supply Replacement, Power Supply: шаг 13, изображение 2 из 2
    • Remove the power plug attached to the bracket which kept the fan in place by rocking it back and forth and gently pull up when it is loose.

  14. Epson Powerlite Power Supply Replacement: шаг 14, изображение 1 из 1
    • Remove the rest of the bracket which helped keep the exhaust fan in place.

  15. Epson Powerlite Power Supply Replacement: шаг 15, изображение 1 из 3 Epson Powerlite Power Supply Replacement: шаг 15, изображение 2 из 3 Epson Powerlite Power Supply Replacement: шаг 15, изображение 3 из 3
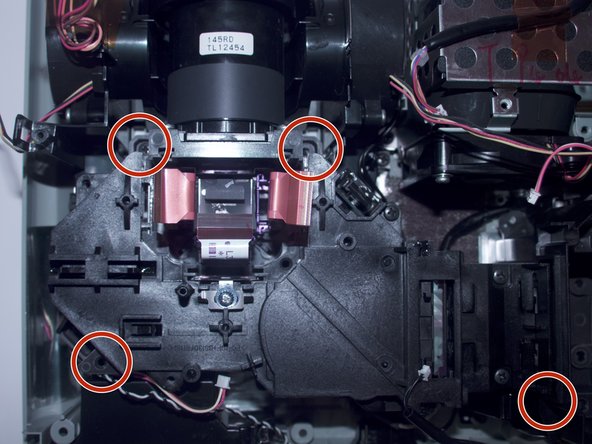
    • Use a Phillips #2 screwdriver to remove the two 6 mm screws that secure the wire guide.

  16. Epson Powerlite Power Supply Replacement: шаг 16, изображение 1 из 3 Epson Powerlite Power Supply Replacement: шаг 16, изображение 2 из 3 Epson Powerlite Power Supply Replacement: шаг 16, изображение 3 из 3
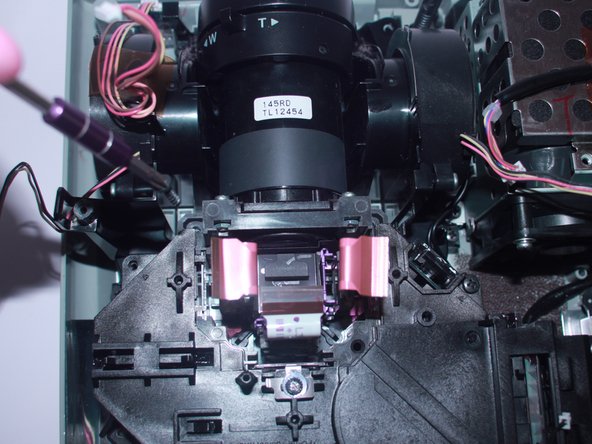
    • Gently lift up the wire guide to remove the wires.

    • Use your fingers to firmly press on the sides of the power plug and lift it upward.

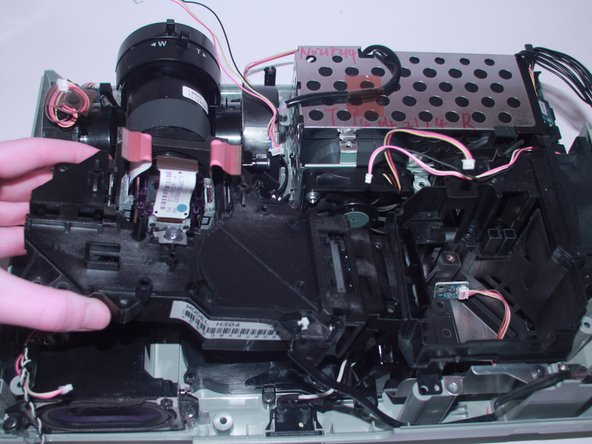
    • You will now be able to remove and replace the power supply.

Заключение

To reassemble your device, follow these instructions in reverse order.

Emma Richey

Участник с: 03/21/22

915 Репутация

Автор 5 руководств

Команда

University of Alabama, Team 1-3, Bedsole Spring 2022 Участник University of Alabama, Team 1-3, Bedsole Spring 2022

UA-BEDSOLE-S22S1G3

4 членов

Автор 5 руководств

0 Комментариев

Добавить комментарий

Просмотр статистики:

За последние 24часов: 0

За последние 7 дней: 2

За последние 30 дней: 11

За всё время: 639