Введение
Note: This guide is for the FLSUN QQ not the newer QQ-S
If you own a FLSUN QQ and the original bed is worn out, or if you simply want to upgrade for easier print removal, this guide will walk you through the process.
Recommended: If you have not upgraded to the leveling switch I recommend the FLSUN QQ Leveling Sensor Replacement guide first so that you can more easily level after installing the new print surface.
Выберете то, что вам нужно
-
-
Power up printer
-
Tap Tools
-
Tap Heat
-
Tap Extrude 1 to switch to Bed
-
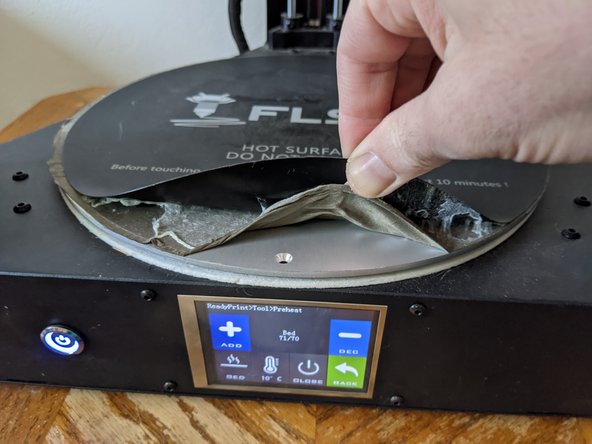
Tap + till the bed temp is set to 70º
-
-
-
Use the putty knife to start peeling up the old bed.
-
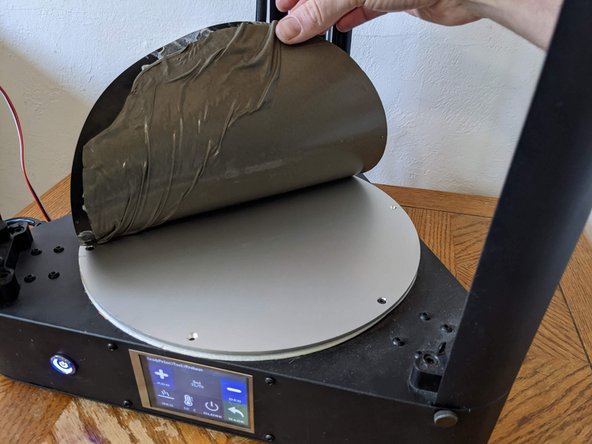
Once you get the edge started you should be able to peel the rest by hand.
-
-
-
-
One side of the bed will have a wire taped in with the conductive sticker.
-
If you have upgraded to the leveling switch you can cut this wire.
-
If not, you could carefully peel the wire off of the conductive sticker to save it for later...
-
aluminum foil stuck to top of bed and connected to leveling wire
-
homemade leveling switch
-
etc.
-
-
-
Use mineral spirits, gloves, and cotton balls to clean the bed
-
-
-
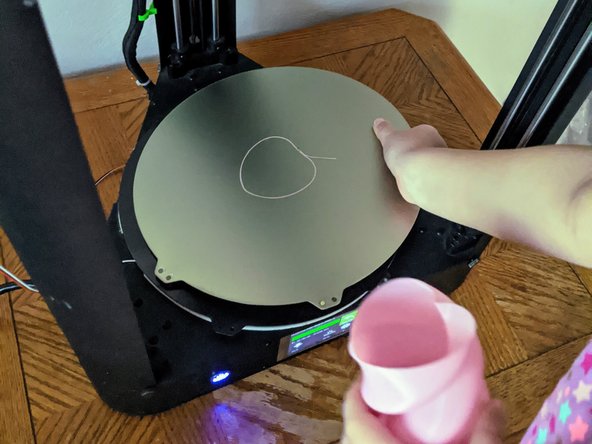
Leave the steel plate and magnetic sticker together.
-
Remove the backing from the magnetic sticker.
-
Carefully apply the sticker and plate from one edge to the other.
-
-
-
Attach Leveling Switch
-
Heat Bed to Normal Printing Temperature
-
Tap Tools
-
Tap Leveling
-
Tap Level
-
-
-
Peel spring steel plate off of magnetic sticker.
-
Flex plate gently to detach print.
-
Retrieve print (I dropped the first one)
-


You have successfully upgrade the print surface of your FLSUN-QQ
Print Happy
You have successfully upgrade the print surface of your FLSUN-QQ
Print Happy
Отменить: Я не выполнил это руководство.
Еще один человек закончил это руководство.
