Выберете то, что вам нужно
-
-
Remove 6 Screws from Base of Printer
-
Carefully remove cover.
-
-
-
-
Using small needle nose pliers gently remove the plastic clip that holds the stepper cable connector.
-
Rotate the plastic clip 180º
-
Gently, but firmly, press the plastic clip back onto the board.
-
-
-
Align the pins in the correct location and position.
-
Press gently but firmly into place.
-
-
-
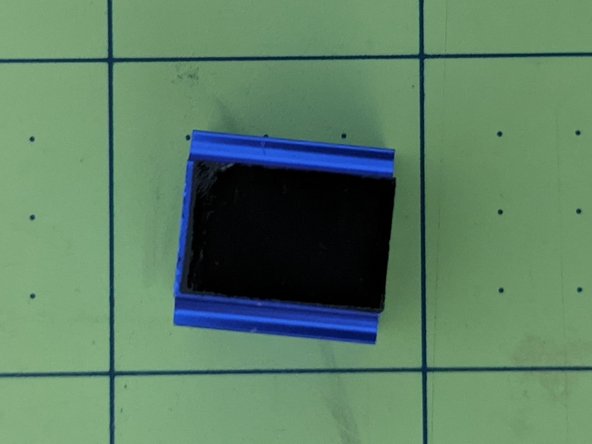
Remove sticker from back of heat sink
-
Carefully press the heat sink to the back of the TMC2208
-
-
-
Remove Old Driver
-
Reverse Direction of Stepper
-
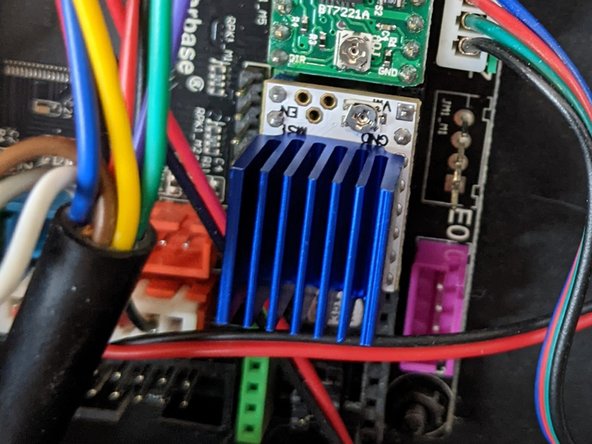
Insert TMC2208
-
Add Heatsink
-
Plug Stepper Back In
-


Re-assemble your printer and enjoy near silent (fans make some noise) printing!
Re-assemble your printer and enjoy near silent (fans make some noise) printing!
Отменить: Я не выполнил это руководство.
2 участников успешно повторили данное руководство.

8 Комментариев
I haven't needed to mess with it.
You can either, flip the orientation of the plug on the board, or modify config values in the firmware config file and re-flash the firmware. I chose to flip the plug so I would need to mess with flashing firmware.
Do you need to reverse the plug for a 2209? Difference between 2208 and 2209 for my QQS Pro?