Введение
In the occurrence that you have a corrupted memory storage compartment in your computer or require more computer storage space. Then the M.2 SSD (solid state drive) should be considered to replace and or fill this compartment. In the case your computer storage has been corrupt it may be results of using an old HDD (Hard Disk Drive) as they use mechanical parts that wear down over time. The beneficial advantages SSDs have over HDDs is their reliability and sustainability. They are comprised of less and smaller components while providing more storage space on your computer. This guide will go over the basic procedure to open your computer and install an M.2 SSD onto your motherboard. The instructions are universal towards pre-built and bare bone motherboards (mother board by itself). This will address the problem associated with corrupted storage space, and the requirements to fill this space. It will go over the procedures to install this fast and advantageous memory storage component, adding more storage space to your computer.
Выберете то, что вам нужно
-
-
Unplug any additional ports that are still plugged in.
-
Take a Phillips #0 screwdriver and remove two top panel screws.
-
-
-
Press down the latch pin and pull the top tower cover towards yourself at the same time.
-
When the latch pins are disconnected, slide the cover upwards towards the ceiling.
-
-
-
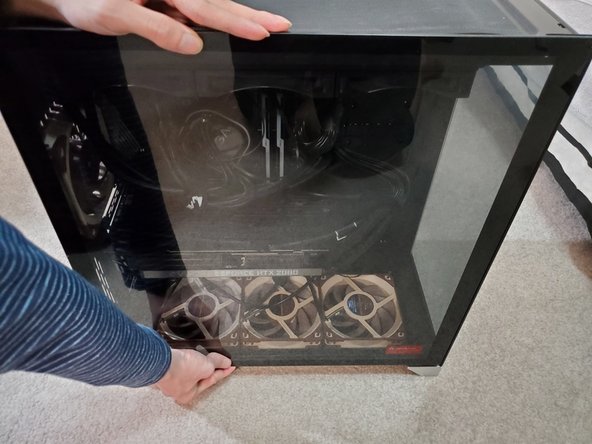
Use both hands to gently grab the top and bottom portion of the glass side panel. Then pull upward towards the ceiling to remove the panel.
-
-
-
-
Tilt the computer tower using both hands to lay the tower horizontally flat to get a complete view of the motherboard.
-
Locate the SSD slot labelled M.2. The slots will on the center to bottom portion of the motherboard.
-
-
-
Before working on the motherboard component, make sure to clip an anti static wristband to the computer tower to ground yourself.
-
-
-
Unscrew the opposite end of the M.2 cover and gently pull diagonally to reveal the SSD slot.
-
-
-
Once you have removed the cover, you should see three silver screw mounts. Your SSD size will align correctly to the appropriate length hole.
-
Align the M.2 SSD pin with the correct connector slot and gently push in.
-
-
-
Use the computer supplied (2.0 x 3.0 mm) Phillips #0 screws to secure the SSD in place.
-
-
-
Peel off the plastic film on the underside of the M.2 dust cover to reveal the adhesive.
-
Place the dust cover end edges first into the area label M.2. Then slowly press down throughout the cover ensuring adhesive contact.
-
-
-
Use the computer supplied (2.0 x 3.0 mm) Phillips #0 screw to secure the SSD dust cover.
-


To reassemble your device, follow these instructions in reverse order. These steps will vary if you are dissembling your own computer.
To reassemble your device, follow these instructions in reverse order. These steps will vary if you are dissembling your own computer.
Отменить: Я не выполнил это руководство.
3 участников успешно повторили данное руководство.

Команда

UW Tacoma, Team S1-G33, Cardinal Spring 2020 Участник UW Tacoma, Team S1-G33, Cardinal Spring 2020
UWT-CARDINAL-S20S1G33
1 член
Автор 1 руководств