Выберете то, что вам нужно
-
-
Use a Phillips #0 screwdriver to remove the four 21.7mm screws holding the back panel to the frame.
-
-
-
Once the screws are out, use a plastic opening tool or spudger to pry the top of the back panel open. There may be some resistance, but it will eventually pry loose.
-
-
-
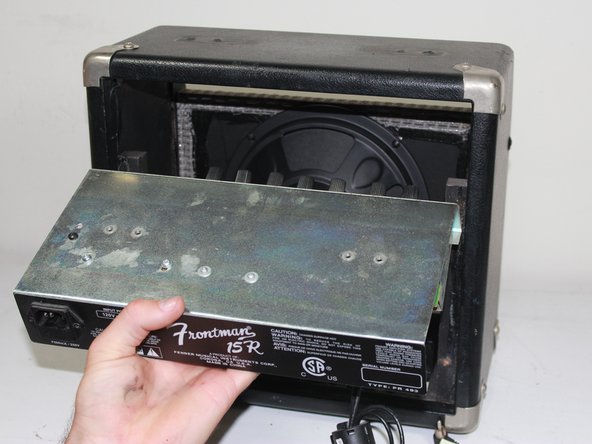
Once the top is separated, use your hand to remove the back panel from the unit.
-
-
-
-
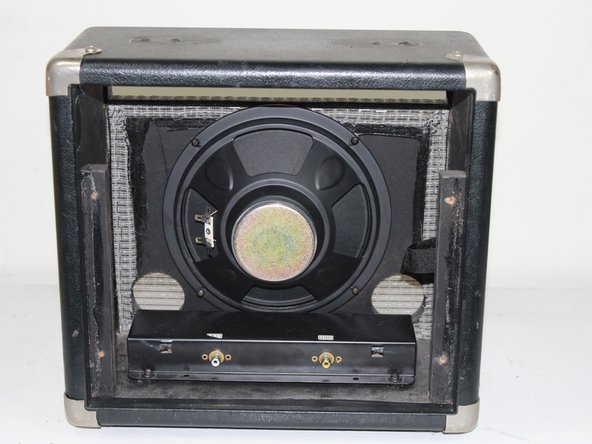
There will be two black wires connecting the top mounting bracket to the reverb box at the bottom of the unit. Label the wires to prevent crossing upon re-installation, then unplug the wires from the reverb box.
-
-
-
Label and unplug the two red wires connecting the mounting bracket to the speaker by pulling them off the nodes.
-
-
-
Use a Phillips #1 screwdriver to unscrew the four 36.4 mm screws holding the mounting bracket to the top of the amp.
-
-
-
Pull the mounting bracket free from the frame. It may be wedged in very snug, in which case, use a plastic opening tool/spudger to pry it loose from the front.
-


Once the old bracket is removed, install the new one by following the instructions in reverse.
Once the old bracket is removed, install the new one by following the instructions in reverse.
Команда

Cal Poly, Team 24-30, Regan Fall 2012 Участник Cal Poly, Team 24-30, Regan Fall 2012
CPSU-REGAN-F12S24G30
5 членов
Автор 7 руководств