Эта версия возможно содержит некорректные исправления. Переключить на последнюю проверенную версию.
Выберете то, что вам нужно
-
Этот шаг не переведен. Помогите перевести
-
Position the wired keycap puller so the wire ends are horizontally aligned with the key and the flat ends of the wires rest under the key.
-
Rotate the wire 45 degrees and pull straight up to remove the key. This may require a bit of force, especially if you have never removed the keys before.
-
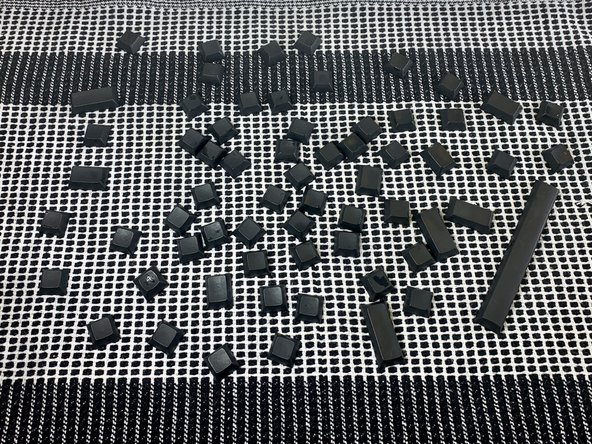
Remove every key using this method.
-
-
Этот шаг не переведен. Помогите перевести
-
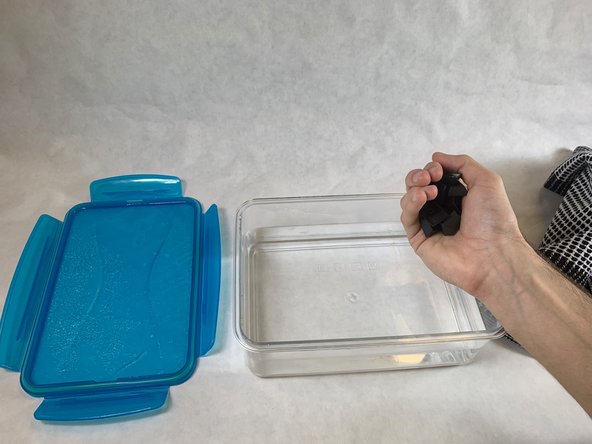
Fill the plastic container 3/4 of the way with warm tap water.
-
Put 2 drops of dish soap into the water filled plastic container.
-
Place the keycaps in the water and ensure they are fully submerged.
-
Seal the container with the lid, and let the keycaps sit in the warm water for at least 1 hour.
-
-
Этот шаг не переведен. Помогите перевести
-
Rinse the keys under room temperature tap water for 2 minutes.
-
Shake each keycap to free any excess water and place them on a dry dish towel. Ensure the keycaps are not stacked on top of one another.
-
Air-dry the keycaps on a dish towel for at least 24 hours or until completely dried.
-
-
-
Этот шаг не переведен. Помогите перевести
-
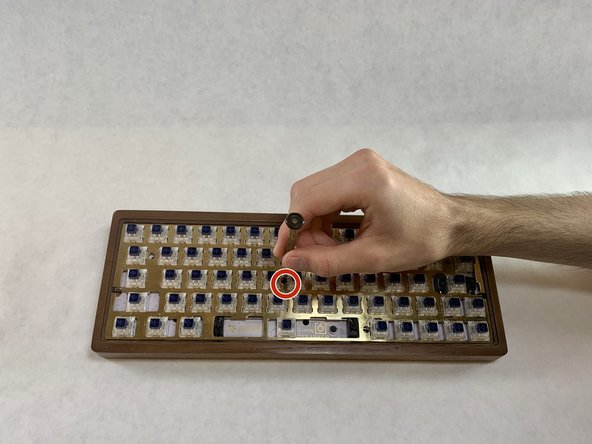
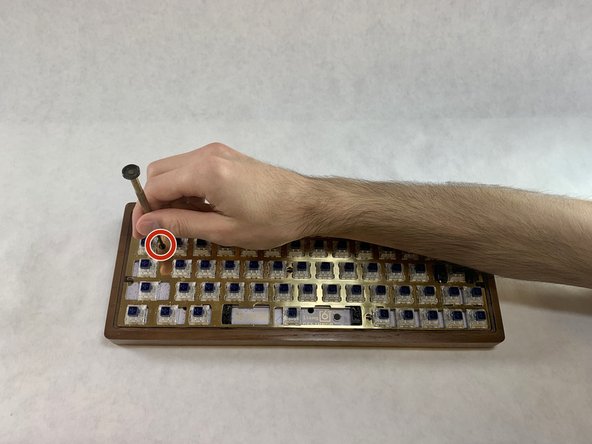
Unscrew all three 1.5mm screws from the PCB using a Phillips #1 screwdriver.
-
-
Этот шаг не переведен. Помогите перевести
-
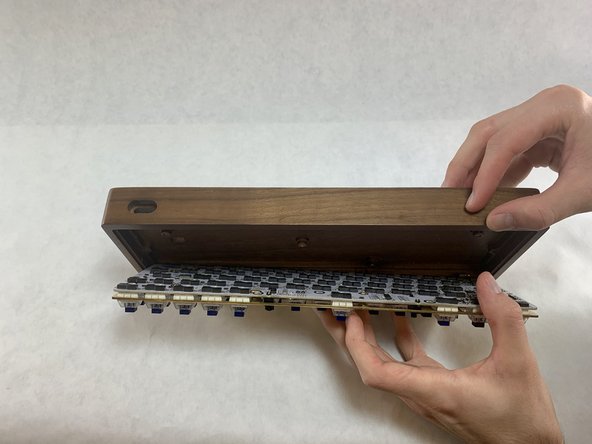
Rotate the keyboard so it is standing on its long edge.
-
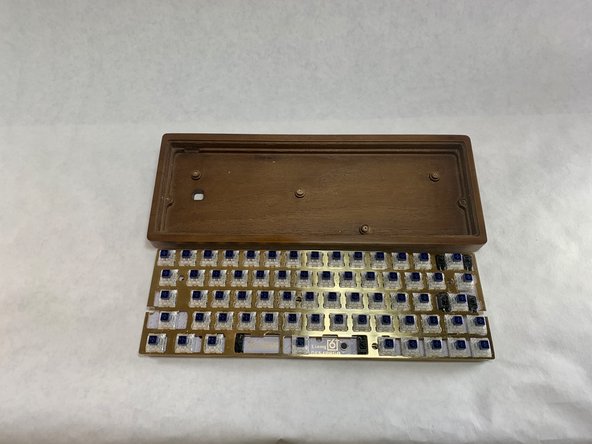
Remove the case by gently pulling it from the rest of the keyboard.
-
-
Этот шаг не переведен. Помогите перевести
-
Lightly soak one end of a Q-tip in the isopropyl alcohol.
-
Clean the PCB keyboard by gently wiping the Q-tip along the surface.
-
-
Этот шаг не переведен. Помогите перевести
-
Turn the PCB face down.
-
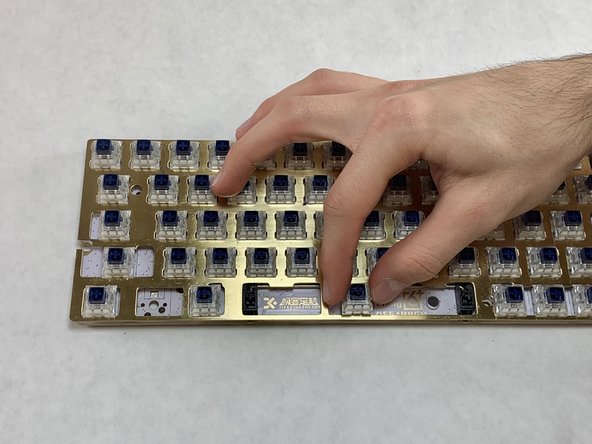
Look for any hot swappable sockets that are not fully connected to the the PCB.
-
Push any misaligned sockets back into place so that they lay flush on the PCB.
-
-
Этот шаг не переведен. Помогите перевести
-
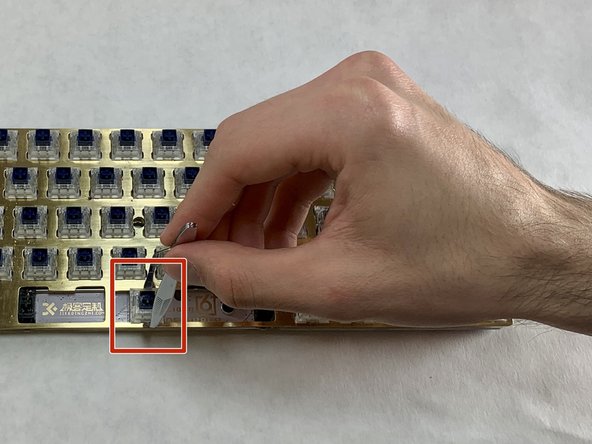
Hold the switch puller parallel to the faulty switch and wrap the ends around the inset of the switch.
-
Pull straight up; the switch should pop out of the PCB and case.
-
-
Этот шаг не переведен. Помогите перевести
-
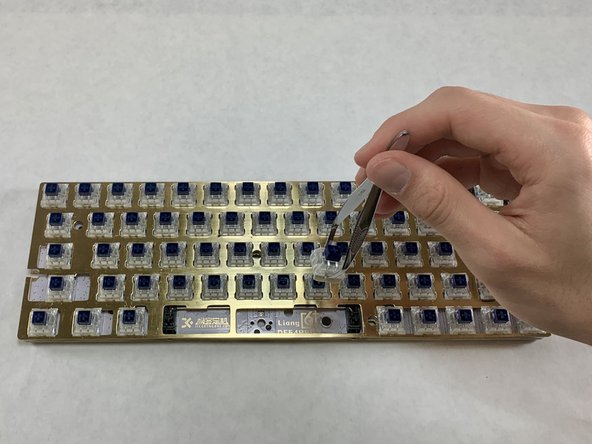
Take a replacement switch and orient it so that the two metal sockets line up with the PCB sockets.
-
Once the sockets are lined up, gently push straight down so that the switch lies flush with the plate.
-
-
Этот шаг не переведен. Помогите перевести
-
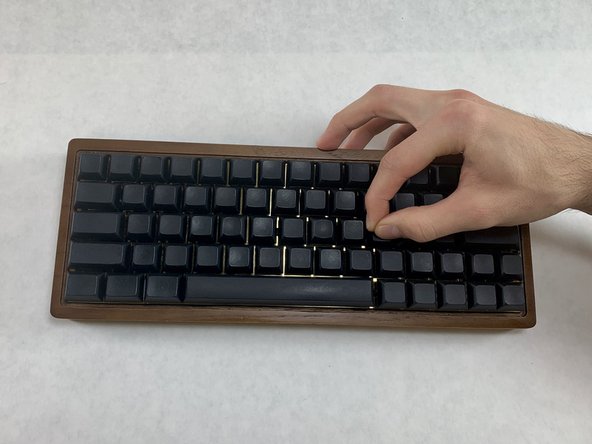
Place the cleaned keycaps onto their correct position on the keyboard.
-
Align the key mirroring the shape of the switch.
-
Press straight down once the keycap is aligned.
-


Отменить: Я не выполнил это руководство.
2 участников успешно повторили данное руководство.

Команда

UC Davis, Team S1-G5, Andersen Winter 2020 Участник UC Davis, Team S1-G5, Andersen Winter 2020
UCD-ANDERSEN-W20S1G5
3 членов
Автор 2 руководств