Введение
This purpose of this guide is to provide clear instructions for replacing the plastic housing for a GM Key Fob. Replacing just the housing, instead of the entire Fob, can save the individual a significant amount of money in addition to reducing environmental and electrical waste.
Выберете то, что вам нужно
-
-
Pry apart the key ring to remove it from the old housing.
-
-
-
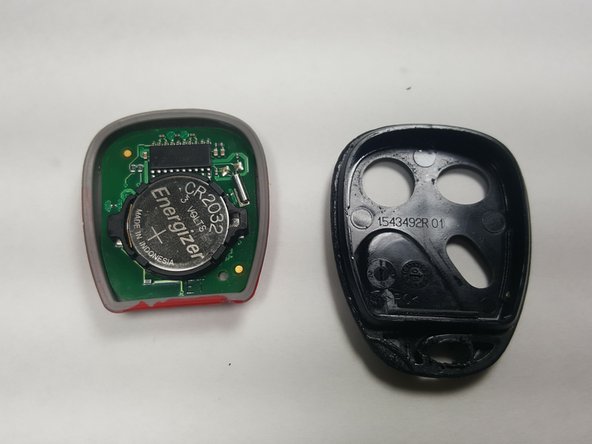
Once you have removed the key ring, use it to open the housing by wedging it into the groove, as pictured.
-
-
-
-
After Opening the new Key Fob package, select the correct housing as more than one model is included.
-


To reassemble your device, simply follow these disassembly instructions in reverse order.
To reassemble your device, simply follow these disassembly instructions in reverse order.
Отменить: Я не выполнил это руководство.
Еще один человек закончил это руководство.
Команда

University of Memphis, Team 4-3, Baddour Fall 2016 Участник University of Memphis, Team 4-3, Baddour Fall 2016
UM-BADDOUR-F16S4G3
3 членов
Автор 1 руководств