Введение
If you find your Game Boy experiencing save game issues, where progress is lost or becomes intermittent, it may be time to replace the internal battery.
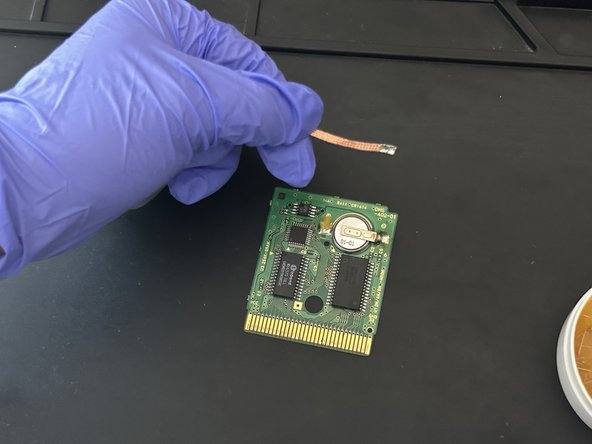
The internal battery within Game Boy cartridges serves a crucial role in preserving your game saves. Over time, these batteries degrade, potentially leading to data loss.
Before using this guide, inspect the battery to test the voltage with a multimeter. Typically, if the battery range is not 1 digit over the decimal point when measured with a multimeter, then that is a sign that the battery should be replaced.
Выберете то, что вам нужно
-
-
Switch on your multimeter and select the Voltage (V) mode. Then, test the voltage of the battery in the cartridge.
-
-
-
Apply some of the flux paste to help desolder the soldered areas on the battery.
-
-
-
-
Use the soldering iron once it heats up fully. Then, heat up the soldered areas with the iron.
-
-
-
Use the soldering iron and soldering wire to solder both sides of the battery into place.
-
-
-
Switch on your multimeter and select the Voltage (V) mode. Then, test the voltage of the battery in the cartridge.
-
-
-
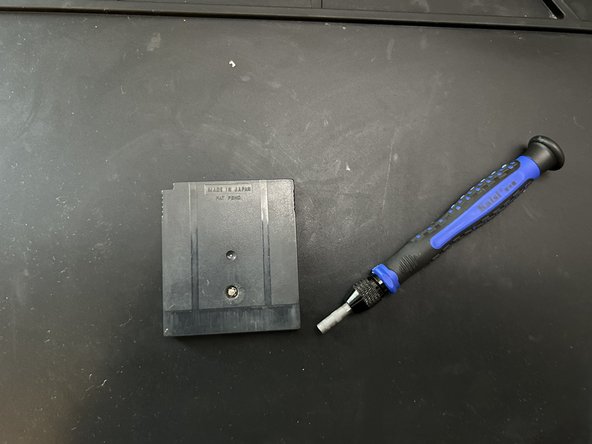
Align the cartridge and the circuit board.
-
Then tighten the screw to secure the cartridge into place.
-


To reassemble your game cartridge, follow step 9.
To reassemble your game cartridge, follow step 9.
Отменить: Я не выполнил это руководство.
Еще один человек закончил это руководство.
Команда

CSU Los Angeles, Team 3-1, Briggs Fall 2023 Участник CSU Los Angeles, Team 3-1, Briggs Fall 2023
CSULA-BRIGGS-F23S3G1
1 член
Автор 1 руководств