Эта версия возможно содержит некорректные исправления. Переключить на последнюю проверенную версию.
Выберете то, что вам нужно
-
Этот шаг не переведен. Помогите перевести
-
Lift and twist the battery cover release 90 degrees counterclockwise on the back of the device.
-
-
Этот шаг не переведен. Помогите перевести
-
Remove the six 10 mm screws on the back of the device with a Phillips #0 Screwdriver.
-
Flip the back panel over to view the green electronics board (the PCB) and the PCB cover.
-
Remove the black, yellow, blue, and red wires connected to the PCB with light force.
-
-
-
Этот шаг не переведен. Помогите перевести
-
Take the spudger and place it in the bottom right corner of the black PCB cover.
-
Use the spudger to pry the corner out. This will need to be done to all four corners of the PCB cover.
-
Pull the PCB cover out of the GPSMap 60CSx.
-
-
Этот шаг не переведен. Помогите перевести
-
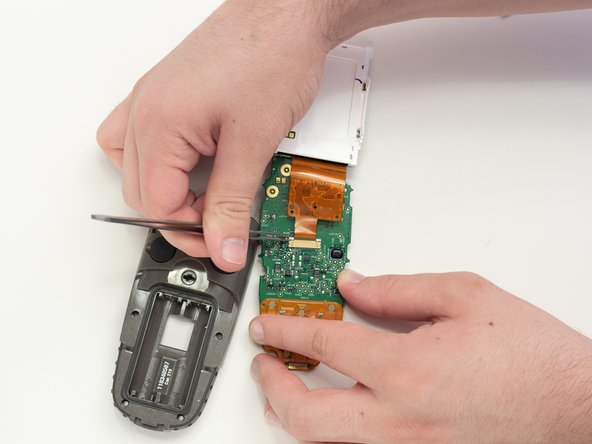
Carefully use the spudger to lift the PCB a few centimeters.
-
Pull the PCB towards the bottom of the GPSMap 60CSx.
-
-
Этот шаг не переведен. Помогите перевести
-
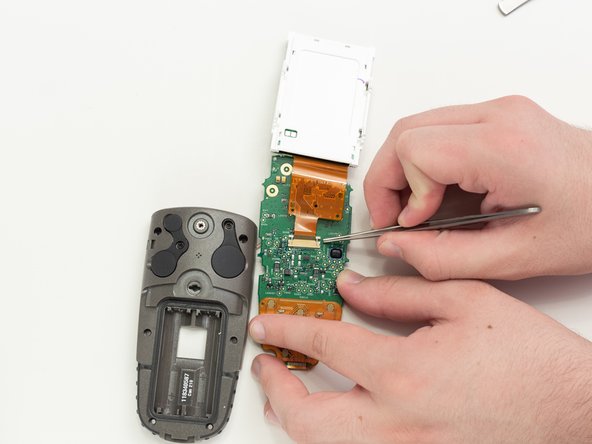
Apply light pressure to the four white tabs that are holding the screen in place.
-
The screen will now come off the PCB.
-
-
Этот шаг не переведен. Помогите перевести
-
Turn the PCB over so the screen connector is facing you.
-
Move the screen out of the way for access to the screen connector.
-
-
Этот шаг не переведен. Помогите перевести
-
Use tweezers to pull the two white pins on the connector forward.
-


Отменить: Я не выполнил это руководство.
4 участников успешно повторили данное руководство.

Команда

Linn Benton Community College, Team S2-G5, Johnson Spring 2018 Участник Linn Benton Community College, Team S2-G5, Johnson Spring 2018
LBCC-JOHNSON-S18S2G5
5 членов
Автор 5 руководств
2 Комментариев
i have a 60csx and the battery bounces the liquid, can help me?