Перейти к основному содержанию

Gateway KAV60 LT2016U Netbook Hard Drive Replacement

Архивированное руководство
Это руководство сохранено для исторических целей. Используйте его обновлённую версию, чтобы выполнить ремонт.

Выберете то, что вам нужно

  1. Gateway KAV60 LT2016U Netbook Hard Drive Replacement, Hard Drive: шаг 1, изображение 1 из 1
    • The hard drive is located on the bottom of the laptop on the left hand side.

  2. Gateway KAV60 LT2016U Netbook Hard Drive Replacement: шаг 2, изображение 1 из 1
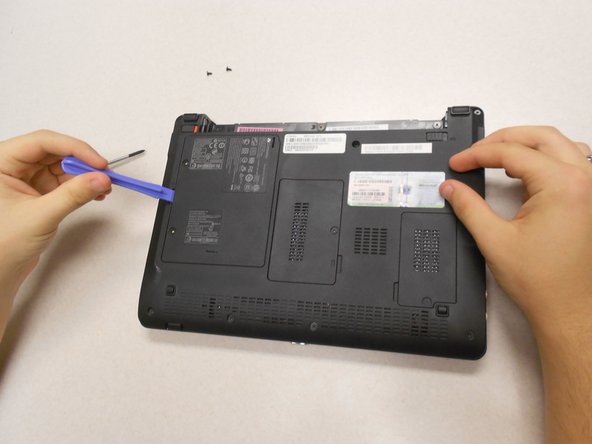
    • Remove the two screws on the cover with the specified screwdriver.

  3. Gateway KAV60 LT2016U Netbook Hard Drive Replacement: шаг 3, изображение 1 из 1
    • Lift off the cover with the plastic opener.

  4. Gateway KAV60 LT2016U Netbook Hard Drive Replacement: шаг 4, изображение 1 из 1
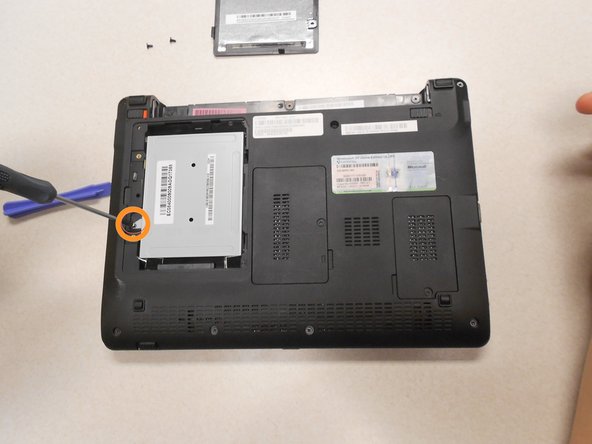
    • Remove the one screw holding the hard drive in place with the same screw driver.

  5. Gateway KAV60 LT2016U Netbook Hard Drive Replacement: шаг 5, изображение 1 из 1
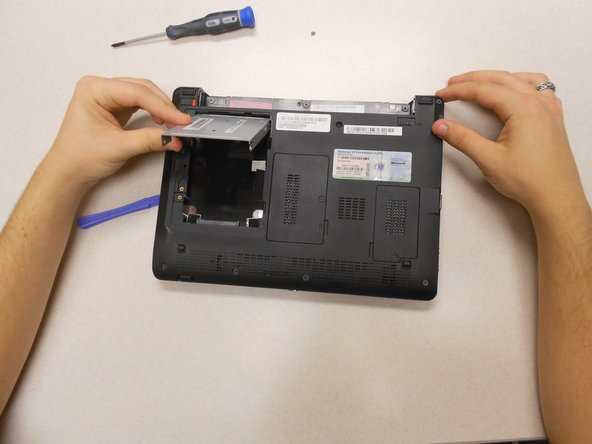
    • Slide the hard drive up and remove it from the laptop.

Заключение

To reassemble your device, follow these instructions in reverse order.

Еще один человек закончил это руководство.

Kyle

Участник с: 03/11/14

622 Репутация

Автор 3 руководств

Команда

UMass Dartmouth, Team 3-2, Calaway Spring 2014 Участник UMass Dartmouth, Team 3-2, Calaway Spring 2014

UMASSD-CALAWAY-S14S3G2

4 членов

Автор 6 руководств

0 Комментариев

Добавить комментарий

Просмотр статистики:

За последние 24часов: 0

За последние 7 дней: 3

За последние 30 дней: 4

За всё время: 179