Введение
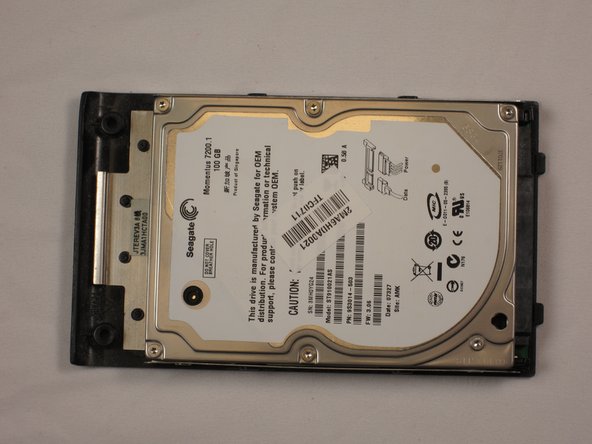
Your laptop hard drive stores all of your files, as well as your computer's operating system. A corrupt hard drive will need to be replaced for your computer to power on and run. It is common to upgrade to a larger hard drive with more storage space.
Выберете то, что вам нужно
-
-
Make sure the switch in the upper right corner of the laptop is switched to the "unlock" position (toward the unlocked padlock icon).
-
-
-
Pull the switch on the upper lefthand corner of the laptop towards the unlocked padlock icon.
-
Firmly pull the battery outwards and away from the laptop.
-
-
-
-
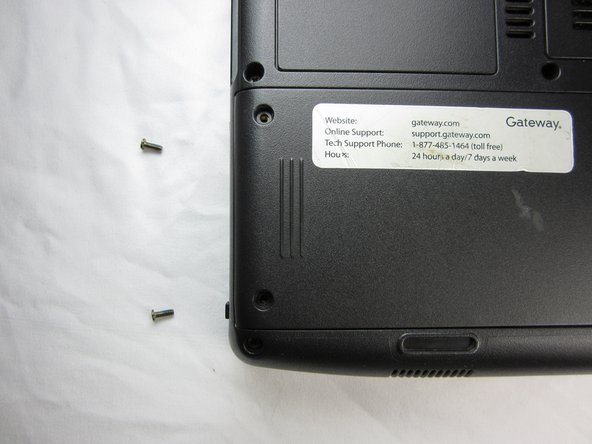
Remove the two 9 mm Phillips #0 screws from the back of the hard drive cover.
-
To reassemble your device, follow these instructions in reverse order.
To reassemble your device, follow these instructions in reverse order.
Отменить: Я не выполнил это руководство.
3 участников успешно повторили данное руководство.
Один комментарий
It only took 2 minutes once I found te right screwdriver. Great aid!


