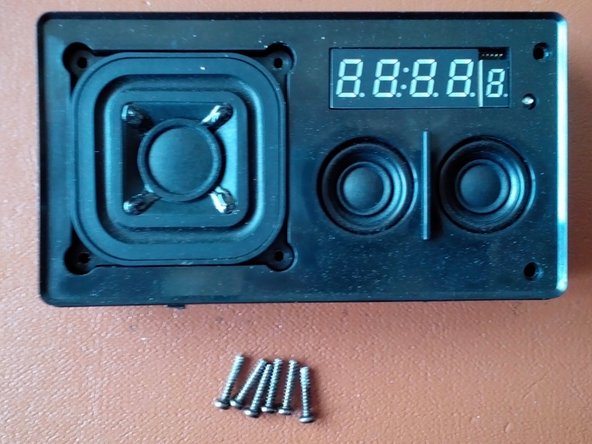
Перейти к основному содержанию

Geneva XS Demontage

Выберете то, что вам нужно

  1. Geneva XS Demontage, Geneva XS Demontage: шаг 1, изображение 1 из 2 Geneva XS Demontage, Geneva XS Demontage: шаг 1, изображение 2 из 2
    • Disable any power supply:

    • Remove the battery by prying up the rear cover on the two slots

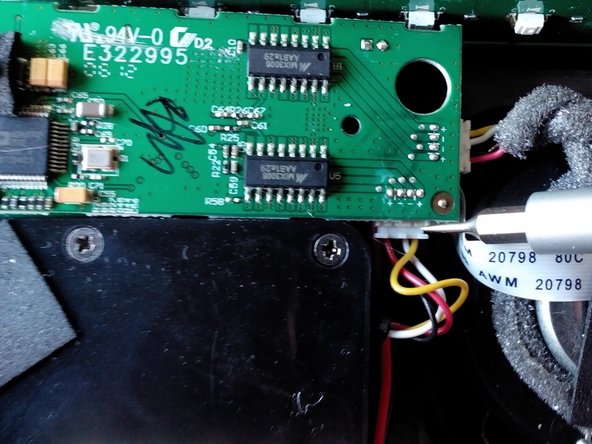
    • Disconnect charger (5.5V 2A)

  2. Geneva XS Demontage: шаг 2, изображение 1 из 3 Geneva XS Demontage: шаг 2, изображение 2 из 3 Geneva XS Demontage: шаг 2, изображение 3 из 3
    • The metal grille, in the front of the device by pry remove. Here is a thin plastic or metal object to use (in the picture is a letter opener to see), a coin is actually too thick. This can be a little hard!

    • It is almost impossible to damage the plastic body easily.

    • There may be a splice on the floor, but in my case it did not resist.

  3. Geneva XS Demontage: шаг 3, изображение 1 из 3 Geneva XS Demontage: шаг 3, изображение 2 из 3 Geneva XS Demontage: шаг 3, изображение 3 из 3
    • Remove the six screws with a PH2 screwdriver

  4. Geneva XS Demontage: шаг 4, изображение 1 из 1
    • Now the electronics can be removed from the carcass.

  5. Geneva XS Demontage: шаг 5, изображение 1 из 3 Geneva XS Demontage: шаг 5, изображение 2 из 3 Geneva XS Demontage: шаг 5, изображение 3 из 3
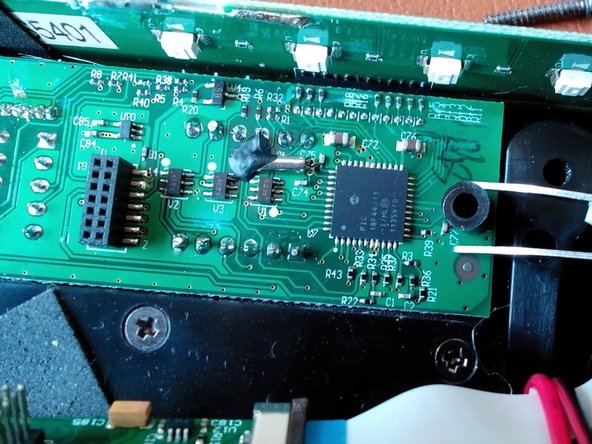
    • With a PH1 screwdriver, the two remaining screws which hold the two larger boards arranged above each other can be removed.

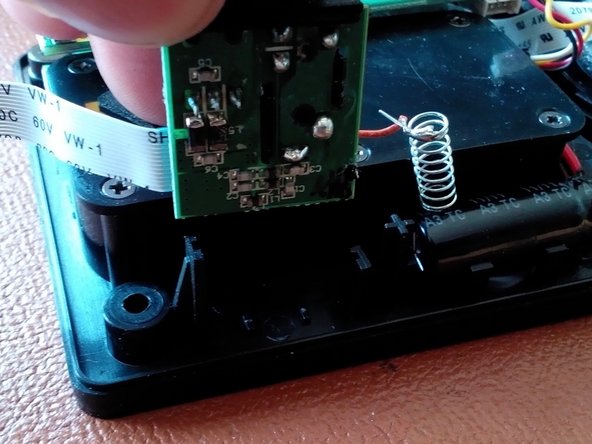
    • The flat white plugs can be removed with a screwdriver from the board.

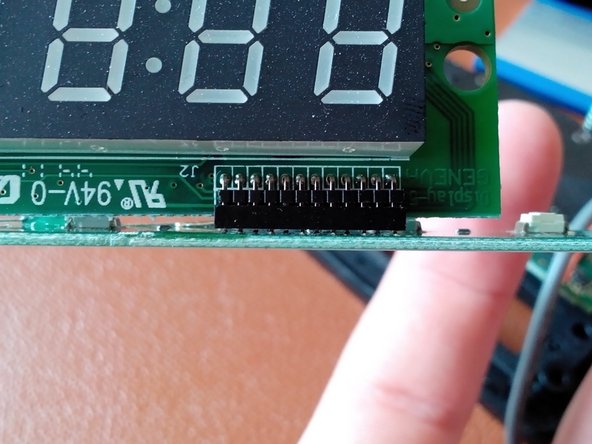
    • The width on the left edge of the device is held in place with a brown clip that can be easily pulled out. Thereafter, the flat cable is directly loose.

  6. Geneva XS Demontage: шаг 6, изображение 1 из 2 Geneva XS Demontage: шаг 6, изображение 2 из 2
    • When removing the board, be sure to watch out for the soldered cables, which will not let you play too much.

    • Below are two black spacers (plastic) to light. Can be removed by hand or with tweezers.

  7. Geneva XS Demontage: шаг 7, изображение 1 из 3 Geneva XS Demontage: шаг 7, изображение 2 из 3 Geneva XS Demontage: шаг 7, изображение 3 из 3
    • Now the media panel can be removed together with the bottom chip. It is essential to pay attention to the plug contacts between them. (see 2nd picture)

    • Next, the board is located on the charging socket sits. To do this, remove the adhesive pads.

  8. Geneva XS Demontage: шаг 8, изображение 1 из 3 Geneva XS Demontage: шаг 8, изображение 2 из 3 Geneva XS Demontage: шаг 8, изображение 3 из 3
    • This can then easily be deducted upwards.

  9. Geneva XS Demontage, Assembly: шаг 9, изображение 1 из 1
    • The assembly is actually the same backwards.

    • Clean the area around the controls THOROUGHLY because they are otherwise always "activated".

    • Be sure to pay attention to the flat cable on the left side of the device! This was the one that caused problems for me.

Заключение

Repeat the steps in order to reassemble your device.

Еще один человек закончил это руководство.

Особая благодарность этим переводчикам:

de en

100%

irlandaпомогает нам починить мир! Хотите внести свой вклад?
Начните переводить ›

Leonard Kesting

Участник с: 08/14/16

1 229 Репутация

Автор 9 руководств

Один комментарий

Добавить комментарий

Просмотр статистики:

За последние 24часов: 0

За последние 7 дней: 19

За последние 30 дней: 50

За всё время: 2,784