Перейти к основному содержанию

Google Pixel 5a Rear-Facing Cameras Replacement

Архивированное руководство
Это руководство сохранено для исторических целей. Используйте его обновлённую версию, чтобы выполнить ремонт.

Выберете то, что вам нужно

  1. Google Pixel 5a Rear-Facing Cameras  Replacement, Screen: шаг 1, изображение 1 из 3 Google Pixel 5a Rear-Facing Cameras  Replacement, Screen: шаг 1, изображение 2 из 3 Google Pixel 5a Rear-Facing Cameras  Replacement, Screen: шаг 1, изображение 3 из 3
    • Shut down the device before starting screen removal.

    • Insert a paper clip or SIM card removal tool into the SIM card tray hole.

    • Apply a small amount of pressure until the tray pops out.

    • Slide the SIM card tray out of your Google Pixel 5a.

  2. Google Pixel 5a Rear-Facing Cameras  Replacement: шаг 2, изображение 1 из 2 Google Pixel 5a Rear-Facing Cameras  Replacement: шаг 2, изображение 2 из 2
    • Pry the screen off of your device using an opening tool around all four sides.

  3. Google Pixel 5a Rear-Facing Cameras  Replacement: шаг 3, изображение 1 из 3 Google Pixel 5a Rear-Facing Cameras  Replacement: шаг 3, изображение 2 из 3 Google Pixel 5a Rear-Facing Cameras  Replacement: шаг 3, изображение 3 из 3
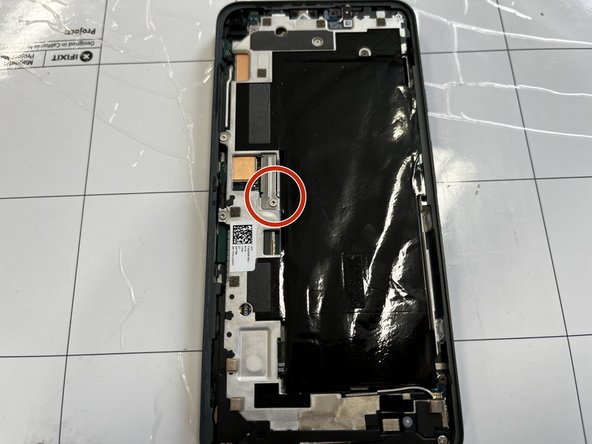
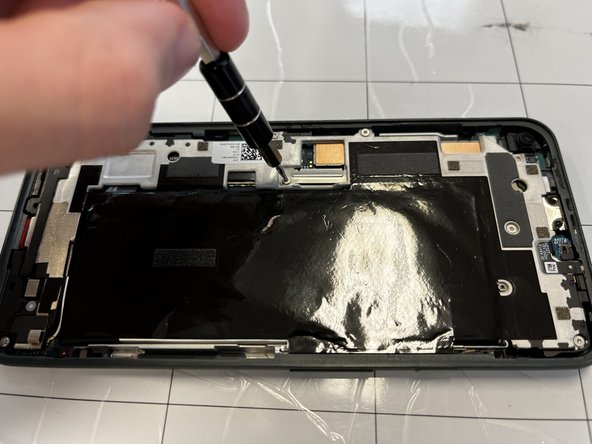
    • Remove the 4 mm screw using a T4 Torx screwdriver.

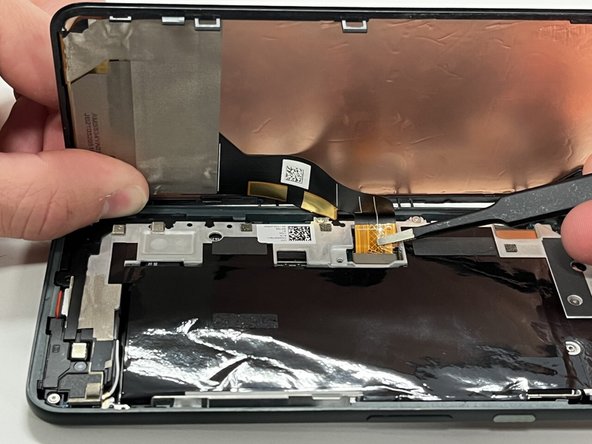
    • Disconnect the ribbon cable holding the screen in place.

    • Remove the screen from the rest of the phone.

  4. Google Pixel 5a Rear-Facing Cameras  Replacement, Midframe: шаг 4, изображение 1 из 3 Google Pixel 5a Rear-Facing Cameras  Replacement, Midframe: шаг 4, изображение 2 из 3 Google Pixel 5a Rear-Facing Cameras  Replacement, Midframe: шаг 4, изображение 3 из 3
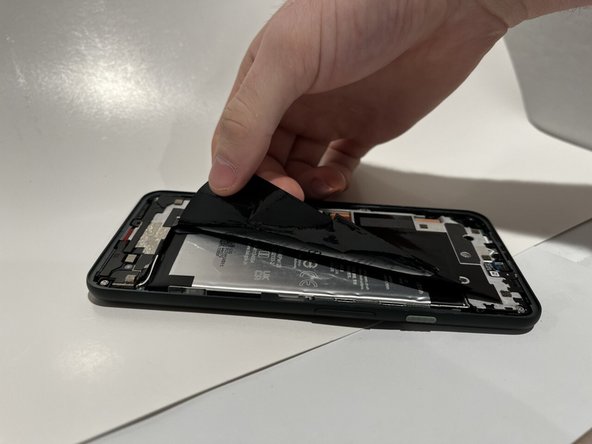
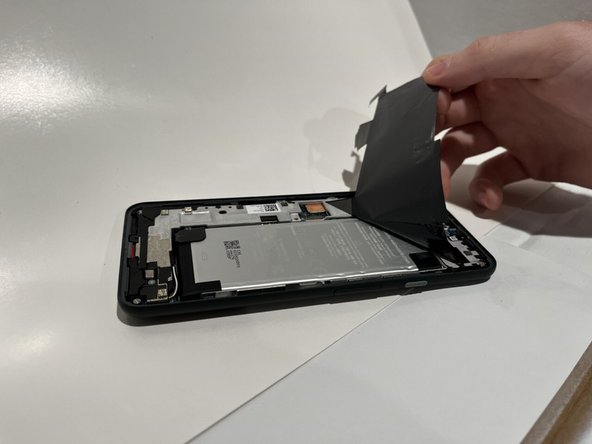
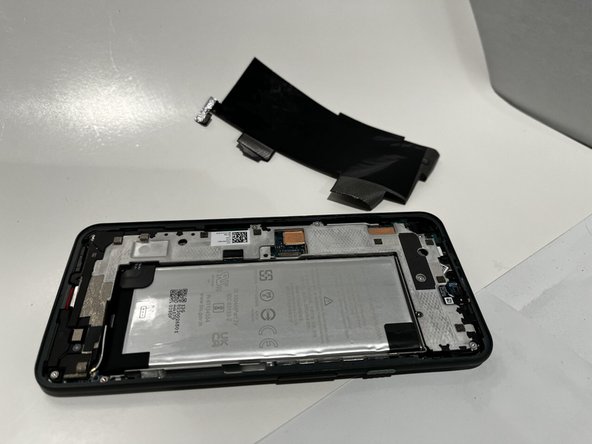
    • Peel back the black plastic film covering the battery.

  5. Google Pixel 5a Rear-Facing Cameras  Replacement: шаг 5, изображение 1 из 2 Google Pixel 5a Rear-Facing Cameras  Replacement: шаг 5, изображение 2 из 2
    Инструмент, используемый на этом этапе:
    Tweezers
    $4.99
    Купить
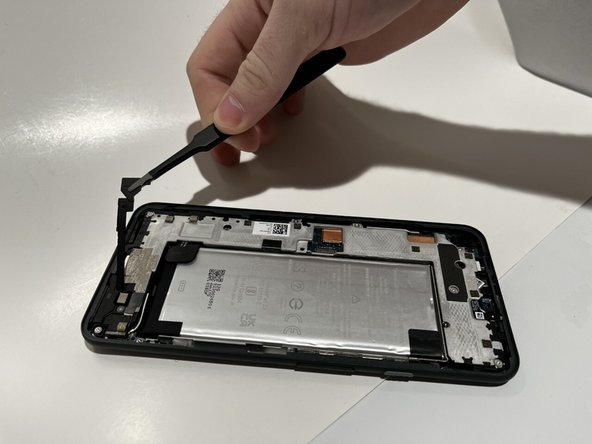
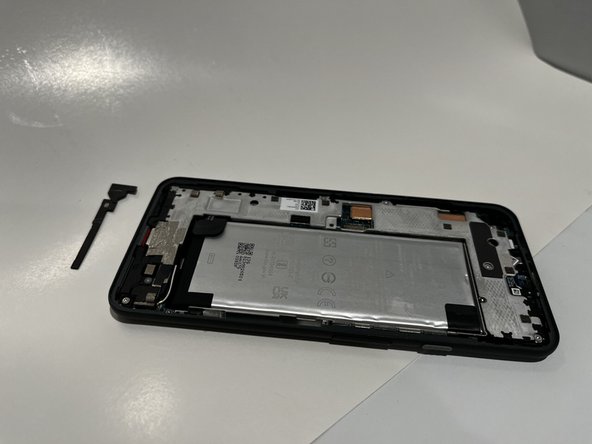
    • Use a pair of tweezers to remove the black plastic cover.

  6. Google Pixel 5a Rear-Facing Cameras  Replacement: шаг 6, изображение 1 из 3 Google Pixel 5a Rear-Facing Cameras  Replacement: шаг 6, изображение 2 из 3 Google Pixel 5a Rear-Facing Cameras  Replacement: шаг 6, изображение 3 из 3
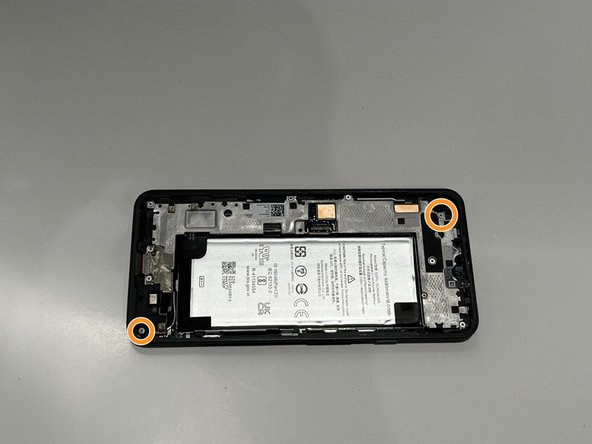
    • Use a spudger to peel back the protective tape covering two screws.

  7. Google Pixel 5a Rear-Facing Cameras  Replacement: шаг 7, изображение 1 из 3 Google Pixel 5a Rear-Facing Cameras  Replacement: шаг 7, изображение 2 из 3 Google Pixel 5a Rear-Facing Cameras  Replacement: шаг 7, изображение 3 из 3
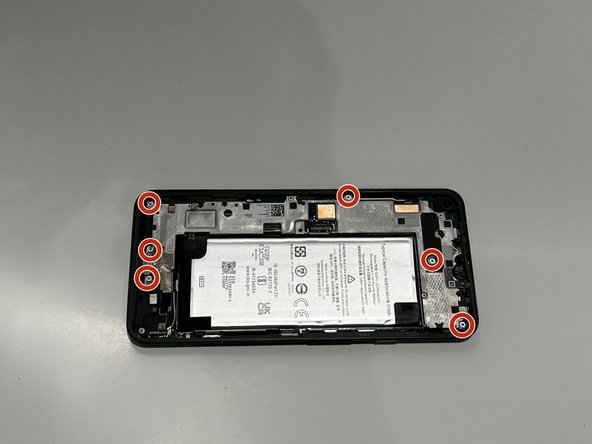
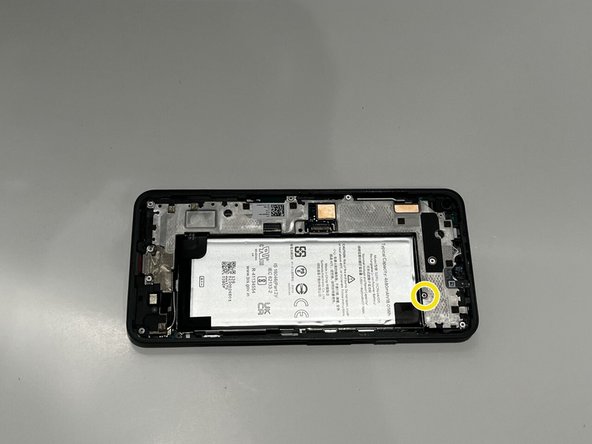
    • Using a T4 screwdriver, remove the six 4 mm screws.

    • Using a T4 screwdriver, remove the two 3 mm screws.

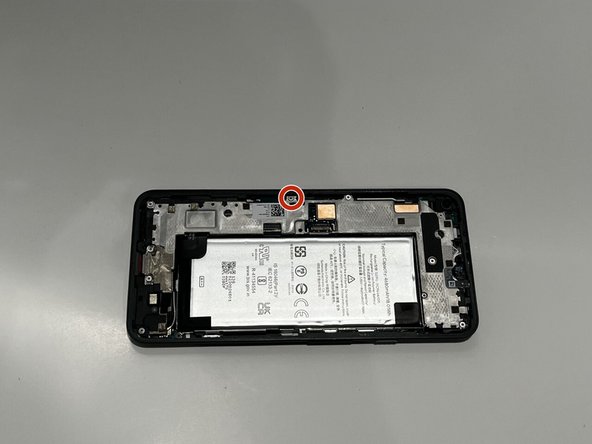
    • Using a T4 screwdriver, remove the 5 mm screw.

  8. Google Pixel 5a Rear-Facing Cameras  Replacement: шаг 8, изображение 1 из 1
    • Using a T4 screwdriver, remove the single 1 mm screw.

  9. Google Pixel 5a Rear-Facing Cameras  Replacement: шаг 9, изображение 1 из 2 Google Pixel 5a Rear-Facing Cameras  Replacement: шаг 9, изображение 2 из 2
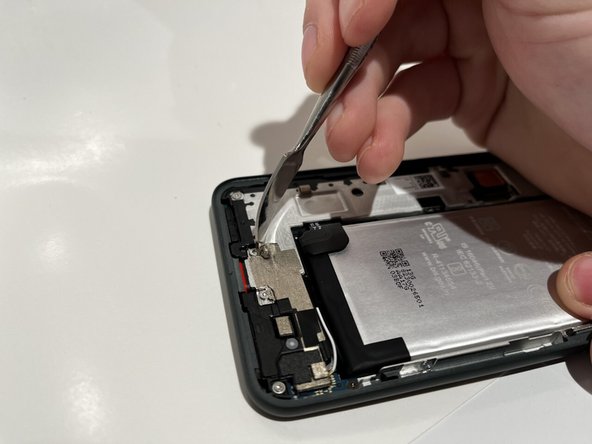
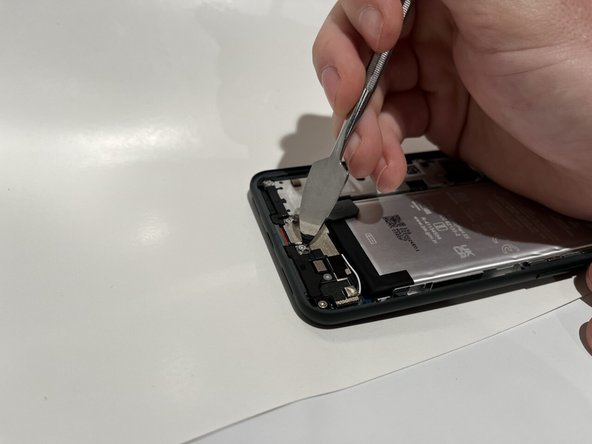
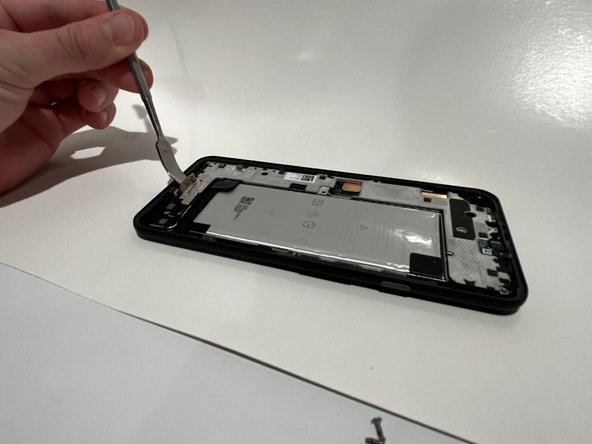
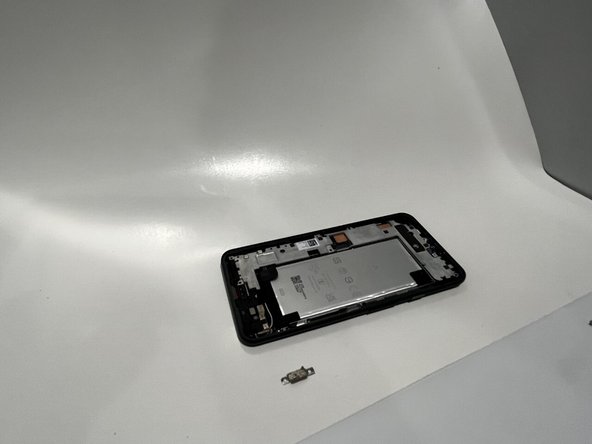
    • Place a spudger under the metal bracket that covers the charging port.

    • Pry the metal bracket upwards, and remove it from the phone.

  10. Google Pixel 5a Rear-Facing Cameras  Replacement: шаг 10, изображение 1 из 3 Google Pixel 5a Rear-Facing Cameras  Replacement: шаг 10, изображение 2 из 3 Google Pixel 5a Rear-Facing Cameras  Replacement: шаг 10, изображение 3 из 3
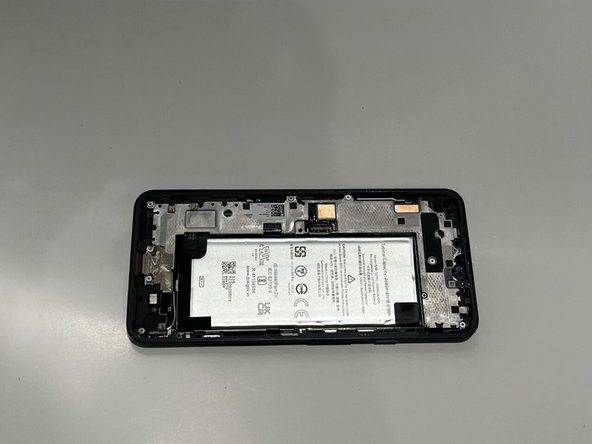
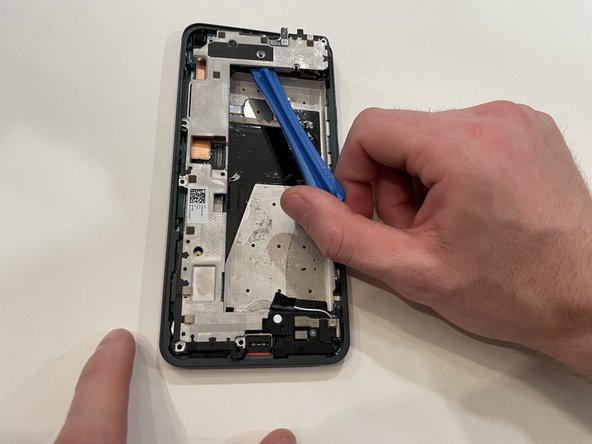
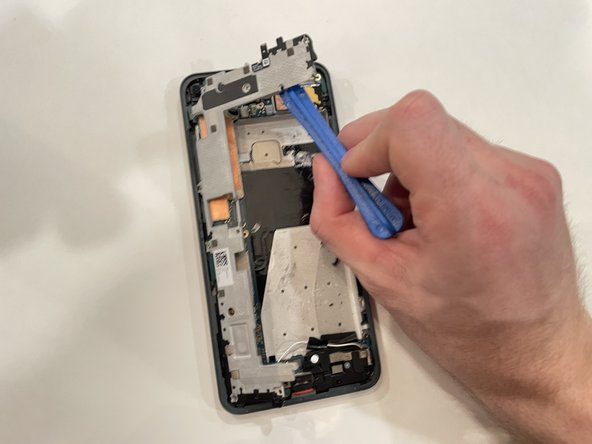
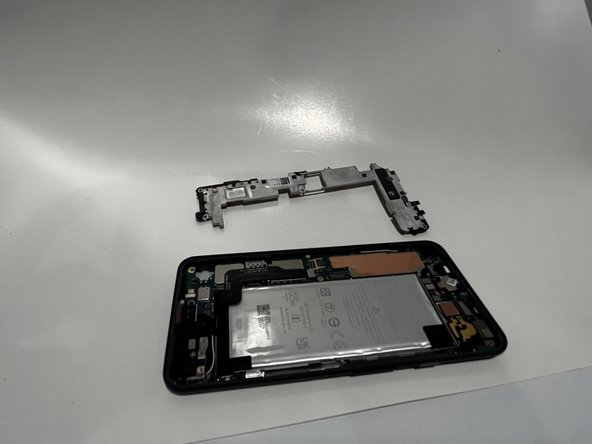
    • Place an opening tool under the midframe.

    • Pry the midframe up, and remove it from the phone.

  11. Google Pixel 5a Rear-Facing Cameras  Replacement, Rear-Facing Cameras: шаг 11, изображение 1 из 2 Google Pixel 5a Rear-Facing Cameras  Replacement, Rear-Facing Cameras: шаг 11, изображение 2 из 2
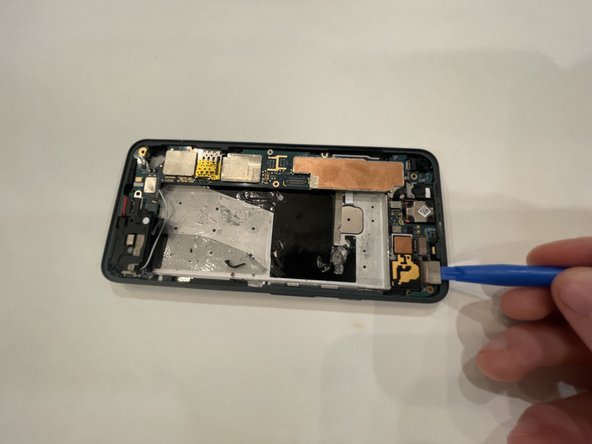
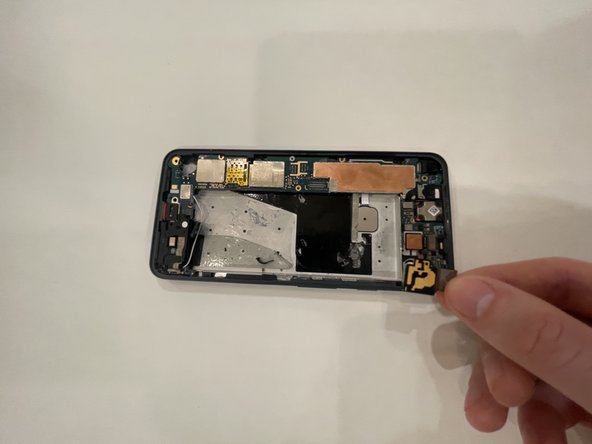
    • Place an opening tool under the camera connector and pry upward.

    • Carefully remove the camera connector from the phone.

  12. Google Pixel 5a Rear-Facing Cameras  Replacement: шаг 12, изображение 1 из 2 Google Pixel 5a Rear-Facing Cameras  Replacement: шаг 12, изображение 2 из 2
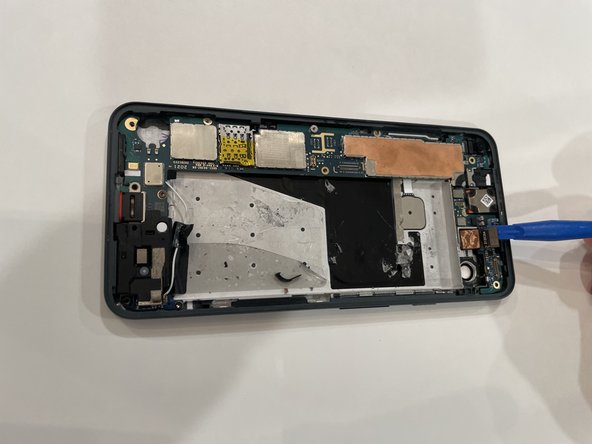
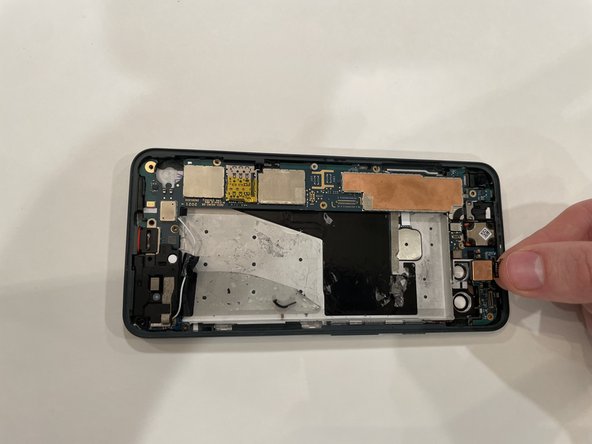
    • Place an opening tool under the camera and pry upward.

    • Carefully remove the camera from the phone.

Заключение

To reassemble your device, follow these instructions in reverse order.

Parker Woods

Участник с: 02/08/22

562 Репутация

Автор 5 руководств

Команда

Western Carolina University, Team 1-4, Virtue Spring 2022 Участник Western Carolina University, Team 1-4, Virtue Spring 2022

WCU-VIRTUE-S22S1G4

4 членов

Автор 12 руководств

0 Комментариев

Добавить комментарий

Просмотр статистики:

За последние 24часов: 0

За последние 7 дней: 0

За последние 30 дней: 0

За всё время: 42