Введение
Use this guide to replace the Wi-Fi card of your HP-dq0051dx laptop. The Wi-Fi card enables wireless connectivity to the internet. If the Wi-Fi card is damaged or faulty, it might prevent the device from connecting.
Before beginning this replacement, turn your laptop off and unplug from the AC adapter.
Выберете то, что вам нужно
-
-
Turn the laptop upside down so the backside is facing up.
-
Use a Phillips #1 screwdriver to remove the eight 2.5mm screws from the back case.
-
-
-
Turn the laptop over and open the screen.
-
Insert the opening tool into the seam between the bottom panel and the keyboard.
-
Run the opening tool along the entire seam to separate the bottom panel.
-
You may hear clicking as you release the taps that secure the case.
-
-
-
-
Once the bottom panel is separated from the laptop, carefully close the laptop and turn it upside down.
-
Place both your hands on opposite ends of the bottom panel, and lift up and remove the panel.
-
-
-
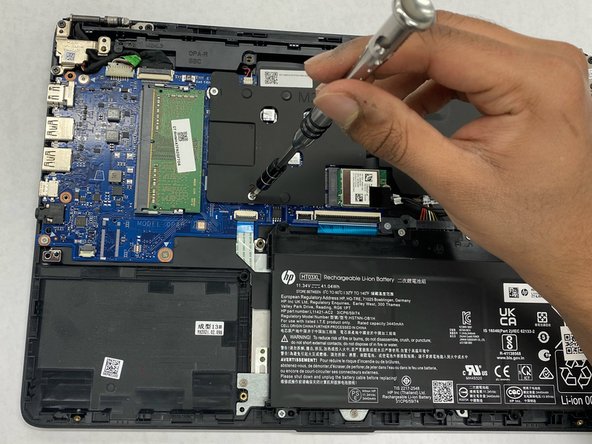
Use a Phillips #1 screwdriver to remove the five 2.5 mm screws that secure the motherboard cover.
-
Remove the motherboard cover from the laptop.
-
-
-
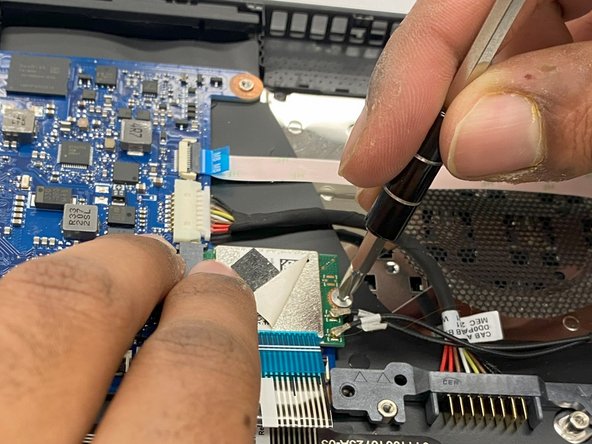
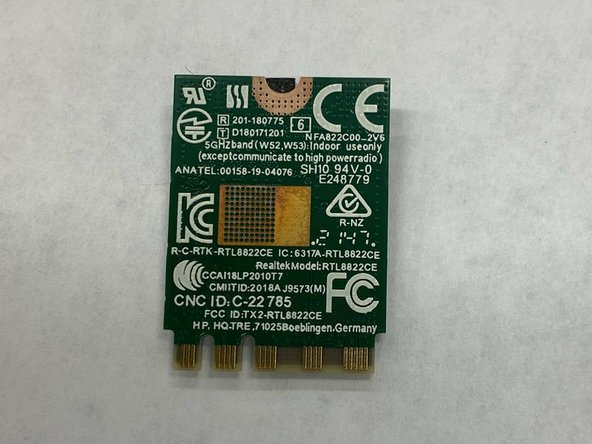
Use a Phillips #0 screwdriver to remove the single 1mm screw that secures the WiFi card.
-
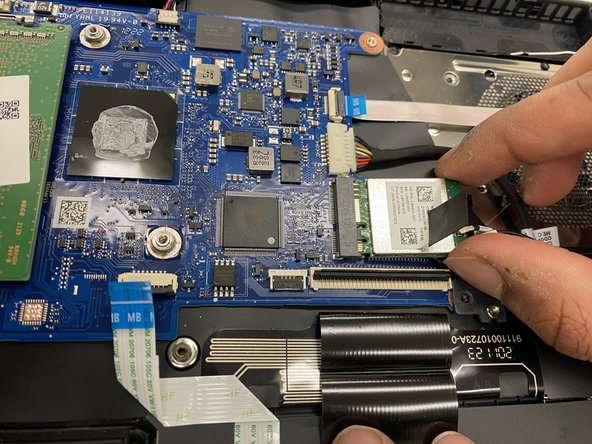
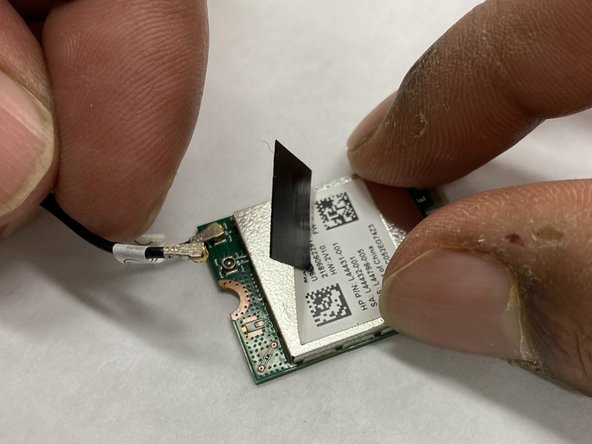
Pull the WiFi card out of its slot
-


To reassemble your device, follow these instructions in reverse order.
To reassemble your device, follow these instructions in reverse order.
Команда

IUPUI, Team 2-4, Harley Fall 2023 Участник IUPUI, Team 2-4, Harley Fall 2023
IUPUI-HARLEY-F23S2G4
3 членов
Автор 3 руководств