Выберете то, что вам нужно
-
-
The first step you should take is to turn the laptop off.
-
Next you want to get the prying tool and wedge it into the seam of the screen and outer casing.
-
-
-
-
Once it is wedged in on one of the upper corners you want to gently lift and slide the tool down the sides and top of the seam until the frame pops off.
-
Continue moving the tool down, while wedged, to release the grasp. You will be left with just the screen in the casing.
-
-
-
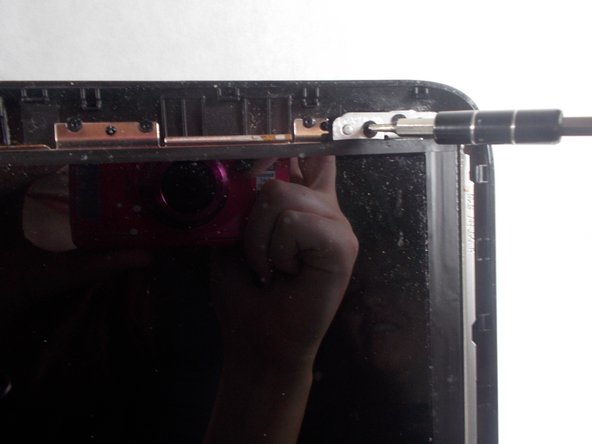
Next, you will want to unscrew the Phillips PM2.0×5.2 screws at the top of the screen with the #0 bit, this will allow the screen to pop off easily.
-
Once all the screws are removed, gently remove the screen from the outer casing.
-


To reassemble your device, follow these instructions in reverse order.
To reassemble your device, follow these instructions in reverse order.
Отменить: Я не выполнил это руководство.
Еще один человек закончил это руководство.

Команда

UMass Dartmouth, Team S2-G4, Bernier Spring 2018 Участник UMass Dartmouth, Team S2-G4, Bernier Spring 2018
UMASSD-BERNIER-S18S2G4
3 членов
Автор 5 руководств