Введение
If the hard drive in your HP 15-bs080wm has failed or if you want to replace the drive with something new, this guide will show you how to access the hard drive for replacement. While hard drive replacement for this laptop is not very complicated, it could still result in the loss of data or damage to your laptop if done incorrectly. Be sure to backup your laptop before beginning this guide.
Выберете то, что вам нужно
-
-
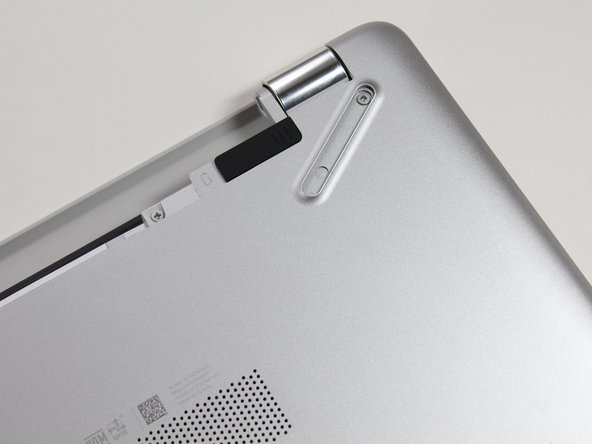
Slide the battery lock to the unlock position..
-
Slide the battery release inwards to remove the battery.
-
-
-
-
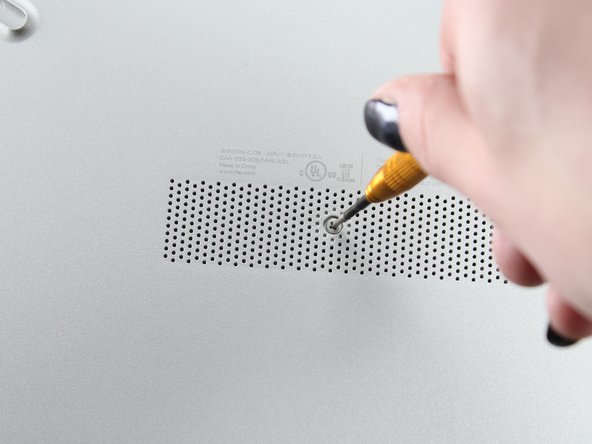
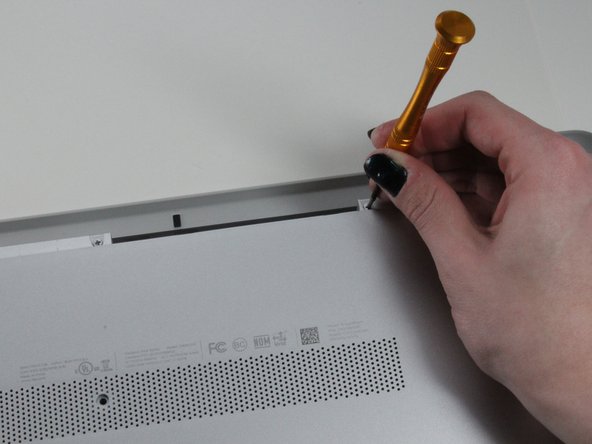
Remove the center screw from the back of the laptop using a Phillips #000 screwdriver.
-
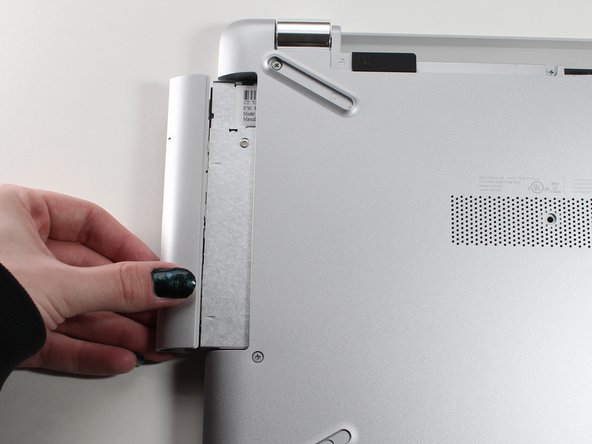
Remove the optical drive.
-
-
-
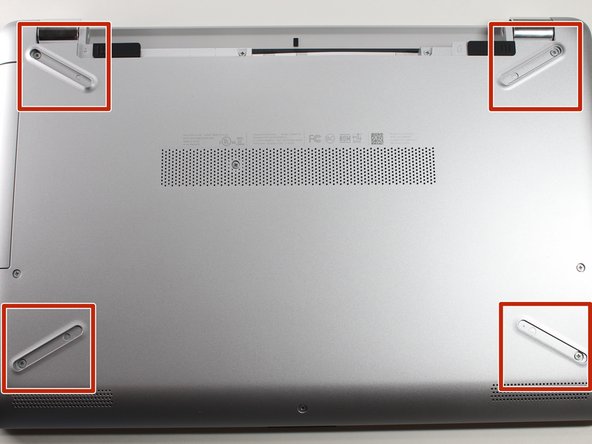
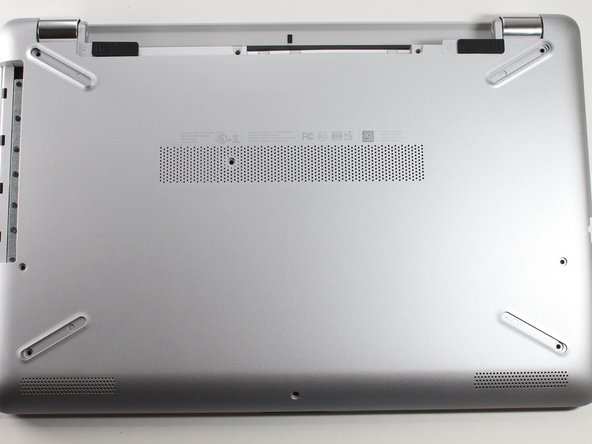
Remove the nine screws from the back of the laptop using a Phillips #000 screwdriver.
-
-
-
Use the plastic opening tool to wedge the back plate from the body of the laptop.
-
Flip the laptop over and remove the back plate.
-
Use the opening tool around the entire perimeter of the laptop's base.
-
-
-
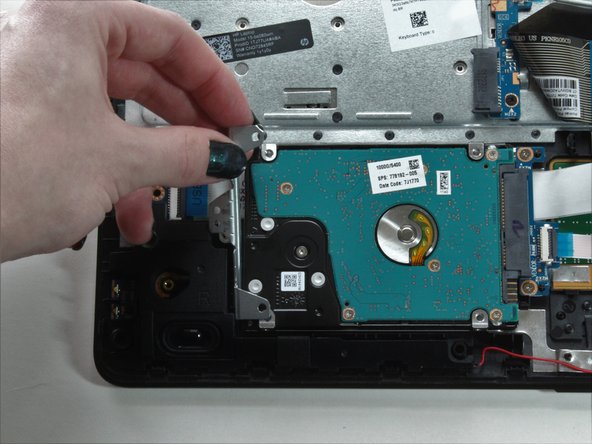
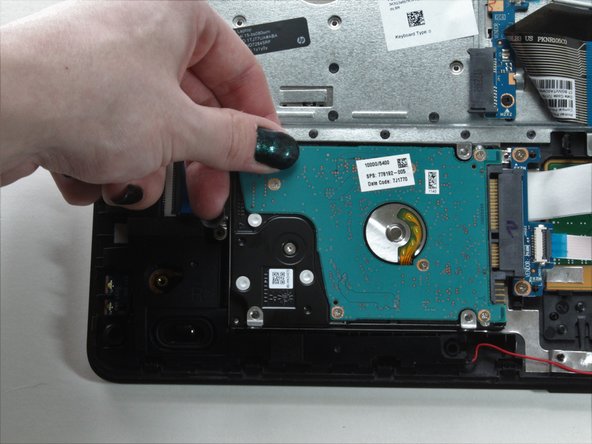
Remove the three screws from the hard drive bracket using a Phillips #000 screwdriver.
-
Remove the bracket.
-
Slide the hard drive the left to remove it from the socket.
-


To reassemble your device, follow these instructions in reverse order.
To reassemble your device, follow these instructions in reverse order.
Команда

University of North Texas, Team 1-4, Raign Spring 2022 Участник University of North Texas, Team 1-4, Raign Spring 2022
UNT-RAIGN-S22S1G4
2 членов
Автор 1 руководств