Введение
If your laptop is not booting up, if a burning smell is coming from your device, or it is not turning on, you may need to replace your motherboard. Use this guide to replace the motherboard in your device with easy-to-follow steps.
Выберете то, что вам нужно
-
-
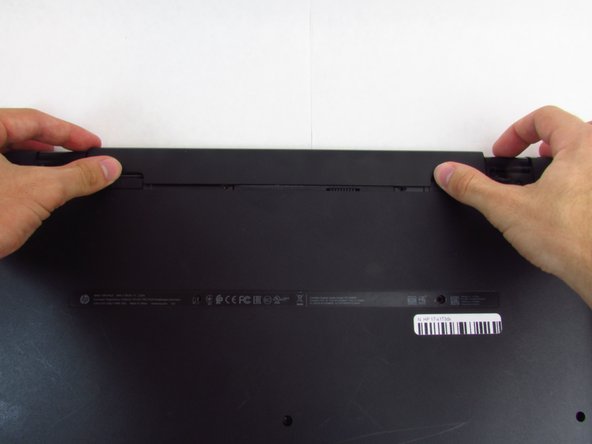
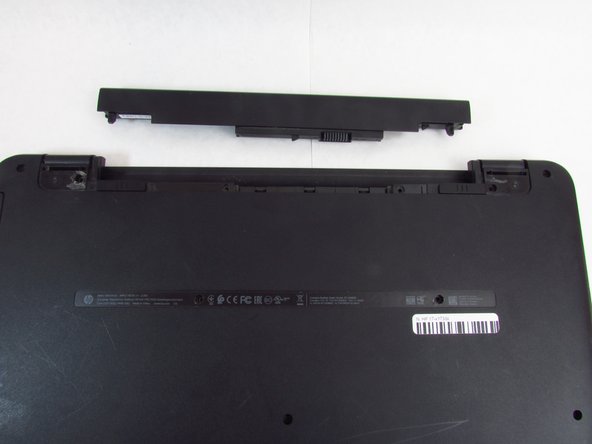
Slide and hold the right tab to the left, while gently pushing out the battery with your thumbs
-
-
-
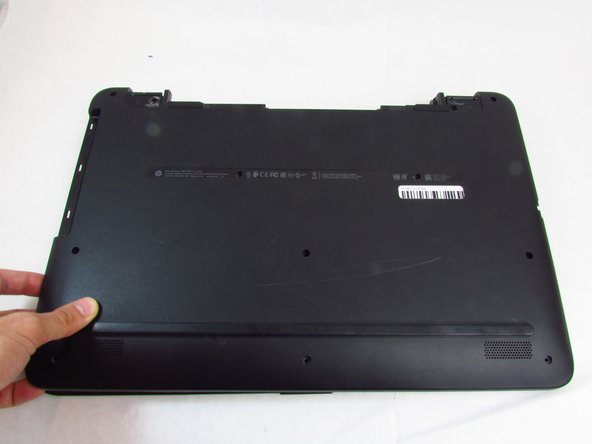
Using the Phillips #0 screwdriver, remove fourteen 7 mm screws on the back of the device (two will be underneath where the battery was).
-
-
-
-
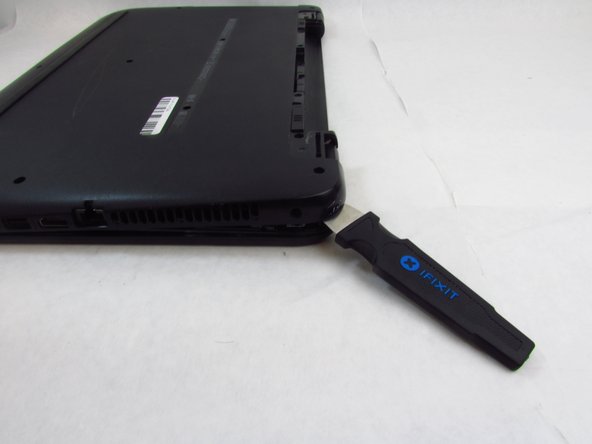
Remove the optical disk drive.
-
Use the spudger to lift the plastic backing, starting from the back right side, near the vents.
-
Remove the back of the device by continuing to lift the plastic around the entire perimeter of the device.
-
-
-
Disconnect all cable connections from the motherboard. For the 6 ribbon cables, take care to lift each plastic flap using a pair of dull tweezers before pulling the cable out. Additionally remove the 2 white plastic cable connections by simply pulling them away.
-
-
-
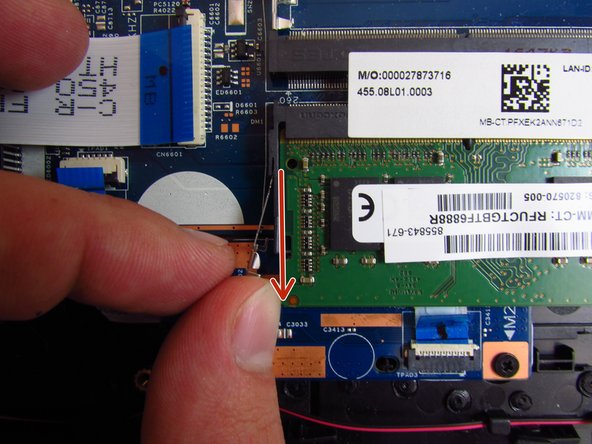
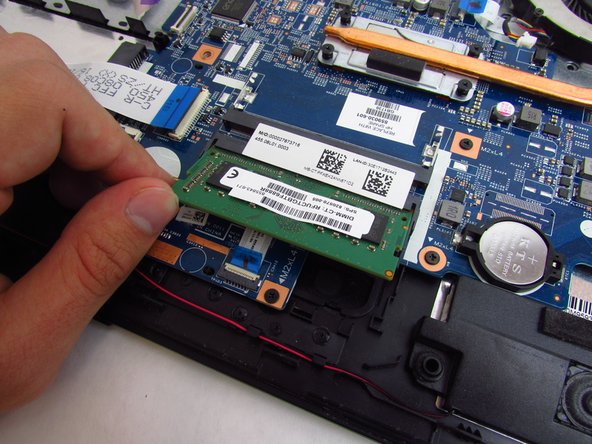
Use a pair of tweezers or your nails to carefully pry the metal retention clips out and away from the RAM casing.
-
Gently bend the plastic retainers away to free the RAM stick and remove it from the device.
-
-
-
Using the Phillips #0 screwdriver, remove the Wi-Fi module by unscrewing a single 5 mm screw.
-
-
-
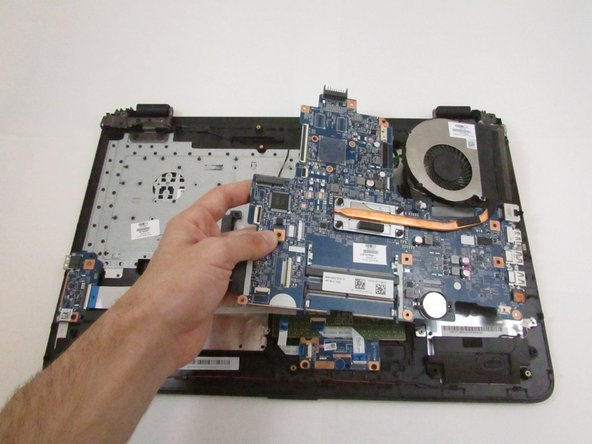
Remove nine 4 mm motherboard screws using the Phillips #0 screwdriver.
-
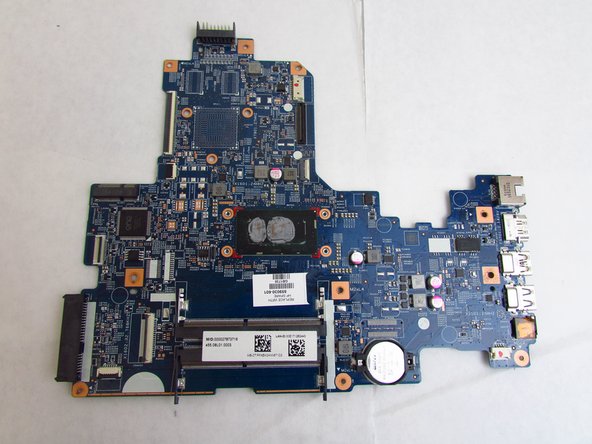
Lift the motherboard and heatsink with fan out of the laptop case.
-
-
-
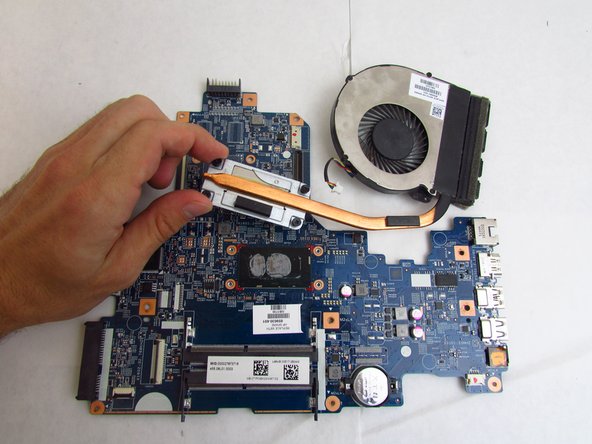
Unscrew four heat sink screws using the Phillips #0 screwdriver.
-
Remove the cooling fan and heat sink from the motherboard.
-


Install replacement motherboard and reassemble your device by following these instructions in reverse order.
Install replacement motherboard and reassemble your device by following these instructions in reverse order.
Отменить: Я не выполнил это руководство.
4 участников успешно повторили данное руководство.

Команда

Embry-Riddle Aeronautical University, Team S24-G4, McClure Fall 2019 Участник Embry-Riddle Aeronautical University, Team S24-G4, McClure Fall 2019
ERAU-MCCLURE-F19S24G4
4 членов
Автор 5 руководств