Перейти к основному содержанию

HP 7 Plus 1302 Charging Port Replacement

Выберете то, что вам нужно

  1. HP 7 Plus 1302 Charging Port Replacement, Back Cover: шаг 1, изображение 1 из 1
    • Using the T5 Torx Screwdriver, remove the T5x3mm screws located in all 4 corners.

    • Device should be turned off and unplugged before starting the replacements.

  2. HP 7 Plus 1302 Charging Port Replacement: шаг 2, изображение 1 из 2 HP 7 Plus 1302 Charging Port Replacement: шаг 2, изображение 2 из 2
    • Use the plastic opening tool to push in between the front and the back of the tablet.

    • Slide the plastic opening tool around all 4 sides of the tablet to separate the back cover.

    • Be careful when you are trying to remove the back as it can damage the screen if you force it too much.

  3. HP 7 Plus 1302 Charging Port Replacement: шаг 3, изображение 1 из 2 HP 7 Plus 1302 Charging Port Replacement: шаг 3, изображение 2 из 2
    • Continue sliding the plastic opening tool around the tablet until all 4 sides are separated from each other.

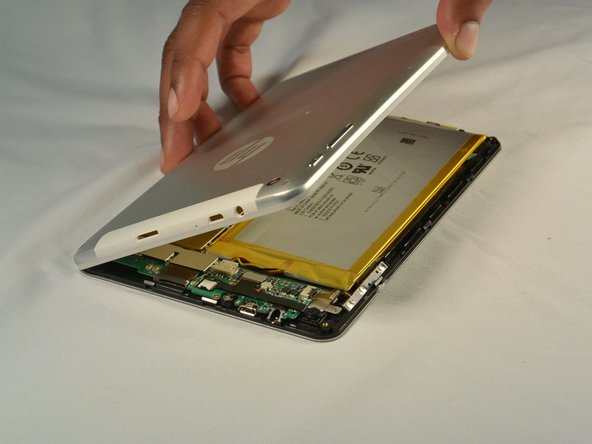
    • Remove the back cover.

  4. HP 7 Plus 1302 Charging Port Replacement, Battery: шаг 4, изображение 1 из 2 HP 7 Plus 1302 Charging Port Replacement, Battery: шаг 4, изображение 2 из 2
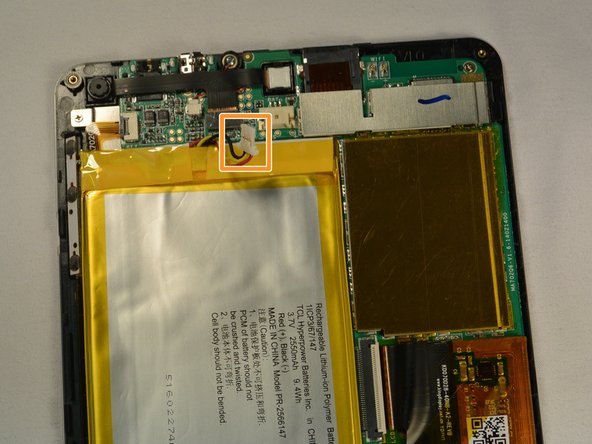
    • Push out the battery connector using the spudger.

    • Swing the battery connector clear of the connector socket.

  5. HP 7 Plus 1302 Charging Port Replacement: шаг 5, изображение 1 из 1
    • Lift the battery from the device.

  6. HP 7 Plus 1302 Charging Port Replacement, Motherboard: шаг 6, изображение 1 из 2 HP 7 Plus 1302 Charging Port Replacement, Motherboard: шаг 6, изображение 2 из 2
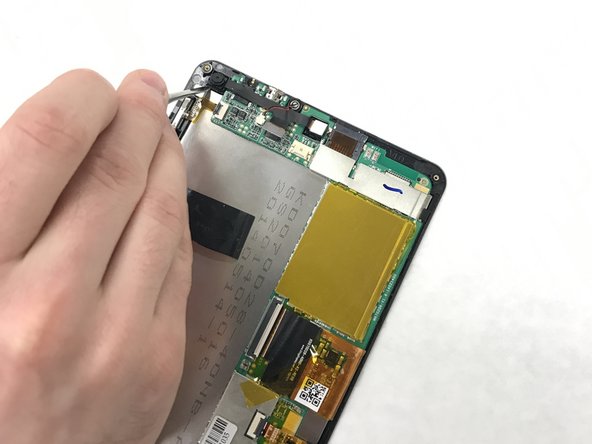
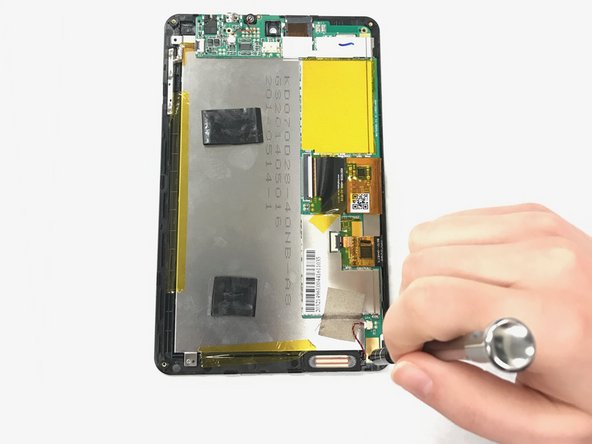
    • Pry the connector that attaches the front and back camera with a metal spudger.

  7. HP 7 Plus 1302 Charging Port Replacement: шаг 7, изображение 1 из 2 HP 7 Plus 1302 Charging Port Replacement: шаг 7, изображение 2 из 2
    • Pull the camera from the connectors.

  8. HP 7 Plus 1302 Charging Port Replacement: шаг 8, изображение 1 из 2 HP 7 Plus 1302 Charging Port Replacement: шаг 8, изображение 2 из 2
    • Identify the three T5x1mm screws and remove them with a Phillips #000

  9. HP 7 Plus 1302 Charging Port Replacement: шаг 9, изображение 1 из 2 HP 7 Plus 1302 Charging Port Replacement: шаг 9, изображение 2 из 2
    • Unplug the connector with the tweezers.

    • Remove the tape.

  10. HP 7 Plus 1302 Charging Port Replacement: шаг 10, изображение 1 из 2 HP 7 Plus 1302 Charging Port Replacement: шаг 10, изображение 2 из 2
    • Flip the ZIF connector with the metal spudger.

    • Pull the ribbon connector out.

  11. HP 7 Plus 1302 Charging Port Replacement: шаг 11, изображение 1 из 3 HP 7 Plus 1302 Charging Port Replacement: шаг 11, изображение 2 из 3 HP 7 Plus 1302 Charging Port Replacement: шаг 11, изображение 3 из 3
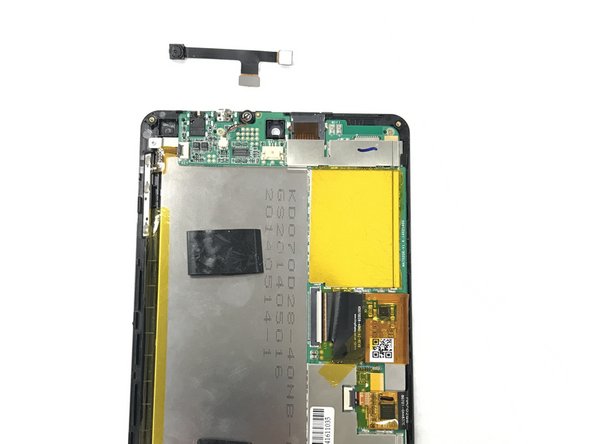
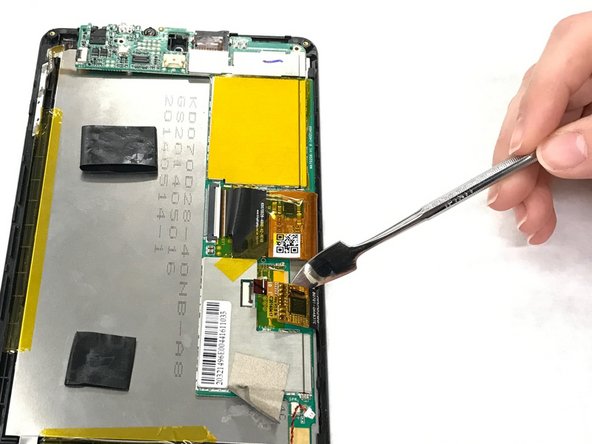
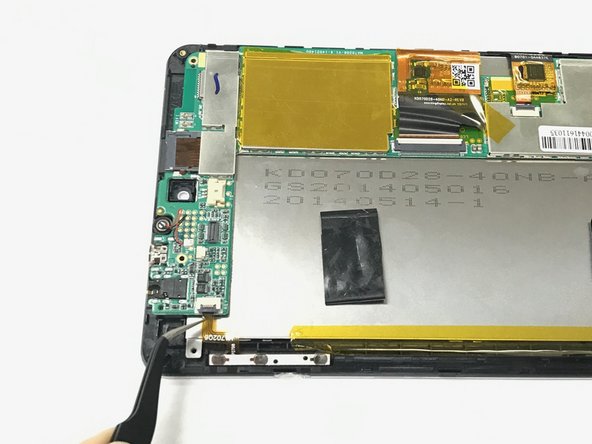
    • Pull the orange tape with the tweezers.

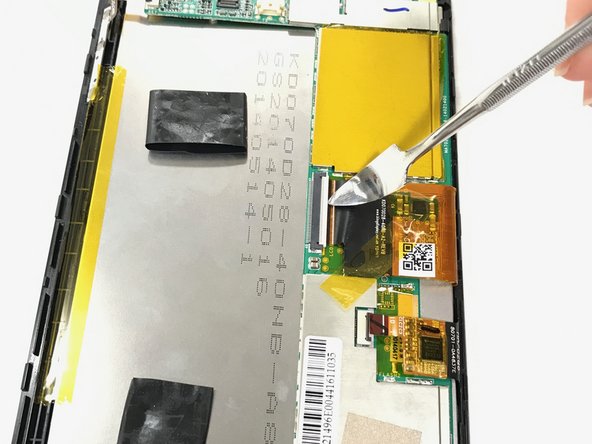
    • Flip the ZIF connector with the spudger.

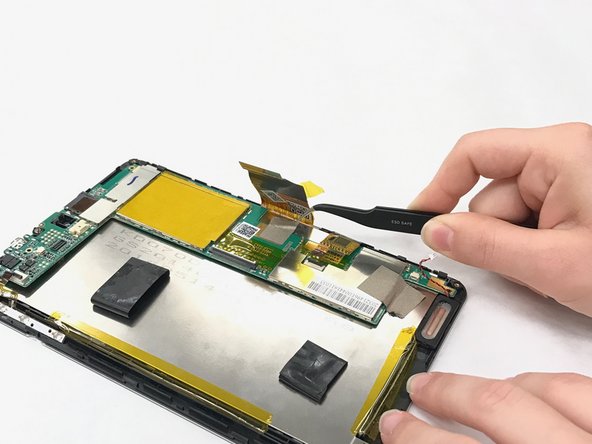
    • Pull the ribbon connector with the tweezers.

  12. HP 7 Plus 1302 Charging Port Replacement: шаг 12, изображение 1 из 1
    • Remove the gray tape below the ribbon connector.

  13. HP 7 Plus 1302 Charging Port Replacement: шаг 13, изображение 1 из 2 HP 7 Plus 1302 Charging Port Replacement: шаг 13, изображение 2 из 2
    • Flip the ZIF connector.

    • Pull the ribbon connector out with the tweezers.

  14. HP 7 Plus 1302 Charging Port Replacement: шаг 14, изображение 1 из 2 HP 7 Plus 1302 Charging Port Replacement: шаг 14, изображение 2 из 2
    • Pull the circuit board off.

  15. HP 7 Plus 1302 Charging Port Replacement, Charging Port: шаг 15, изображение 1 из 1
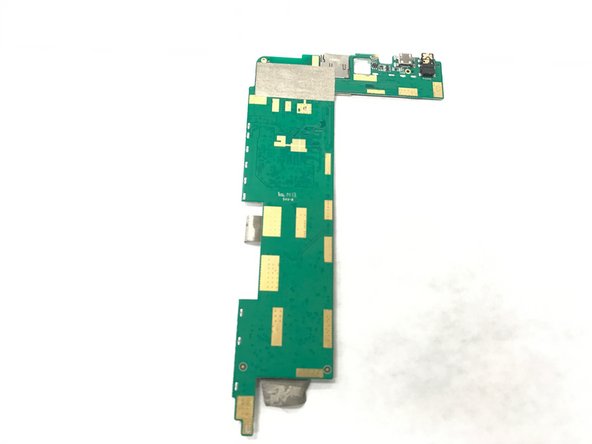
    • Desolder the four points on the charging port using the soldering iron.

    • Soldering iron will be hot be careful.

    • For more instructions about how to use the Soldering iron click here.

Заключение

To reassemble your device, follow these instructions in reverse order.

Еще один человек закончил это руководство.

Damaris Torres-Crespo

Участник с: 01/30/17

204 Репутация

Автор 2 руководств

Команда

IUPUI, Team 1-4, Baechle Spring 2017 Участник IUPUI, Team 1-4, Baechle Spring 2017

IUPUI-BAECHLE-S17S1G4

4 членов

Автор 8 руководств

0 Комментариев

Добавить комментарий

Просмотр статистики:

За последние 24часов: 0

За последние 7 дней: 0

За последние 30 дней: 1

За всё время: 431