Введение
This guide walks through replacing the entire keyboard. If only certain keys need replacement, follow the note directly preceding removal of the full keyboard. The guide requires removing the keyboard mount. Afterwards, the process requires removing a lot of adhesive. This guide requires using a Phillips head screwdriver, a plastic opening tool, and tweezers to finish removal.
Выберете то, что вам нужно
-
-
Flip the laptop upside down so that the lid lies flat on the table.
-
Remove the nine 6mm Phillips #00 screws that line the border.
-
-
-
Remove the two rubber feet closest to the hinge using tweezers.
-
Remove the two 6mm Phillips #00 screws revealed under these rubber feet.
-
-
-
Flip the laptop so it is in the upright position.
-
Open the lid.
-
Unsnap the keyboard mount along the border of the laptop using a plastic opening tool.
-
-
-
Tilt the keyboard mount up.
-
Use a spudger to flip up the two ZIF connector retaining flaps for the ribbon cables that connect the keyboard mount to the motherboard.
-
Gently remove both ribbon cables.
-
-
-
-
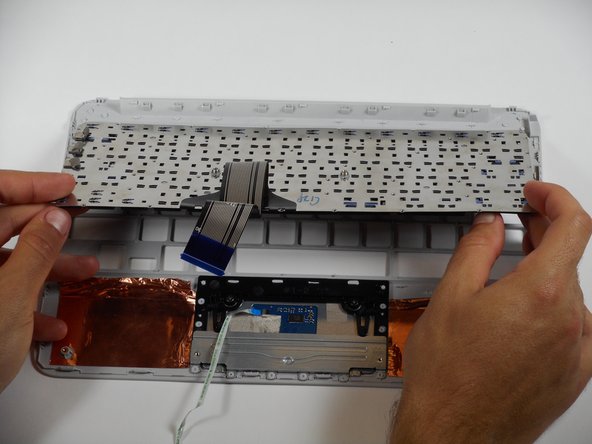
Flip the keyboard mount upside-down.
-
Using tweezers, peel off the two pieces of copper tape that keep the keyboard’s metal cover attached to the keyboard mount.
-
-
-
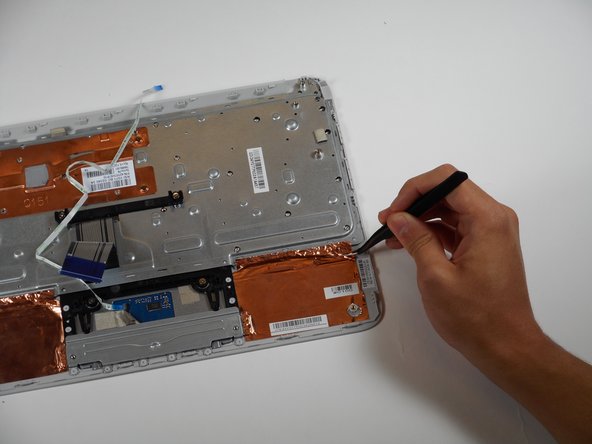
Using tweezers, pull back the three metallic-colored pieces of tape near the top left corner of the keyboard mount.
-
-
-
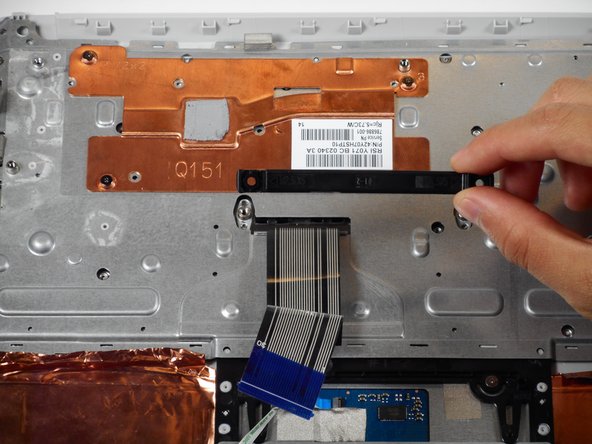
Remove the two 4 mm Phillips #00 screws located on either side of the horizontal black fastener located directly above the touchpad.
-
Lift the horizontal black fastener.
-
-
-
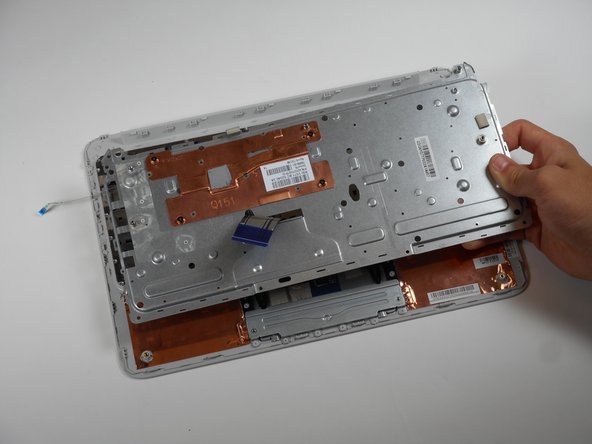
Use a plastic opening tool to pry the edges of the metal cover.
-
Loosen the adhesive around the perimeter of the metal cover.
-
Lift the metal cover.
-
-
-
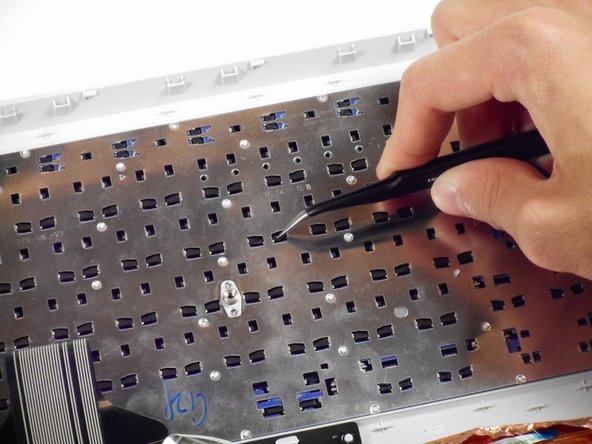
Use a plastic opening tool to disconnect the keyboard from the keyboard mount by prying along the keyboard’s perimeter.
-
After removing enough adhesive, remove the keyboard’s backing.
-


To reassemble your device, follow these instructions in reverse order.
To reassemble your device, follow these instructions in reverse order.
Отменить: Я не выполнил это руководство.
2 участников успешно повторили данное руководство.

Команда

Cal Poly, Team S23-G3, Livingston Spring 2017 Участник Cal Poly, Team S23-G3, Livingston Spring 2017
CPSU-LIVINGSTON-S17S23G3
4 членов
Автор 12 руководств
Один комментарий
Is it possible to get a keyboard that lights up for the HP Chromebook 11 G3? If so then how?