Перейти к основному содержанию

HP Chromebook 11-2210nr Battery Replacement

Выберете то, что вам нужно

  1. HP Chromebook 11-2210nr Battery Replacement, Battery: шаг 1, изображение 1 из 2 HP Chromebook 11-2210nr Battery Replacement, Battery: шаг 1, изображение 2 из 2
    • Position your closed laptop face down to remove the 9 visible 6 mm screws using a Phillips #1 screwdriver.

  2. HP Chromebook 11-2210nr Battery Replacement: шаг 2, изображение 1 из 3 HP Chromebook 11-2210nr Battery Replacement: шаг 2, изображение 2 из 3 HP Chromebook 11-2210nr Battery Replacement: шаг 2, изображение 3 из 3
    • Use a metal spudger to remove the two bottom rubber pads located closer to the hinge of the laptop.

    • Remove the two additional 6 mm screws located beneath the rubber pads using the Phillips #1 screwdriver.

    • The other two bottom rubber pads do not have screws beneath them.

  3. HP Chromebook 11-2210nr Battery Replacement: шаг 3, изображение 1 из 3 HP Chromebook 11-2210nr Battery Replacement: шаг 3, изображение 2 из 3 HP Chromebook 11-2210nr Battery Replacement: шаг 3, изображение 3 из 3
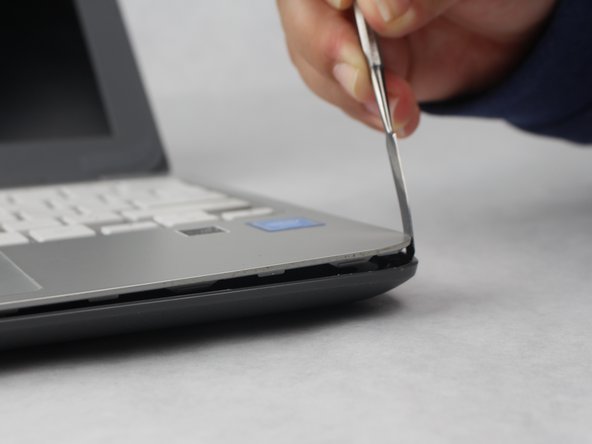
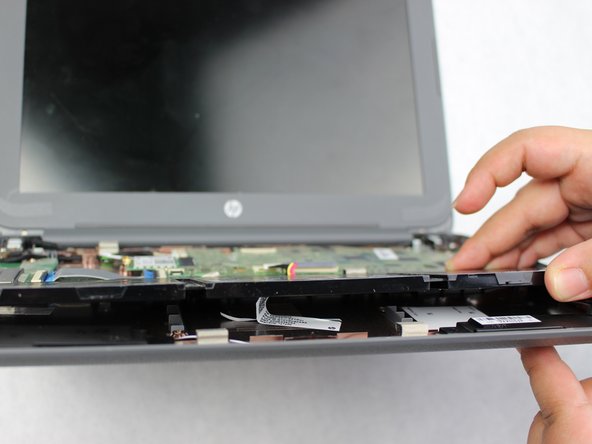
    • Turn the Laptop over, and with the metal spudger start to run it along the plastic seam to pry it off.

    • You will hear popping sounds when you are sliding the spudger along the device.

    • For an easier removal, start from the sides and work your way in to the corners.

    • Be careful when using the metal spudger as it could cause damage to the internals of the device. Don't push the spudger too deeply into the seam.

  4. HP Chromebook 11-2210nr Battery Replacement: шаг 4, изображение 1 из 3 HP Chromebook 11-2210nr Battery Replacement: шаг 4, изображение 2 из 3 HP Chromebook 11-2210nr Battery Replacement: шаг 4, изображение 3 из 3
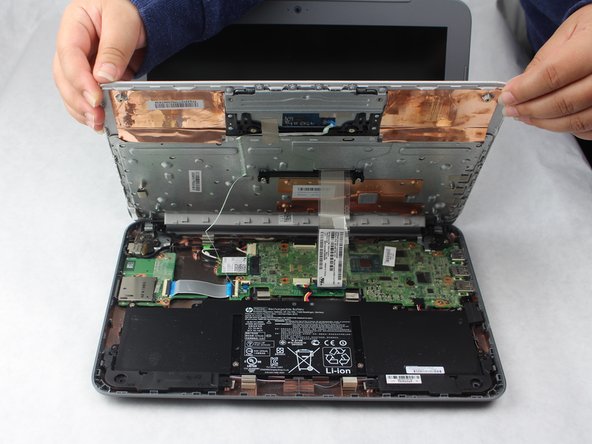
    • Carefully lift the keyboard up and gently place it towards you until the two ribbon wires become visible and place the keyboard down.

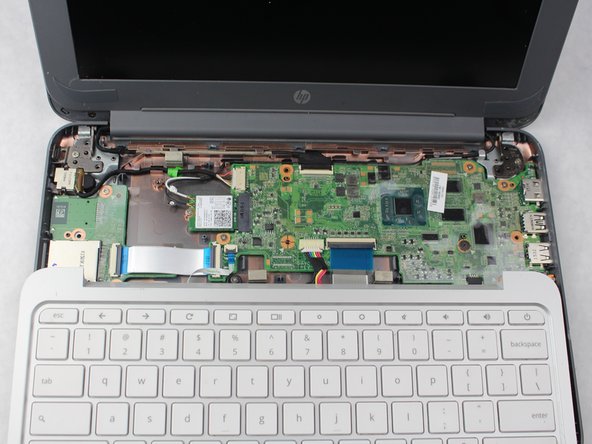
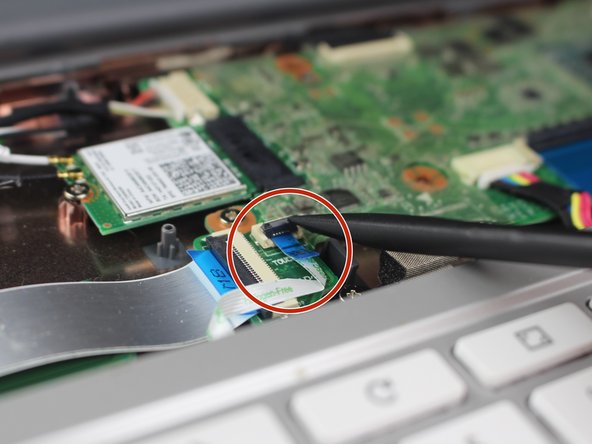
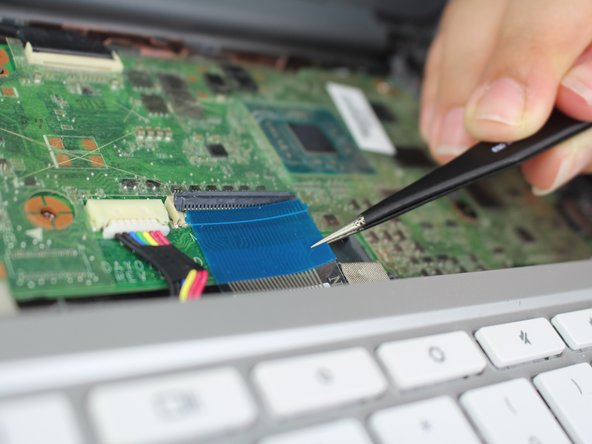
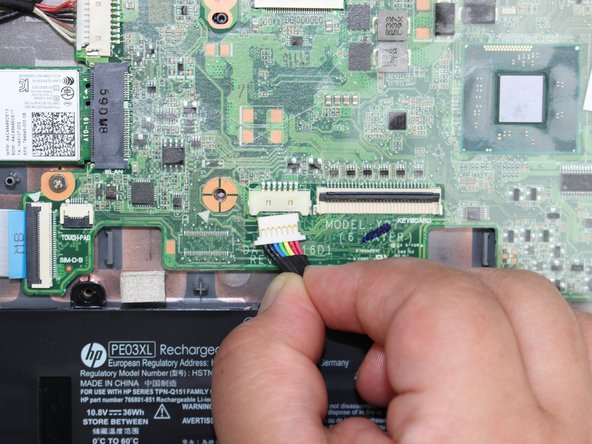
    • Locate where the two ribbon wires are being held in place by two locks.

    • This does not disconnect the keyboard from the laptop just yet.

  5. HP Chromebook 11-2210nr Battery Replacement: шаг 5, изображение 1 из 3 HP Chromebook 11-2210nr Battery Replacement: шаг 5, изображение 2 из 3 HP Chromebook 11-2210nr Battery Replacement: шаг 5, изображение 3 из 3
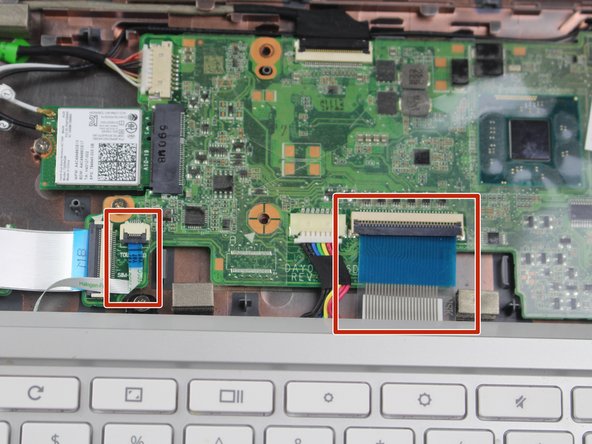
    • Using the nylon spudger, push the plastic clasps holding the two ribbon wires up to properly disconnect the wires.

    • It is important to use the nylon spudger for this step to avoid any metal on metal circuit damage.

    • This step completely disconnects the keyboard to allow safe removal.

  6. HP Chromebook 11-2210nr Battery Replacement: шаг 6, изображение 1 из 2 HP Chromebook 11-2210nr Battery Replacement: шаг 6, изображение 2 из 2
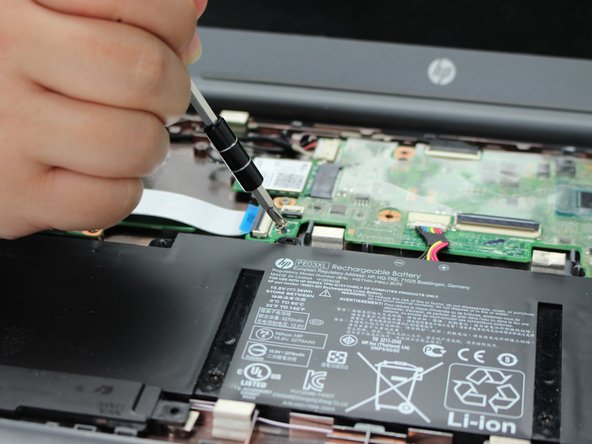
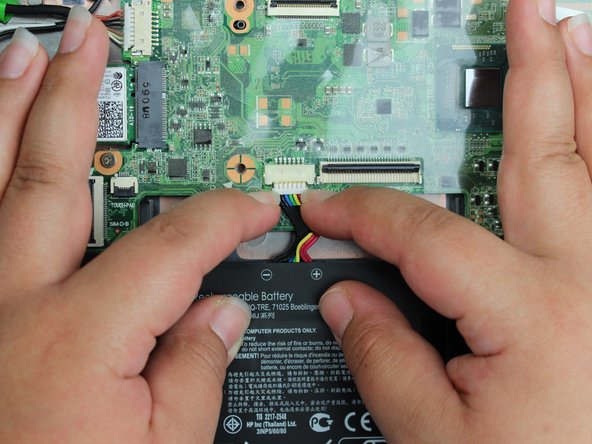
    • Remove the six 4 mm screws holding the battery in place with a Phillips #1 screwdriver.

  7. HP Chromebook 11-2210nr Battery Replacement: шаг 7, изображение 1 из 3 HP Chromebook 11-2210nr Battery Replacement: шаг 7, изображение 2 из 3 HP Chromebook 11-2210nr Battery Replacement: шаг 7, изображение 3 из 3
    • Carefully unplug the bundle power cable by pulling both edges towards you.

    • This successfully disconnects the battery from the laptop.

  8. HP Chromebook 11-2210nr Battery Replacement: шаг 8, изображение 1 из 3 HP Chromebook 11-2210nr Battery Replacement: шаг 8, изображение 2 из 3 HP Chromebook 11-2210nr Battery Replacement: шаг 8, изображение 3 из 3
    • Carefully lift the battery and remove it from the laptop.

    • The battery may have an adhesive sticker attached to the bottom, if so apply more force when lifting up.

Заключение

To reassemble your device, follow these instructions in reverse order.

Kimberly Rodriguez

Участник с: 10/02/18

425 Репутация

Автор 2 руководств

Команда

Sam Houston State, Team S11-G3, Blackburne Fall 2018 Участник Sam Houston State, Team S11-G3, Blackburne Fall 2018

SHSU-BLACKBURNE-F18S11G3

4 членов

Автор 5 руководств

0 Комментариев

Добавить комментарий

Просмотр статистики:

За последние 24часов: 1

За последние 7 дней: 2

За последние 30 дней: 5

За всё время: 344