Введение
Use this guide to replace the screen on the HP Chromebook 11-v002dx.
The screen is an easily damaged component and can be costly to replace at a repair shop. Indications that your laptop screen is failing include, visible damage, pixels not working leading to dark areas on the screen, as well as the screen not displaying colors properly.
Take care when replacing the screen as it can shatter if dropped or if damaged previously and could create a potential hazard during the removal process.
Ensure proper safety gear is worn as the screen has the potential to break into pieces.
Выберете то, что вам нужно
-
-
Insert your spudger between the plastic covering and the back of the case.
-
-
-
With the help of your spudger completely remove the plastic cover from the rest of the case.
-
-
-
-
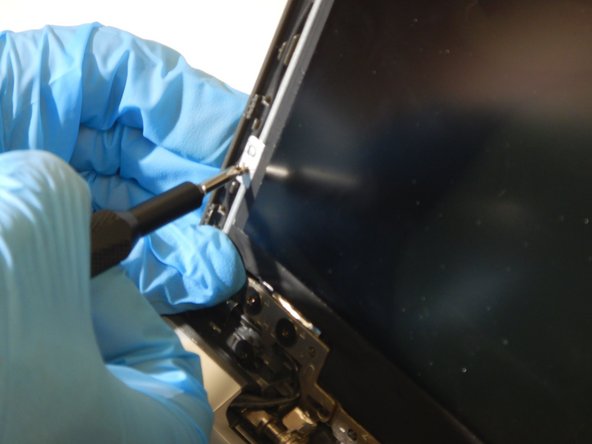
Using a Phillips #0 Screwdriver, remove the four 2.5mm screws holding the screen in place.
-
-
-
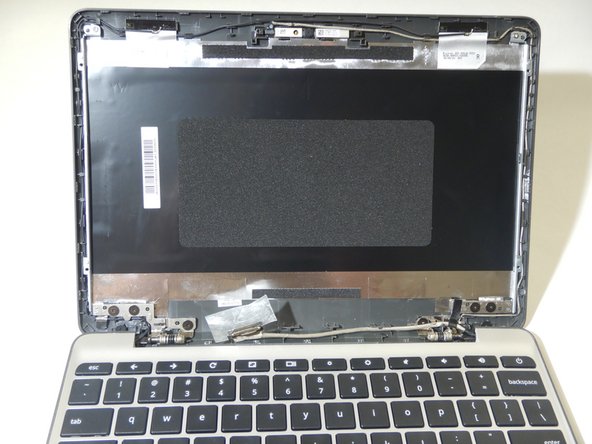
Remove the tape covering the wiring and detach the ribbon cable that secures the screen to the motherboard.
-
To reassemble your device, follow these instructions in reverse order.
To reassemble your device, follow these instructions in reverse order.


