Введение
In this guide we will remove the battery of your HP Chromebook x360 11-ae010nr for a battery replacement, if you device has a shortened battery life, slow charging times, overheating issues, and battery health warnings.
You will simply be removing screws and unplugging cables inside the device. I will walk you through a step-by-step process comprising nine carefully outlined steps.
Before starting, please be sure to have the necessary parts and tools and that your Chromebook is fully powered off.
Following these instructions will ensure a safe and effective removal procedure.
Выберете то, что вам нужно
-
-
Flip the device upside down so that the screws are visible.
-
Loosen two captive Phillips #1 screws from the center of the device.
-
Remove three 9.3 mm Phillips #1 screws from the joint side of the device.
-
Remove four 6.1 mm Phillips #1 screws from the opening side of the device.
-
-
-
Insert an iFixit opening tool between the edge of the keyboard assembly and the base of the device.
-
Push down on the handle of the opening tool to create an opening between the keyboard assembly and the base of the device.
-
Move the opening tool around the device, popping open the clips with force when necessary, until the keyboard assembly is fully lifted from the base of the device.
-
-
-
Separate the keyboard assembly and the case.
-
Flip the black plastic tab where the wider cable meets the main board using the tip of a spudger or a fingernail.
-
Remove the cable with curved needle nose pliers or your fingers.
-
-
-
-
Flip the white plastic tab where the thinner cable meets the main board using the tip of a spudger or a fingernail.
-
Remove the cable with curved needle nose pliers or your fingers.
-
Separate the keyboard from the laptop.
-
-
-
Remove the four 5 mm Phillips #1 screws from the left and right speakers.
-
-
-
Remove the cable from the right speaker by removing the tape then detaching the cable.
-
-
-
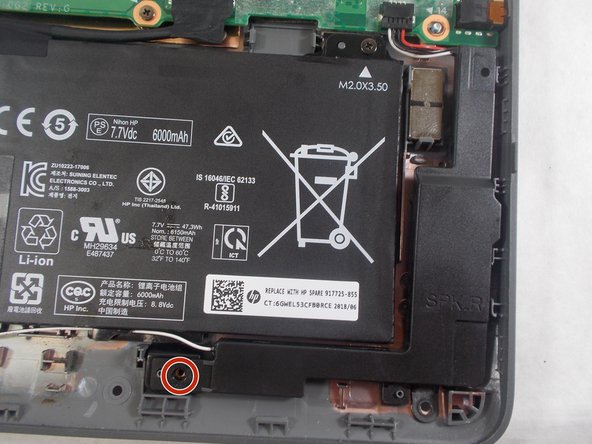
Pull the white cable down to detach from the battery.
-
Remove the speakers from the laptop.
-
-
-
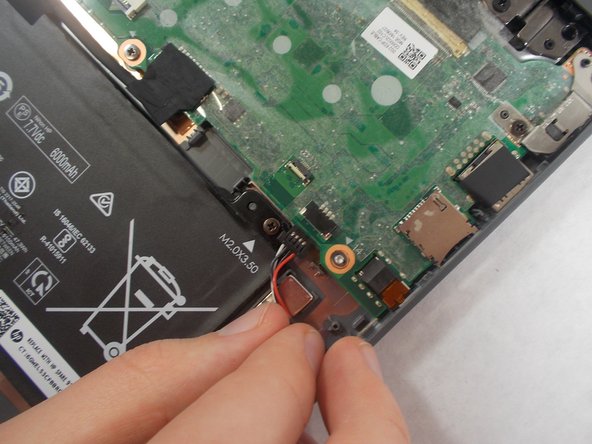
Remove the tape from the cable using a pair of tweezers.
-
Gently remove the cable from the plug.
-
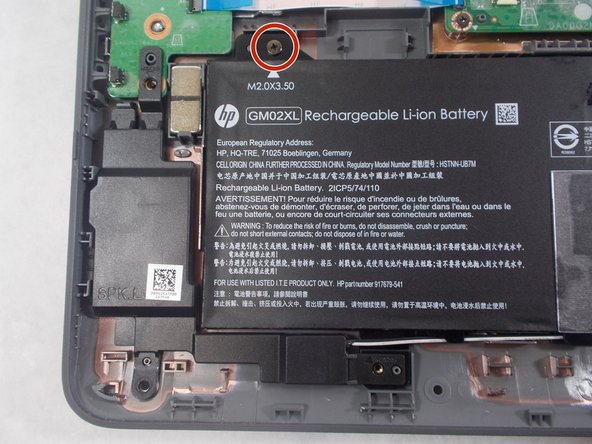
Remove the battery from the laptop.
-


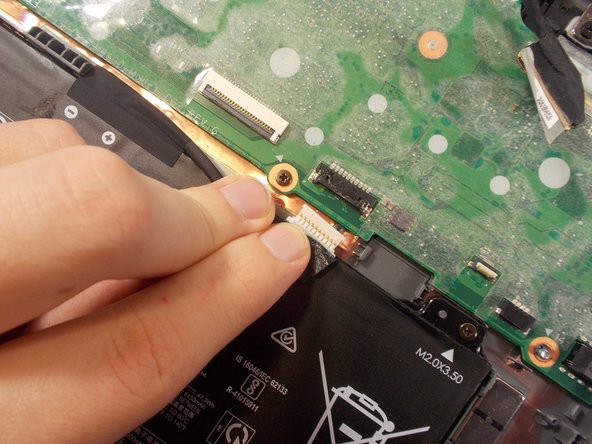

To reassemble your device, follow these instructions in reverse order.
To reassemble your device, follow these instructions in reverse order.
Отменить: Я не выполнил это руководство.
Еще один человек закончил это руководство.

Команда

UMass Dartmouth, Team S1-G9, O'Connell Fall 2019 Участник UMass Dartmouth, Team S1-G9, O'Connell Fall 2019
UMASSD-O'CONNELL-F19S1G9
3 членов
Автор 5 руководств