Введение
This guide will walk you through the steps required to remove, and thus replace, the keyboard in a Compaq Presario V5303NR. This would be a necessary procedure if the keyboard should be damaged or otherwise rendered inoperable. Following this guide to the penultimate step should also provide access to the keyboard's components, should it need to be maintained or cleaned.
Выберете то, что вам нужно
-
-
Turn laptop bottom-side up.
-
Push the battery latch to the left position to unlock the battery.
-
Lift the battery out of its socket.
-
-
-
Remove the 5 mm and 4 mm screws shown, represented in red and orange, respectively, using a Phillips #0 Screwdriver.
-
-
-
-
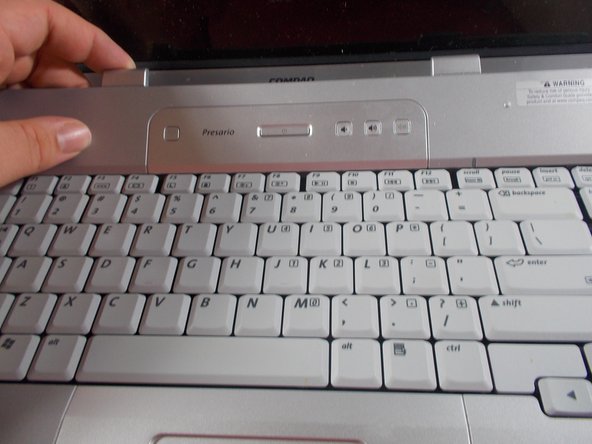
Insert the metal spudger in the space between the switch cover and the F1, F5, F11 and Insert keys.
-
Use the spudger to carefully pry the cover plate away from the keyboard and laptop at the aforementioned locations. Remove the cover plate.
-
-
-
Use a Phillips #0 Screwdriver to remove the 4 4mm screws shown in the second picture. As per before, keep them separated from the screws removed in step 2.
-
Carefully lift up the section of the keyboard closest to the screen. Slowly rotate it downwards until it is resting on top of the touch pad.
-
-
-
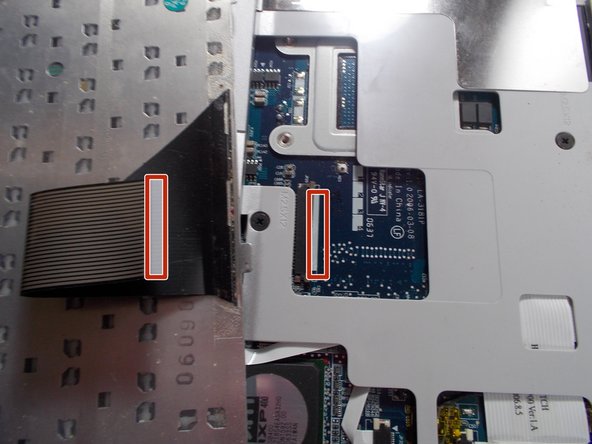
Using your fingers, carefully pull the ribbon cable connecting the keyboard and laptop toward the hinge. Continue until connecting cable is unplugged.
-
Remove keyboard from laptop.
-


To reassemble your device, follow these instructions in reverse order.
To reassemble your device, follow these instructions in reverse order.
Отменить: Я не выполнил это руководство.
Еще один человек закончил это руководство.

Команда

UMass Dartmouth, Team S4-G3, Covino Spring 2018 Участник UMass Dartmouth, Team S4-G3, Covino Spring 2018
UMASSD-COVINO-S18S4G3
3 членов
Автор 5 руководств