Эта версия возможно содержит некорректные исправления. Переключить на последнюю проверенную версию.
Выберете то, что вам нужно
-
Этот шаг не переведен. Помогите перевести
-
Lay the printer on its back.
-
Grab the paper tray by its right side and pull it to the left and up.
-
-
Этот шаг не переведен. Помогите перевести
-
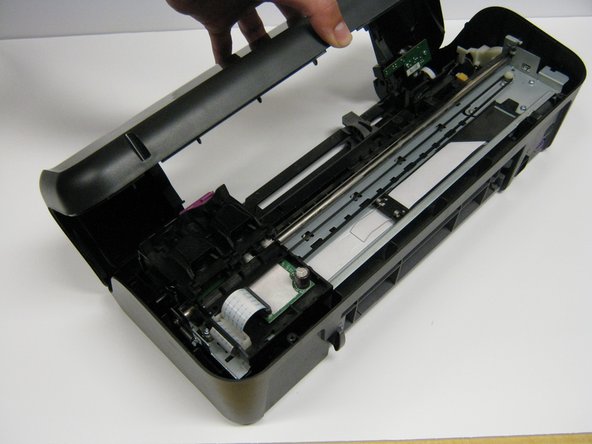
Open the frontal access panel by lifting it from the top.
-
Similar to the paper tray, grab it from the right side and pull it to the left and up.
-
-
-
Этот шаг не переведен. Помогите перевести
-
Take out the two frontal 14.0 mm Torx #10 screws.
-
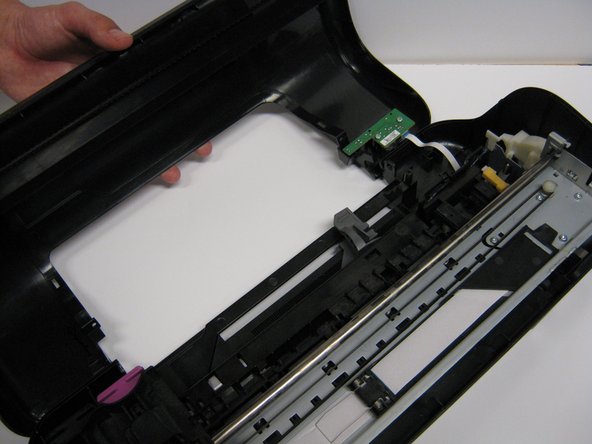
Carefully lift the frontal cover.
-
-
Этот шаг не переведен. Помогите перевести
-
Remove the strip that connects the printer to the front cover.
-
-
Этот шаг не переведен. Помогите перевести
-
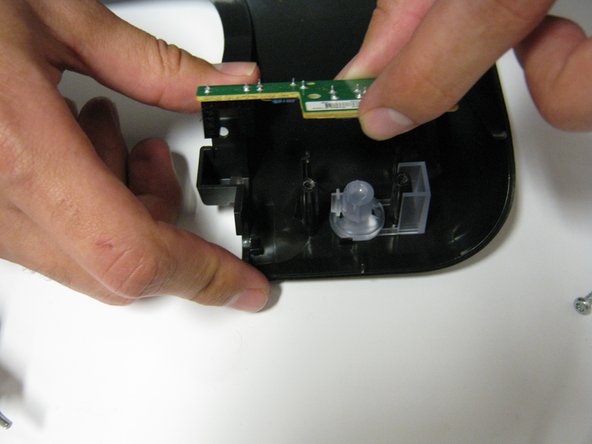
Remove the two 13.0 mm Torx #10 screws.
-
Carefully lift it up. The button will be located under it.
-


Отменить: Я не выполнил это руководство.
Еще один человек закончил это руководство.
Команда

Cal Poly, Team 1-41, Maness Winter 2014 Участник Cal Poly, Team 1-41, Maness Winter 2014
CPSU-MANESS-W14S1G41
4 членов
Автор 14 руководств