Этот документ имеет более свежие изменения. Перейти к последней непроверенной версии.
Введение
This guide will replace the small rollers located under the ink carriage. Rollers enable the papers to run smoothly through the printer and cleanly print out material.
Выберете то, что вам нужно
-
-
Lay the printer on its back.
-
Grab the paper tray by its right side and pull it to the left and up.
-
-
-
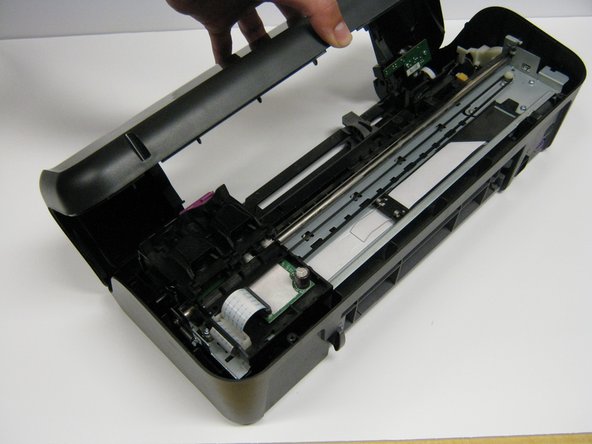
Open the frontal access panel by lifting it from the top.
-
Similar to the paper tray, grab it from the right side and pull it to the left and up.
-
-
-
-
Take out the two frontal 14.0 mm Torx #10 screws.
-
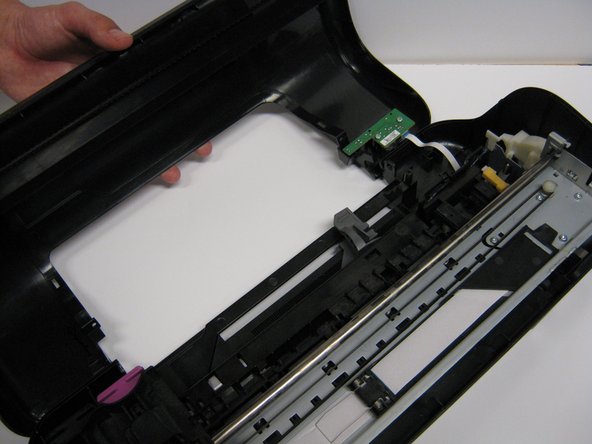
Carefully lift the frontal cover.
-
-
-
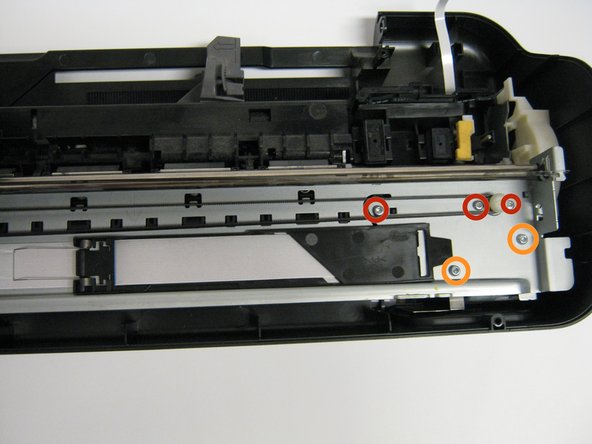
Remove the five 13.0 mm Torx #10 screws found on top of the frame.
-
Remove the four 9.0 mm Torx #10 smaller screws.
-
-
-
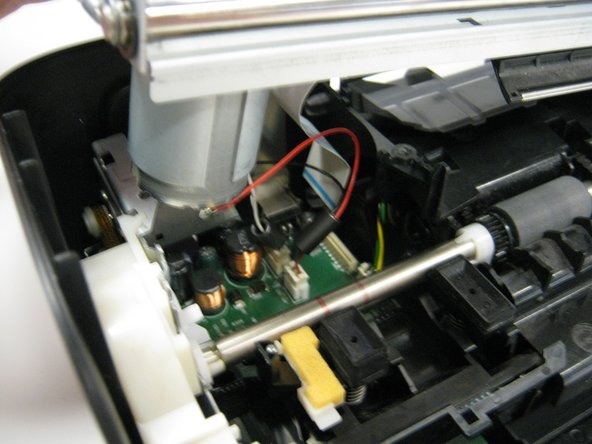
Locate the rollers, which will be on the bottom of the metal frame that holds the carriage.
-
Grab the rollers and remove them by pulling them to one side and lifting them up.
-
Do the same for the other three.
-


To reassemble your device, follow these instructions in reverse order.
To reassemble your device, follow these instructions in reverse order.
Команда

Cal Poly, Team 1-41, Maness Winter 2014 Участник Cal Poly, Team 1-41, Maness Winter 2014
CPSU-MANESS-W14S1G41
4 членов
Автор 14 руководств