Перейти к основному содержанию

HP Deskjet F4480 Lid Panel Removal

Выберете то, что вам нужно

  1. HP Deskjet F4480 Lid Panel Removal, Remove Back Panel of Lid: шаг 1, изображение 1 из 1
    • Remove one 9mm T10 Torx screw from the back of the printer lid.

  2. HP Deskjet F4480 Lid Panel Removal: шаг 2, изображение 1 из 2 HP Deskjet F4480 Lid Panel Removal: шаг 2, изображение 2 из 2
    • Press outward on the plastic tab holding the back panel in place.

  3. HP Deskjet F4480 Lid Panel Removal: шаг 3, изображение 1 из 2 HP Deskjet F4480 Lid Panel Removal: шаг 3, изображение 2 из 2
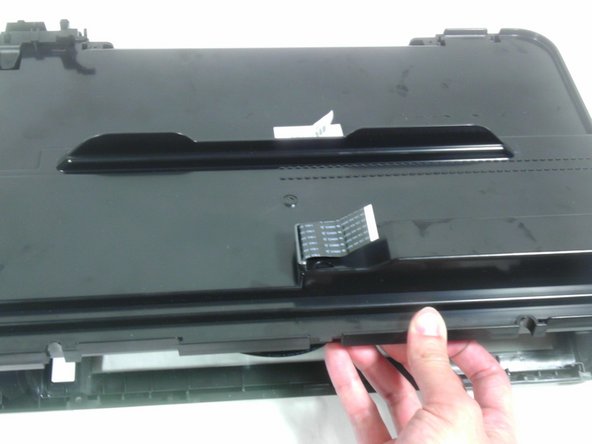
    • Pull the back panel towards you and lift it away from the rest of the printer cover.

    • Some ribbon cables may still be inserted through the back panel. Be careful not to damage these and they should slide out easily.

Заключение

To reassemble your device, follow these instructions in reverse order.

3 участников успешно повторили данное руководство.

Tim

Участник с: 01/15/13

184 Репутация

Автор 4 руководств

Команда

Cal Poly, Team 18-35, Regan Winter 2013 Участник Cal Poly, Team 18-35, Regan Winter 2013

CPSU-REGAN-W13S18G35

5 членов

Автор 15 руководств

0 Комментариев

Добавить комментарий

Просмотр статистики:

За последние 24часов: 0

За последние 7 дней: 1

За последние 30 дней: 5

За всё время: 2,482