Введение
Use this guide to replace the keyboard on a HP EliteBook 840 G7
Выберете то, что вам нужно
-
-
Use the Phillips # 1 screwdriver to remove the five 1.2 mm screws from the back cover of the laptop.
-
-
-
Use your Phillips #1 screwdriver and remove the four 1.2 mm screws that secures the battery into place.
-
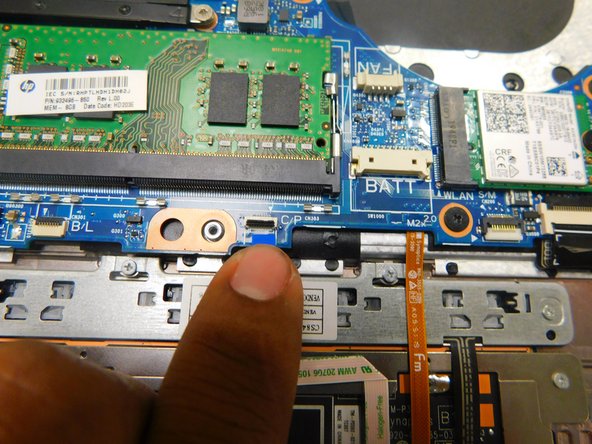
Remove the connector that connects the battery to the motherboard.
-
-
-
Once you've disconnected all cables from their sockets, gently move them to the top of the laptop.
-
-
-
-
Open the laptop to a 90 degree angle.
-
Slide the display hinges away to remove the display assembly.
-
-
-
Pull on the bundled connector to remove.
-
Remove the speaker system from the board.
-
-
-
Push away to remove the bundled connector from its port.
-
Move the cable away from the ZIF connector below.
-
-
-
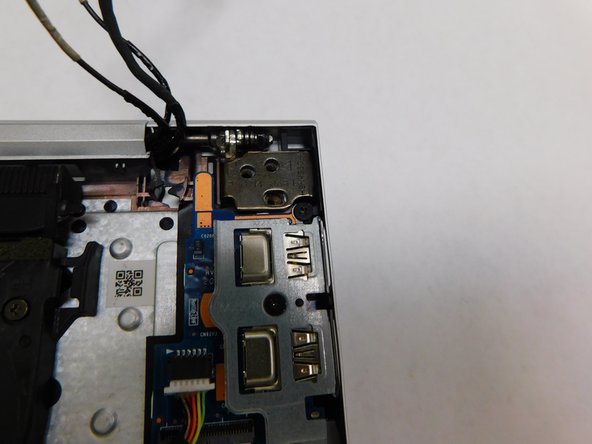
Use your Phillips #1 screwdriver to remove the three 1.3 mm screws.
-
Lift up and away to remove the USB ports.
-
-
-
Use your Phillips # 1 screwdriver to remove the three 1.2 mm screws that hold the fan in place.
-
Lift up from the left side of the fan then pull towards you to remove.
-
-
-
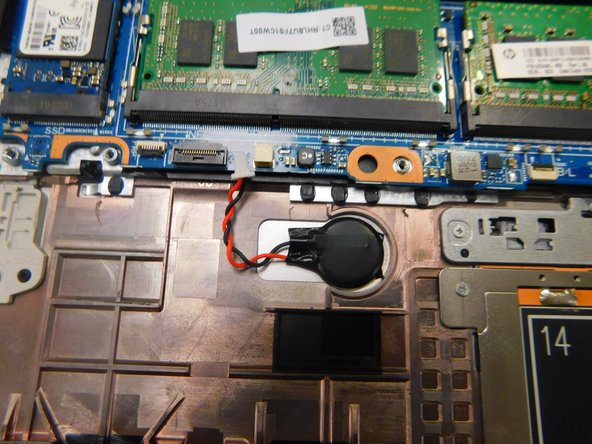
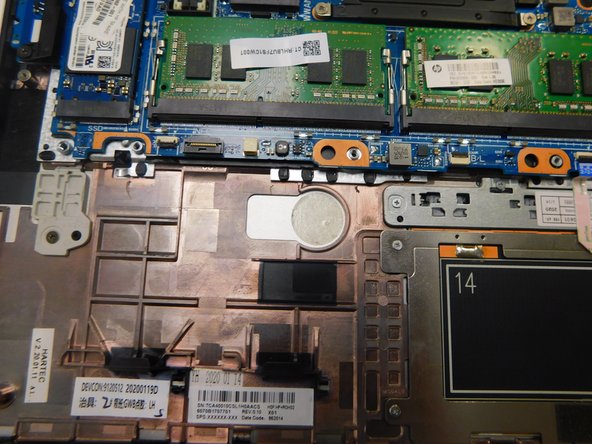
Pull on the bundled connector to remove.
-
After removing the connector pull off the CMOS battery.
-
-
-
Use your Phillips #1 screwdriver to remove the single 1.2 mm screw.
-
Pull on the cable to remove the charging port.
-
-
-
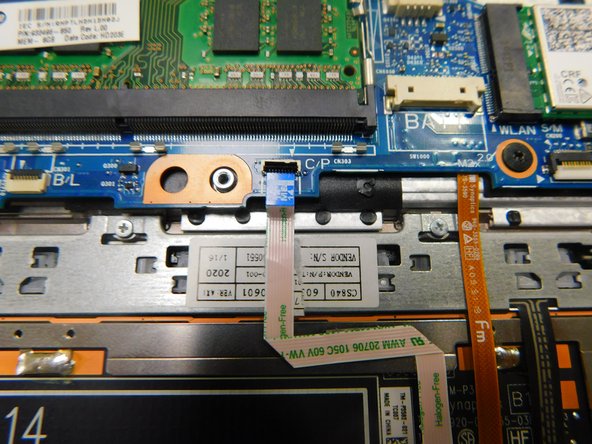
Release the latch on the ZIF connector.
-
Carefully pull the connector to remove.
-
-
-
Use you Phillips #1 screwdriver to remove the eight 1.2 mm screws.
-
Lift the whole board up to remove.
-
-
-
Use your Phillips #000 screwdriver to remove the four 1 mm screws.
-
Pull up to remove.
-
-
-
Use your Phillips #000 screwdriver to remove the five 1 mm screws.
-
Lift the touchpad to remove.
-


To reassemble your device, follow these instructions in reverse order.
To reassemble your device, follow these instructions in reverse order.
Отменить: Я не выполнил это руководство.
5 участников успешно повторили данное руководство.
Команда

Gateway, Team 1-1, Pee Spring 2022 Участник Gateway, Team 1-1, Pee Spring 2022
GCC-PEE-S22S1G1
4 членов
Автор 5 руководств
3 Комментариев
the keyboard is part of the top shell and is rivetted in, you need to replace the whole part