Перейти к основному содержанию

HP EliteBook 850 G7 RAM Replacement

Выберете то, что вам нужно

  1. HP EliteBook 850 G7 RAM Replacement, RAM: шаг 1, изображение 1 из 2 HP EliteBook 850 G7 RAM Replacement, RAM: шаг 1, изображение 2 из 2
    • To start flip the device so the bottom is facing up

  2. HP EliteBook 850 G7 RAM Replacement: шаг 2, изображение 1 из 2 HP EliteBook 850 G7 RAM Replacement: шаг 2, изображение 2 из 2
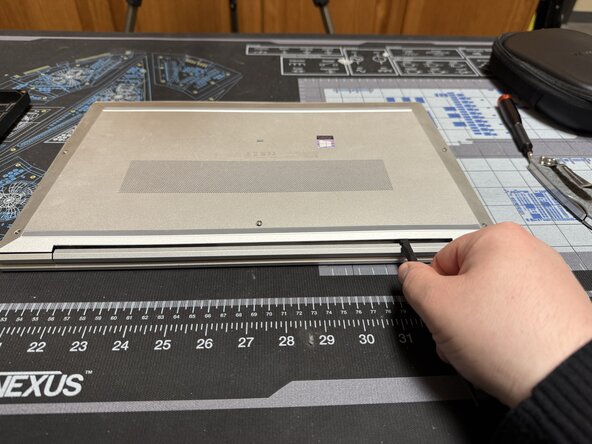
    • Unscrew the 5 marked captive screws with a Phillips #1 and flip the device so the hinge is faced towards you

    • Slide a spudger under the shell to pop the clips and run it around the perimeter of the shell until you can remove it.

  3. HP EliteBook 850 G7 RAM Replacement: шаг 3, изображение 1 из 3 HP EliteBook 850 G7 RAM Replacement: шаг 3, изображение 2 из 3 HP EliteBook 850 G7 RAM Replacement: шаг 3, изображение 3 из 3
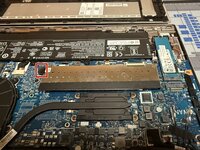
    • Lift directly up on the marked tab to remove the shielding

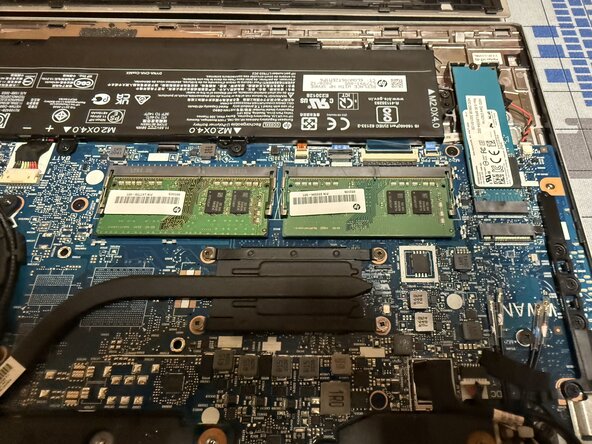
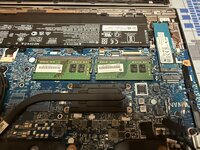
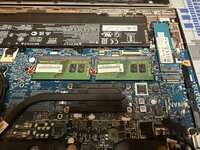
    • The RAM is now exposed.

    • When reassembling make sure to realign the sides of the shielding with the clips on the motherboard

    • The new RAM can be inserted and clipped down as shown.

    • For reference the 850 G7 uses DDR4 SODIMMs

Заключение

To reassemble your device, follow these instructions in reverse order.

Caleb Pierce

Участник с: 04/19/22

230 Репутация

Автор 8 руководств

0 Комментариев

Добавить комментарий

Статистика просмотров:

За последние 24 час(ов): 1

За последние 7 дней: 7

За последние 30 дней: 7

За всё время: 7