Введение
Make sure you have completed the keyboard replacement guide and the top cover removal guide.
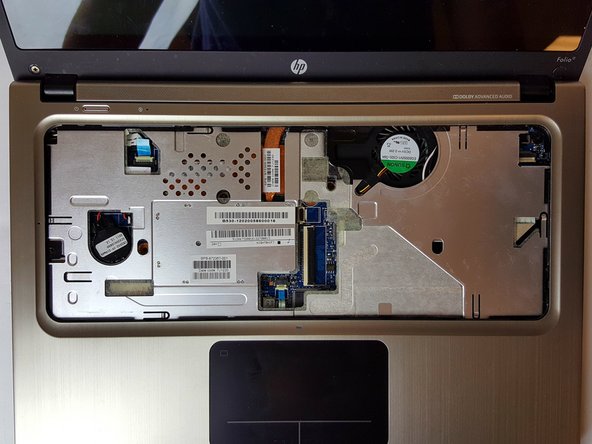
A defective RAM can cause your laptop's loading speed to deteriorate. This guide will show you how to correctly replace a defective or an outdated RAM for your HP Folio 13t-1000.
Выберете то, что вам нужно
-
-
Use a PH1 screw head to remove the 16, 6mm screws from the bottom case housing of the laptop.
-
-
-
Slide the spudger with a twisting motion along the entire perimeter of the laptop until the top cover is separated from the frame of the device.
-
-
-
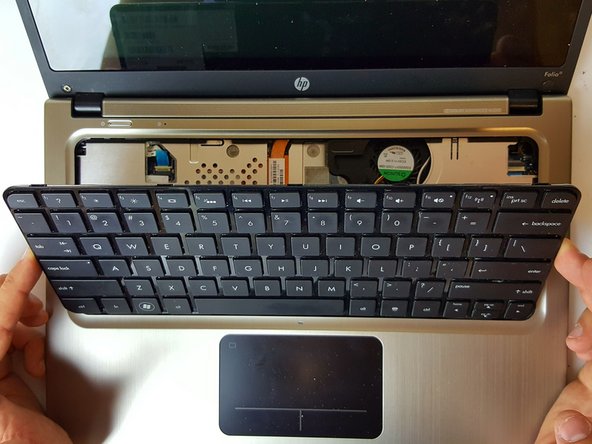
Using the flat portion of the plastic spudger, push the corner of the black surface until the first clip unlocks.
-
The top right corner of the keyboard should now be sticking out slightly.
-
Repeat the same process for the top left corner.
-
-
-
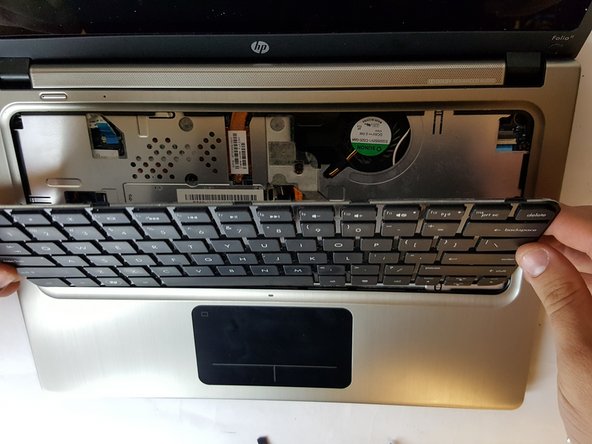
Slide the keyboard up and towards the screen just enough to separate the keyboard from the top cover.
-
-
-
-
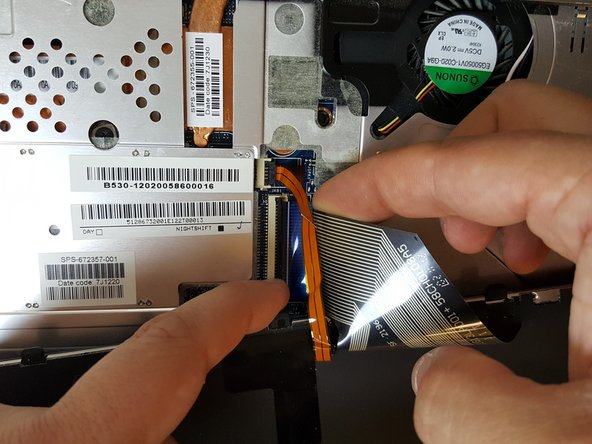
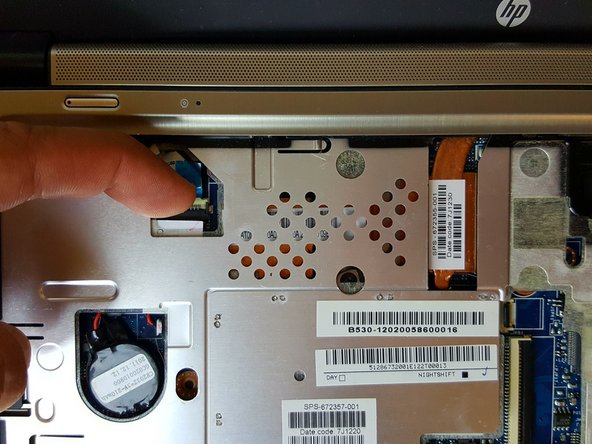
To unlock the clamps connected to the motherboard, use your fingers or insert the pointed edge of the spudger between the first clamp and the cable.
-
Repeat the same process for the second clamp.
-
-
-
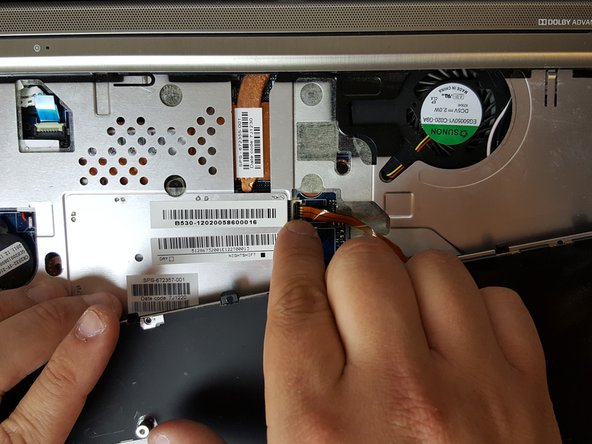
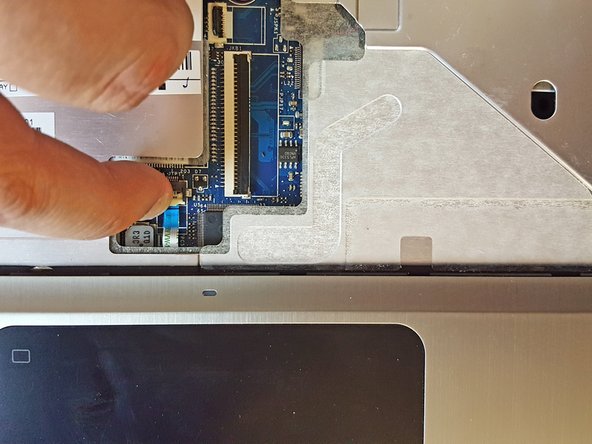
Place your finger between one of the plastic clamps and the cable and apply a slight leveraging force until the clamp pops up.
-
Do the same for the second connection.
-
-
-
Using the tips of your fingers, gently apply opposite outward force until the two clips are no longer holding the RAM stick.
-


To reassemble your device, follow these instructions in reverse order.
To reassemble your device, follow these instructions in reverse order.

Команда

USF Tampa, Team 1-2, Cagle Fall 2016 Участник USF Tampa, Team 1-2, Cagle Fall 2016
USFT-CAGLE-F16S1G2
4 членов
Автор 7 руководств