Перейти к основному содержанию

Этот документ имеет более свежие изменения. Перейти к последней непроверенной версии.

HP Mini 1000 PRAM Battery Replacement

Абсолютно необходимое руководство
Это руководство предназначено только для использования в качестве обязательного условия для других руководств. Оно не полностью само по себе.

Выберете то, что вам нужно

  1. HP Mini 1000 PRAM Battery Replacement, PRAM Battery: шаг 1, изображение 1 из 1
    • If present, carefully peel back the piece of black film attached to the heat sink to reveal the PRAM battery and its cable.

  2. HP Mini 1000 PRAM Battery Replacement: шаг 2, изображение 1 из 2 HP Mini 1000 PRAM Battery Replacement: шаг 2, изображение 2 из 2
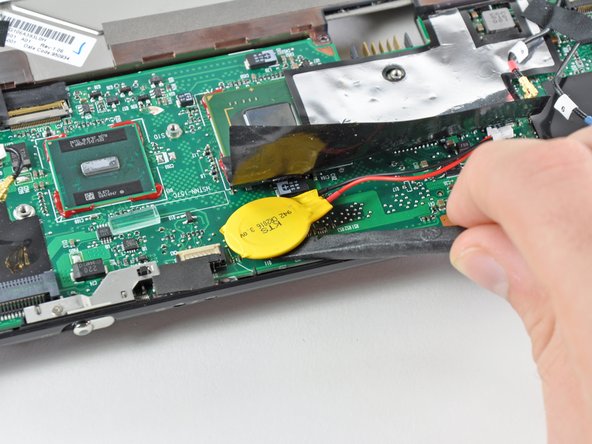
    • Use a pair of tweezers to pull the PRAM battery connector out of its socket on the motherboard.

    • Pull the connector parallel to the face of the motherboard toward the fan side of the computer.

    • Use the flat end of a spudger to pry the PRAM battery off the adhesive securing it to the motherboard.

    • Remove the PRAM battery.

Заключение

To reassemble your device, follow these instructions in reverse order.

0 Комментариев

Добавить комментарий

Просмотр статистики:

За последние 24часов: 0

За последние 7 дней: 0

За последние 30 дней: 0

За всё время: 27