Введение
The power button is what allows the printer to turn on. If the power button is malfunctioning, the HP OfficeJet 4650 will not function. This guide will show you how to replace the power button.
Выберете то, что вам нужно
-
-
Open the cartridge access door by putting one hand on the grooves of each side and pulling up.
-
-
-
Using the 2.0 mm hex screwdriver, remove the 14 mm hex screw that binds the front cover to the printer body by turning the screw counterclockwise.
-
-
-
Release the front panel from its internal hooks by applying a little force and sliding the front panel to the right.
-
Push the panel upward to remove it from the printer.
-
-
-
-
Remove the connector that is attached to the screen's circuit board by pinching the blue part of the connector with two fingers and pulling it away from the circuit board.
-
-
-
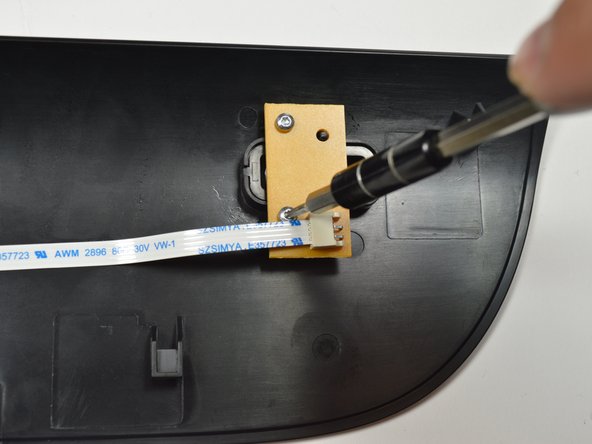
Using the Torx T6 hex screwdriver, remove the 7.0mm screw that binds the front cover to the printer body by turning the screw counterclockwise.
-
-
-
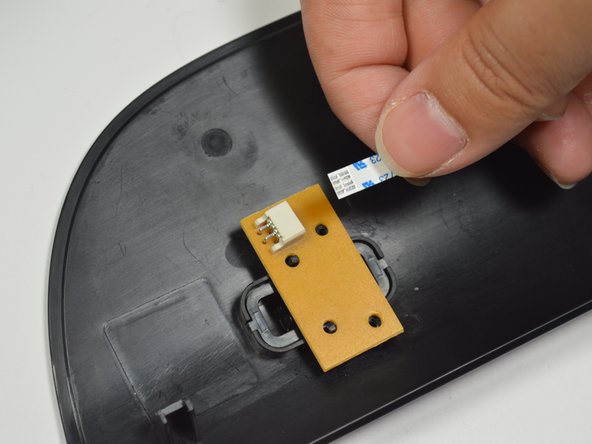
Remove the connector that is attached to the screen's circuit board by pinching the blue part of the connector with two fingers and pulling it away from button circuit board.
-
-
-
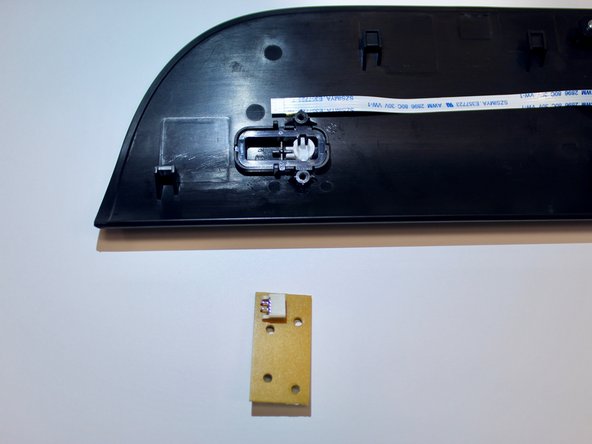
Pop the button off from the black cover by using your finger tip to bring it up.
-


To reassemble your device, follow these instructions in reverse order.
To reassemble your device, follow these instructions in reverse order.
Отменить: Я не выполнил это руководство.
Еще один человек закончил это руководство.

Команда

Cal Poly, Team S19-G6, Livingston Winter 2018 Участник Cal Poly, Team S19-G6, Livingston Winter 2018
CPSU-LIVINGSTON-W18S19G6
3 членов
Автор 10 руководств
5 Комментариев
Where can I purchase the replacement Power Button? What is the part number?
Bonjour,
Ou peut on acheter l'écran tactile HP Officejet 4650 ???