Перейти к основному содержанию

HP Officejet Pro 8625 Printhead Replacement

Выберете то, что вам нужно

  1. HP Officejet Pro 8625 Printhead Replacement, Left Side Panel: шаг 1, изображение 1 из 3 HP Officejet Pro 8625 Printhead Replacement, Left Side Panel: шаг 1, изображение 2 из 3 HP Officejet Pro 8625 Printhead Replacement, Left Side Panel: шаг 1, изображение 3 из 3
    • Remove the two 11.6 mm T9 screws from the right side of the back of the printer.

  2. HP Officejet Pro 8625 Printhead Replacement: шаг 2, изображение 1 из 3 HP Officejet Pro 8625 Printhead Replacement: шаг 2, изображение 2 из 3 HP Officejet Pro 8625 Printhead Replacement: шаг 2, изображение 3 из 3
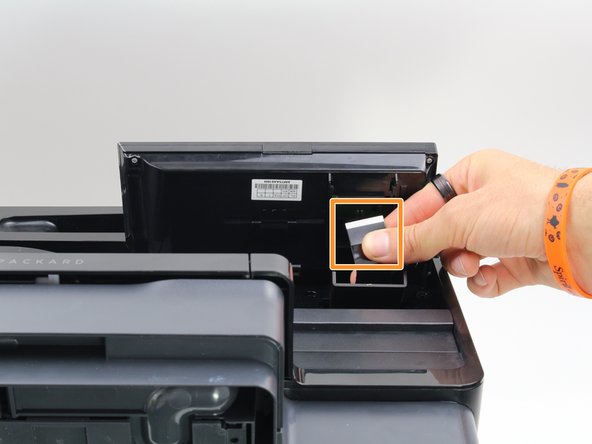
    • Pull down the front panel to expose the screws on the front.

    • Remove the one 11.6 mm T9 screw on the left side of the front face.

  3. HP Officejet Pro 8625 Printhead Replacement: шаг 3, изображение 1 из 2 HP Officejet Pro 8625 Printhead Replacement: шаг 3, изображение 2 из 2
    • Remove the side panel by pushing down and towards the back.

    • This step may be easier if the printer is laid on its side with the left side panel facing up.

  4. HP Officejet Pro 8625 Printhead Replacement, Printhead: шаг 4, изображение 1 из 2 HP Officejet Pro 8625 Printhead Replacement, Printhead: шаг 4, изображение 2 из 2
    • Remove the one 5.3 mm T9 screw.

  5. HP Officejet Pro 8625 Printhead Replacement: шаг 5, изображение 1 из 2 HP Officejet Pro 8625 Printhead Replacement: шаг 5, изображение 2 из 2
    • Remove the four connectors from the top of the motherboard.

  6. HP Officejet Pro 8625 Printhead Replacement: шаг 6, изображение 1 из 2 HP Officejet Pro 8625 Printhead Replacement: шаг 6, изображение 2 из 2
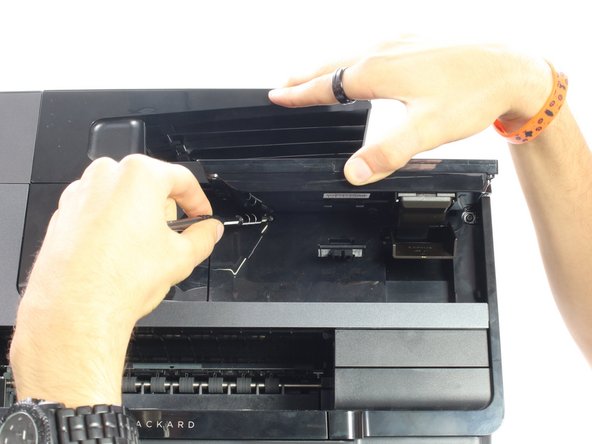
    • Remove the three 11.6 mm T9 screws from the top, back of the printer.

    • Remove the one 12.1 mm T9 screw from the top, back of the printer.

  7. HP Officejet Pro 8625 Printhead Replacement: шаг 7, изображение 1 из 2 HP Officejet Pro 8625 Printhead Replacement: шаг 7, изображение 2 из 2
    • Remove the 11.6mm T9 screw from the top left of the front of the printer.

  8. HP Officejet Pro 8625 Printhead Replacement: шаг 8, изображение 1 из 1
    • Disconnect the display by pulling down on the plastic hinge.

    • Gradually apply more force to the hinge and don't worry about the hinge or display breaking.

  9. HP Officejet Pro 8625 Printhead Replacement: шаг 9, изображение 1 из 3 HP Officejet Pro 8625 Printhead Replacement: шаг 9, изображение 2 из 3 HP Officejet Pro 8625 Printhead Replacement: шаг 9, изображение 3 из 3
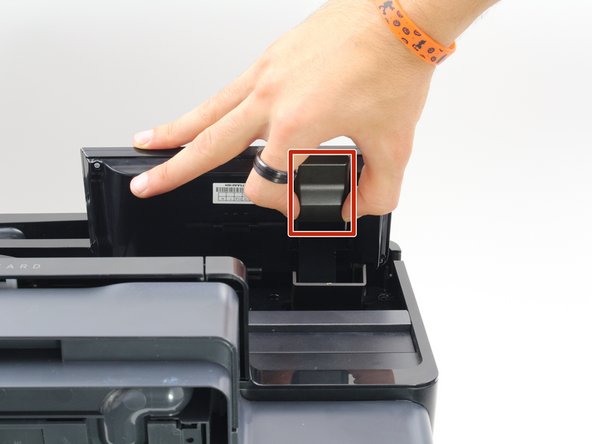
    • Lift the display as high as it will allow to expose the back of the display.

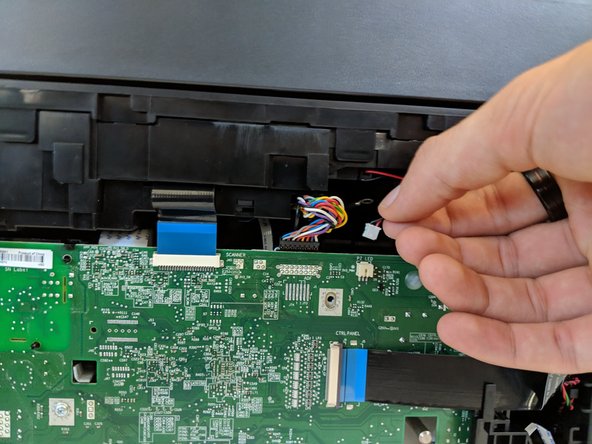
    • Remove the connector by pinching the sides and pulling away from the printer.

    • Remove the connector by pulling both away from the display and towards the printer.

  10. HP Officejet Pro 8625 Printhead Replacement: шаг 10, изображение 1 из 2 HP Officejet Pro 8625 Printhead Replacement: шаг 10, изображение 2 из 2
    • Remove the two 11.6 mm T9 screws from beneath the display.

  11. HP Officejet Pro 8625 Printhead Replacement: шаг 11, изображение 1 из 1
    • Remove the top of the printer by lifting it from both sides.

  12. HP Officejet Pro 8625 Printhead Replacement: шаг 12, изображение 1 из 3 HP Officejet Pro 8625 Printhead Replacement: шаг 12, изображение 2 из 3 HP Officejet Pro 8625 Printhead Replacement: шаг 12, изображение 3 из 3
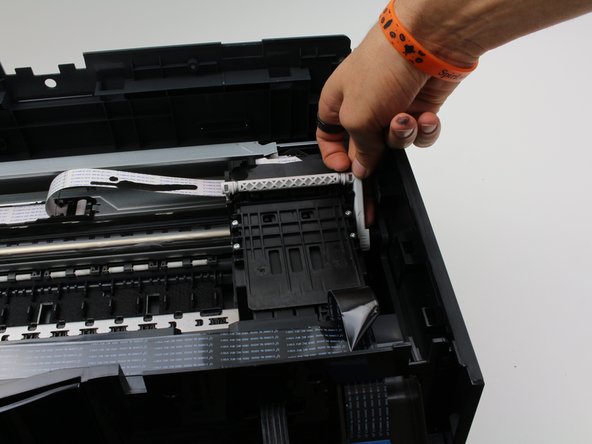
    • Locate the printhead on the right side of the printer.

    • Pull the white tab on the right side of the printhead up, by pushing on the side of the printer a little bit.

    • Remove the printhead by lifting it out of the housing.

Заключение

To reassemble your device, follow these instructions in reverse order.

6 участников успешно повторили данное руководство.

Cam Engle

Участник с: 10/08/18

531 Репутация

Автор 3 руководств

Команда

Cal Poly, Team S13-G3, White Fall 2018 Участник Cal Poly, Team S13-G3, White Fall 2018

CPSU-WHITE-F18S13G3

3 членов

Автор 14 руководств

5 Комментариев

This printhead is normally user replaceable.

No screwdrivers are required.

This video is for an 8600, but the process is the same.

https://www.youtube.com/watch?v=i-IluLvF...

Andy - Ответить

I used these instructions to repair the guide ribbon for the print head. It had come off after a sheet of high tack labels got jammed in the printer. Just saved myself from having to buy a new printer! Thanks!!!

Robert de Salazar - Ответить

12 steps not necessary. Just open the front (like changing ink) and lift the grey lever referenced in step 12, then remove the head from the carriage.

bwaaronj - Ответить

Correct. So easy.

hinz -

BWAARONJ, I did exactly what you suggested in my 8625 three times! Now my printer is in pieces and parts, and I cannot get the printhead to release from the right side of the housing. I was very meticulous in making an effort to correct this problem, but, alas, it appears I will have to get a new printer!

Shelia Guy Bozeman - Ответить

Добавить комментарий

Просмотр статистики:

За последние 24часов: 5

За последние 7 дней: 18

За последние 30 дней: 78

За всё время: 7,755