Этот документ имеет более свежие изменения. Перейти к последней непроверенной версии.
Введение
If the bottom case of your device become cracked or damaged, this guide will show you how to replace it.
Выберете то, что вам нужно
-
-
Use the nylon spudger to remove the rubber pads near the hinge for the screen. Then remove the screws under the pads.
-
Use Phillips #0 to remove four 9mm screws.
-
Use Phillips #0 to remove seven 6mm screws.
-
-
-
-
Use the nylon spudger to pry the back casing near the hinges for the screen.
-
Continue to pry along the edge of the back case until the back is ready to be removed.
-
-
-
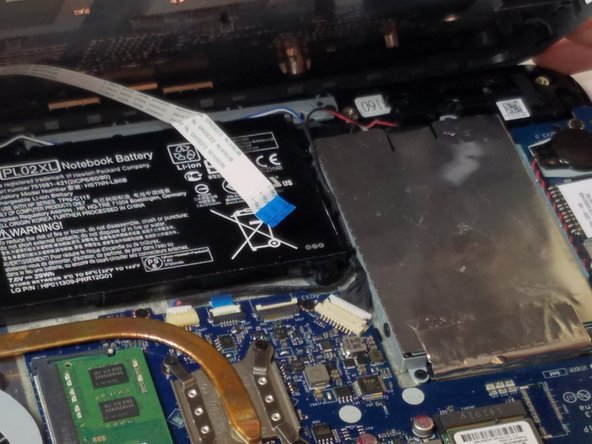
Use the plastic opening tool to lift up on the white tab that is holding the cable in place on the motherboard.
-
Now carefully pull the cable out of place and remove the entire back casing.
-


To reassemble your device, follow these instructions in reverse order.
To reassemble your device, follow these instructions in reverse order.
Отменить: Я не выполнил это руководство.
Еще один человек закончил это руководство.
Команда

USF Tampa, Team 11-5, Blackwell Fall 2016 Участник USF Tampa, Team 11-5, Blackwell Fall 2016
USFT-BLACKWELL-F16S11G5
3 членов
Автор 5 руководств