Введение
This guide will be used for almost every other replacement guide for the HP Pavilion 13-s128nr. This is because this guide is used for opening up the HP Pavilion 13-s128nr to get to the interior parts.
Выберете то, что вам нужно
-
-
Use the iFixit opening tool to take off the rubber caps.
-
Remove the screws using the Phillips #0 screwdriver.
-
-
-
-
Use the Jimmy to pry around the seam of the laptop.
-
Remove the back panel of the laptop.
-
-
-
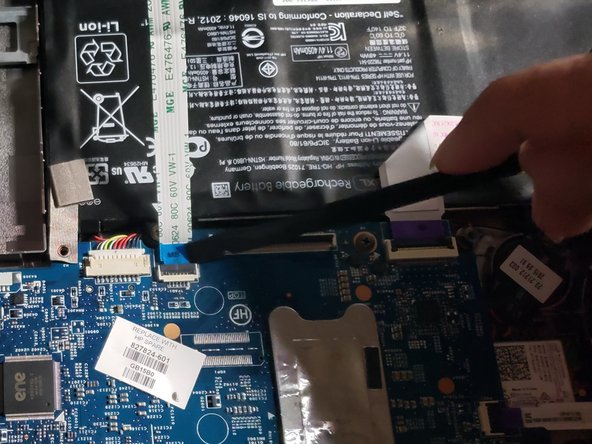
Using the iFixit opening tool to lift the tabs holding in the cables connecting the keyboard to the motherboard.
-
Pull the cable from the motherboard.
-


To reassemble your device, follow these instructions in reverse order.
To reassemble your device, follow these instructions in reverse order.
Команда

University of North Texas, Team S3-G4, Thomas Spring 2020 Участник University of North Texas, Team S3-G4, Thomas Spring 2020
UNT-THOMAS-S20S3G4
3 членов
Автор 2 руководств