Перейти к основному содержанию

HP Pavilion 15-n232nr Cooling Fan Replacement

Выберете то, что вам нужно

  1. HP Pavilion 15-n232nr Cooling Fan Replacement, Battery: шаг 1, изображение 1 из 2 HP Pavilion 15-n232nr Cooling Fan Replacement, Battery: шаг 1, изображение 2 из 2
    • Flip the laptop over.

  2. HP Pavilion 15-n232nr Cooling Fan Replacement: шаг 2, изображение 1 из 3 HP Pavilion 15-n232nr Cooling Fan Replacement: шаг 2, изображение 2 из 3 HP Pavilion 15-n232nr Cooling Fan Replacement: шаг 2, изображение 3 из 3
    • Slide the battery locks towards the center of the laptop. The battery will detach automatically.

    • Remove the battery by sliding it away from the laptop housing.

  3. HP Pavilion 15-n232nr Cooling Fan Replacement, Optical Drive: шаг 3, изображение 1 из 2 HP Pavilion 15-n232nr Cooling Fan Replacement, Optical Drive: шаг 3, изображение 2 из 2
    • Remove the 6 mm Phillips #1 screw securing the optical drive.

  4. HP Pavilion 15-n232nr Cooling Fan Replacement: шаг 4, изображение 1 из 2 HP Pavilion 15-n232nr Cooling Fan Replacement: шаг 4, изображение 2 из 2
    • Use the iFixit opening tool to slide the optical drive away from the laptop housing.

  5. HP Pavilion 15-n232nr Cooling Fan Replacement, Keyboard: шаг 5, изображение 1 из 2 HP Pavilion 15-n232nr Cooling Fan Replacement, Keyboard: шаг 5, изображение 2 из 2
    • Unscrew the 6 mm Phillips #1 screw securing the keyboard.

  6. HP Pavilion 15-n232nr Cooling Fan Replacement: шаг 6, изображение 1 из 2 HP Pavilion 15-n232nr Cooling Fan Replacement: шаг 6, изображение 2 из 2
    • Flip the laptop to the front side and open it up.

  7. HP Pavilion 15-n232nr Cooling Fan Replacement: шаг 7, изображение 1 из 2 HP Pavilion 15-n232nr Cooling Fan Replacement: шаг 7, изображение 2 из 2
    • Use the metal spudger to release the keyboard from the front panel.

  8. HP Pavilion 15-n232nr Cooling Fan Replacement: шаг 8, изображение 1 из 3 HP Pavilion 15-n232nr Cooling Fan Replacement: шаг 8, изображение 2 из 3 HP Pavilion 15-n232nr Cooling Fan Replacement: шаг 8, изображение 3 из 3
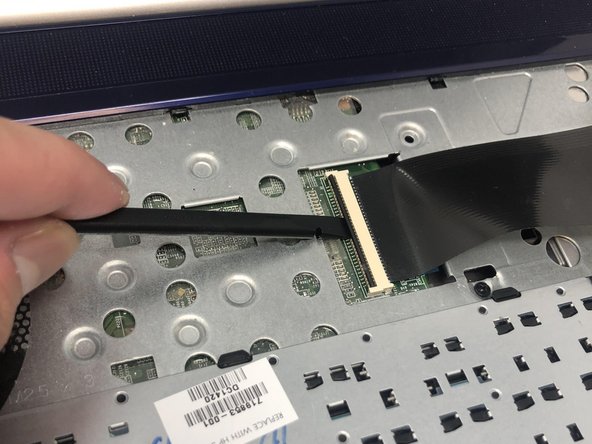
    • Flip the keyboard out and locate the connector.

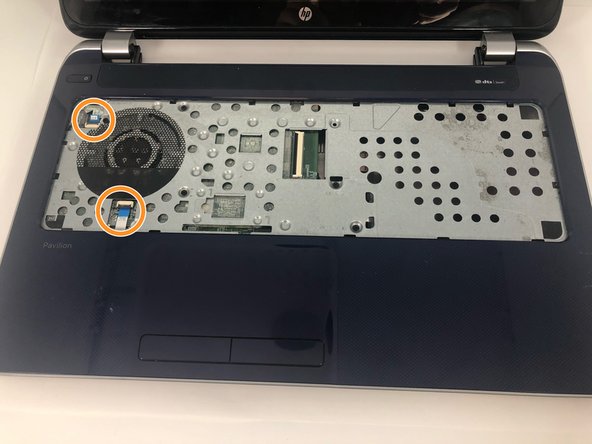
    • Use the spudger to unhinge the the fastener and remove the connector.

    • Keyboard should be completely detached after this step.

  9. HP Pavilion 15-n232nr Cooling Fan Replacement, RAM: шаг 9, изображение 1 из 2 HP Pavilion 15-n232nr Cooling Fan Replacement, RAM: шаг 9, изображение 2 из 2
    • Loosen the two 6 mm Phillips #1 screws on the back panel.

    • These screws do not detach from back panel.

  10. HP Pavilion 15-n232nr Cooling Fan Replacement: шаг 10, изображение 1 из 2 HP Pavilion 15-n232nr Cooling Fan Replacement: шаг 10, изображение 2 из 2
    • Use the iFixit opening tool to remove the back panel.

  11. HP Pavilion 15-n232nr Cooling Fan Replacement: шаг 11, изображение 1 из 2 HP Pavilion 15-n232nr Cooling Fan Replacement: шаг 11, изображение 2 из 2
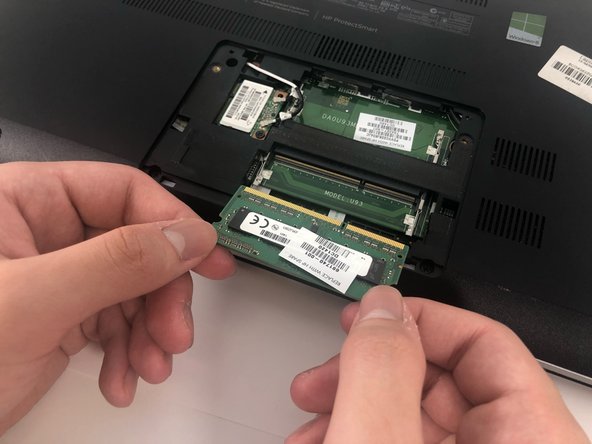
    • Release the clips securing the RAM by slightly bending them until the RAM is free.

  12. HP Pavilion 15-n232nr Cooling Fan Replacement, Hard Drive: шаг 12, изображение 1 из 2 HP Pavilion 15-n232nr Cooling Fan Replacement, Hard Drive: шаг 12, изображение 2 из 2
    • The battery and optical drive should be removed at this point in the process.

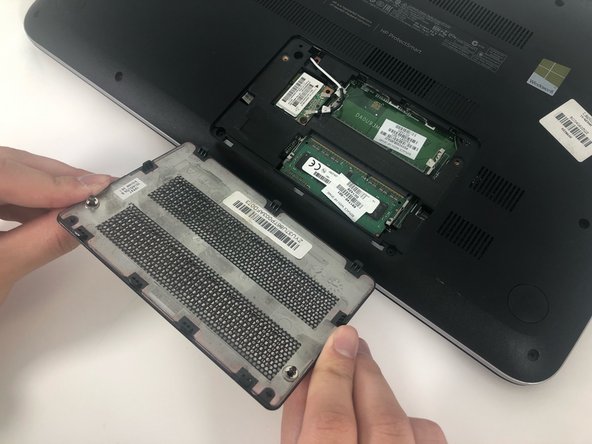
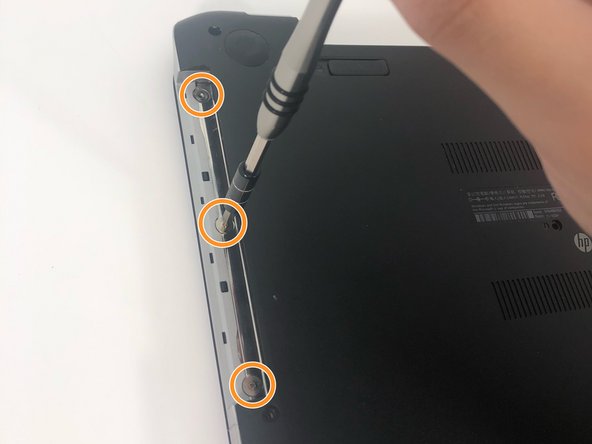
    • Remove the ten 6 mm Phillips #1 screws.

    • Remove the three 1 mm Phillips #000 screws.

  13. HP Pavilion 15-n232nr Cooling Fan Replacement: шаг 13, изображение 1 из 2 HP Pavilion 15-n232nr Cooling Fan Replacement: шаг 13, изображение 2 из 2
    • Remove the five 2.5mm Phillips #1 screws.

    • Use the spudger to unhinge the cable connectors. Use tweezers to complete removal.

  14. HP Pavilion 15-n232nr Cooling Fan Replacement: шаг 14, изображение 1 из 3 HP Pavilion 15-n232nr Cooling Fan Replacement: шаг 14, изображение 2 из 3 HP Pavilion 15-n232nr Cooling Fan Replacement: шаг 14, изображение 3 из 3
    • Carefully use the iFixit opening tool to release the front panel.

  15. HP Pavilion 15-n232nr Cooling Fan Replacement: шаг 15, изображение 1 из 3 HP Pavilion 15-n232nr Cooling Fan Replacement: шаг 15, изображение 2 из 3 HP Pavilion 15-n232nr Cooling Fan Replacement: шаг 15, изображение 3 из 3
    • Use the spudger to unhinge the daughterboard connector.

    • Remove daughterboard connector.

  16. HP Pavilion 15-n232nr Cooling Fan Replacement: шаг 16, изображение 1 из 1
    • Remove the 2.5 mm Phillips #1 screw and remove the daughterboard

  17. HP Pavilion 15-n232nr Cooling Fan Replacement: шаг 17, изображение 1 из 3 HP Pavilion 15-n232nr Cooling Fan Replacement: шаг 17, изображение 2 из 3 HP Pavilion 15-n232nr Cooling Fan Replacement: шаг 17, изображение 3 из 3
    • Use the iFixit opening tool to remove the hard drive connector.

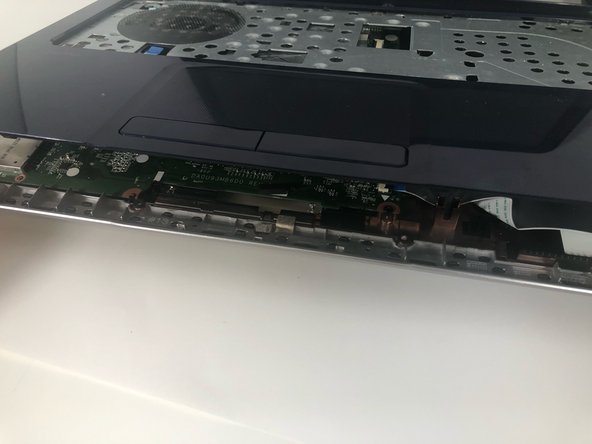
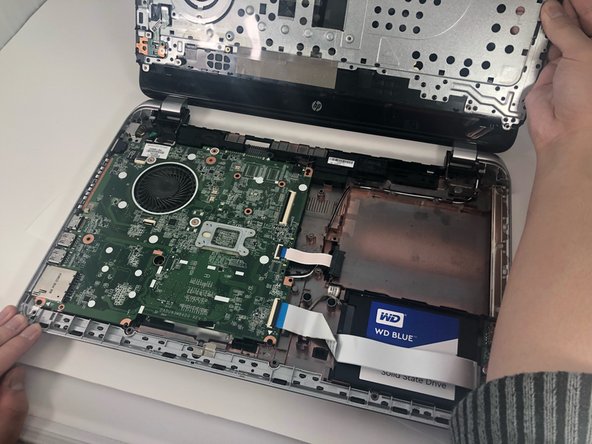
    • Remove the hard drive by lifting the right side and pulling it out.

  18. HP Pavilion 15-n232nr Cooling Fan Replacement, Cooling Fan: шаг 18, изображение 1 из 3 HP Pavilion 15-n232nr Cooling Fan Replacement, Cooling Fan: шаг 18, изображение 2 из 3 HP Pavilion 15-n232nr Cooling Fan Replacement, Cooling Fan: шаг 18, изображение 3 из 3
    • Remove the four 6 mm Phillips #1 screws.

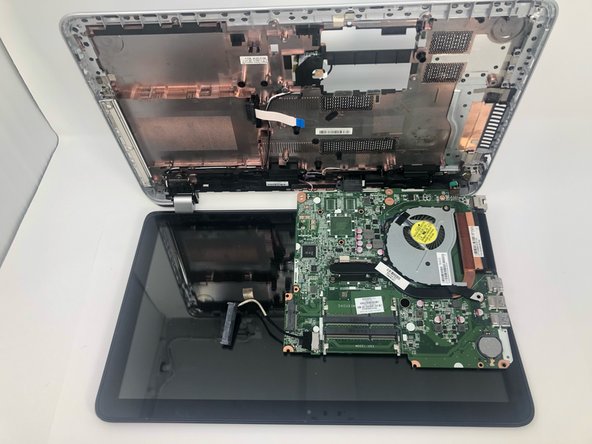
    • Turn over the laptop to have easier access to the cooling fan.

  19. HP Pavilion 15-n232nr Cooling Fan Replacement: шаг 19, изображение 1 из 3 HP Pavilion 15-n232nr Cooling Fan Replacement: шаг 19, изображение 2 из 3 HP Pavilion 15-n232nr Cooling Fan Replacement: шаг 19, изображение 3 из 3
    • Unscrew the two 4 mm Phillips #1 screws.

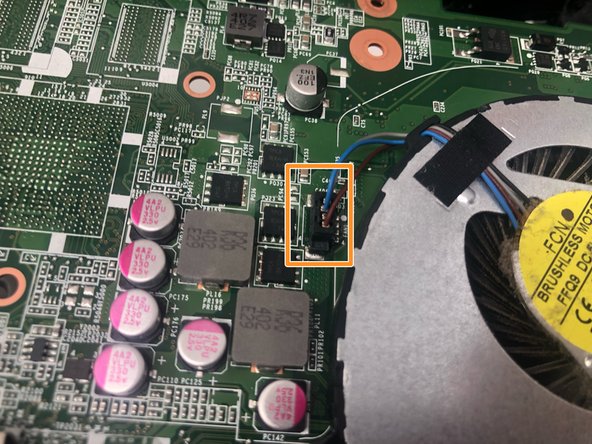
    • Disconnect the cord for the cooling fan.

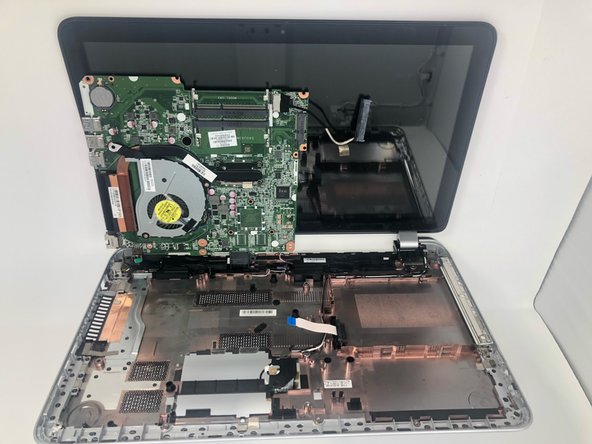
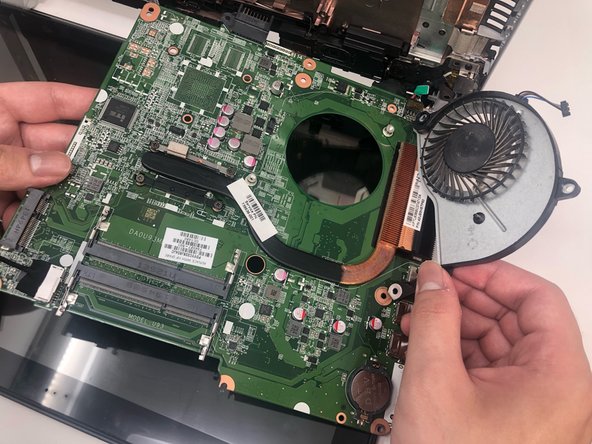
    • Carefully lift the cooling fan from the motherboard.

Заключение

To reassemble your device, follow these instructions in reverse order.

Еще один человек закончил это руководство.

[deleted]

Участник с: 03/18/19

262 Репутация

Автор 2 руководств

Один комментарий

Sehr gute Anleitung, Dank an Andrei Fendly

H. Hofmann

Helmut Hofmann - Ответить

Добавить комментарий

Просмотр статистики:

За последние 24часов: 1

За последние 7 дней: 1

За последние 30 дней: 6

За всё время: 717