Перейти к основному содержанию

HP Pavilion Notebook 15-ab293cl Hard Drive Replacement

Выберете то, что вам нужно

  1. HP Pavilion Notebook 15-ab293cl Hard Drive Replacement, Hard Drive: шаг 1, изображение 1 из 2 HP Pavilion Notebook 15-ab293cl Hard Drive Replacement, Hard Drive: шаг 1, изображение 2 из 2
    • Flip the laptop over so that the battery is facing upward.

  2. HP Pavilion Notebook 15-ab293cl Hard Drive Replacement: шаг 2, изображение 1 из 3 HP Pavilion Notebook 15-ab293cl Hard Drive Replacement: шаг 2, изображение 2 из 3 HP Pavilion Notebook 15-ab293cl Hard Drive Replacement: шаг 2, изображение 3 из 3
    • Slide both tab buttons inward to open the battery cover. Gently push the battery out to remove.

  3. HP Pavilion Notebook 15-ab293cl Hard Drive Replacement: шаг 3, изображение 1 из 2 HP Pavilion Notebook 15-ab293cl Hard Drive Replacement: шаг 3, изображение 2 из 2
    • Remove the black plastic hinge covers at the top corners of the laptop.

    • Use the Phillips #1 to remove the two 7.5mm screws.

    • Use the opening tool to pry the black covers off of the laptop.

  4. HP Pavilion Notebook 15-ab293cl Hard Drive Replacement: шаг 4, изображение 1 из 3 HP Pavilion Notebook 15-ab293cl Hard Drive Replacement: шаг 4, изображение 2 из 3 HP Pavilion Notebook 15-ab293cl Hard Drive Replacement: шаг 4, изображение 3 из 3
    • Remember to remove the tabs shown in the second picture.

    • Remove all 16 - 7.5mm screws with the Phillips #1 screwdriver.

    • Pry and slide the CD/DVD drive out of the laptop case.

  5. HP Pavilion Notebook 15-ab293cl Hard Drive Replacement: шаг 5, изображение 1 из 1
    • Unscrew the two 3.5mm silver screws with the Phillips #000 and the Philips # 1.

  6. HP Pavilion Notebook 15-ab293cl Hard Drive Replacement: шаг 6, изображение 1 из 3 HP Pavilion Notebook 15-ab293cl Hard Drive Replacement: шаг 6, изображение 2 из 3 HP Pavilion Notebook 15-ab293cl Hard Drive Replacement: шаг 6, изображение 3 из 3
    • Turn the computer so that the screen faces you.

    • Use the pry tool to pry off the edge of the keyboard side of laptop.

  7. HP Pavilion Notebook 15-ab293cl Hard Drive Replacement: шаг 7, изображение 1 из 3 HP Pavilion Notebook 15-ab293cl Hard Drive Replacement: шаг 7, изображение 2 из 3 HP Pavilion Notebook 15-ab293cl Hard Drive Replacement: шаг 7, изображение 3 из 3
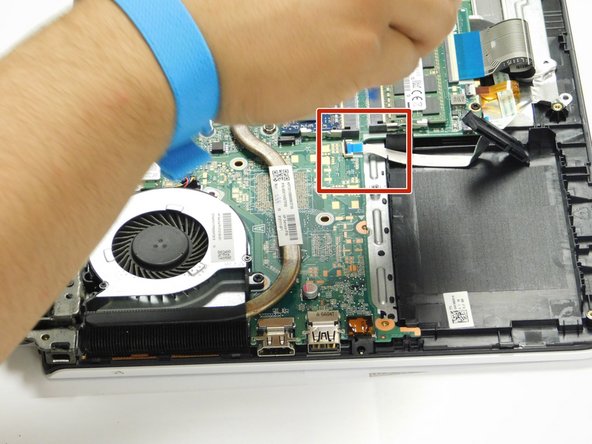
    • The hard drive is located in the bottom corner of the laptop.

    • Gently lift up the hard drive and pry off the white tab to release the hard drive.

  8. HP Pavilion Notebook 15-ab293cl Hard Drive Replacement: шаг 8, изображение 1 из 2 HP Pavilion Notebook 15-ab293cl Hard Drive Replacement: шаг 8, изображение 2 из 2
    • Once you release the white tab from the green board, remove the hard drive.

Заключение

To reassemble your device, follow these instructions in reverse order.

Еще один человек закончил это руководство.

Efren Solis

Участник с: 09/10/18

228 Репутация

1 руководство автора

Команда

Gateway, Team S1-G2, Luster Fall 2018 Участник Gateway, Team S1-G2, Luster Fall 2018

GCC-LUSTER-F18S1G2

4 членов

Автор 4 руководств

0 Комментариев

Добавить комментарий

Просмотр статистики:

За последние 24часов: 3

За последние 7 дней: 15

За последние 30 дней: 70

За всё время: 2,023