Введение
The hinge of the HP Pavilion X2 may need replacement if it is damaged, or the screen is unable to open properly. This guide shows how to disassemble the HP Pavilion X2 to allow for removal and replacement of the hinge, which connects the screen with the keyboard.
Выберете то, что вам нужно
-
-
Remove the grey rubber bar using plastic spudger or tweezers, exposing the four screw heads.
-
The rubber bar is attached with an adhesive. A heat pad may be required to melt the adhesive and allow for easier removal.
-
-
-
Unscrew the four screws using the Phillips #0 screwdriver.
-
All four of these screws have a diameter of 4.3 mm and a height of 3.7 mm.
-
-
-
Remove the circular rubber tabs exposing the screw heads below.
-
A heat pad may be required to melt the tab adhesive and allow for easier removal.
-
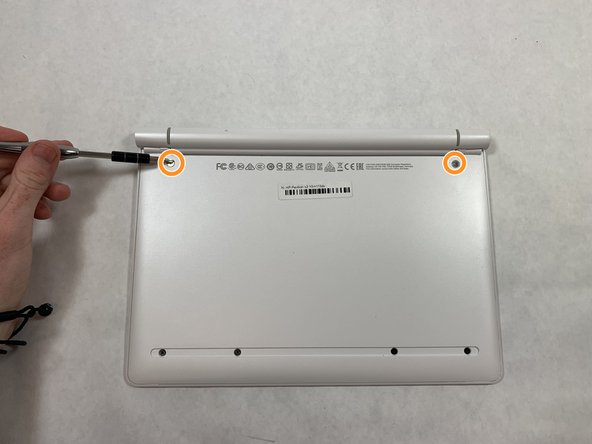
Unscrew the two screws using the Phillips #0 screwdriver.
-
-
-
-
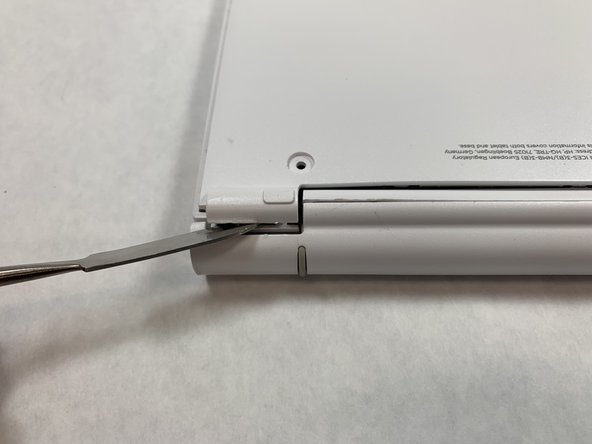
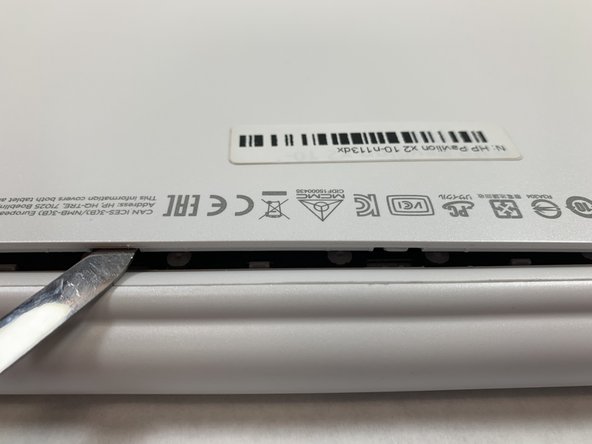
Once all screws have been removed, gently pry open the back casing using a metal spudger.
-
Be sure to use the spudger at the marked locations to avoid damage to the casing.
-
-
-
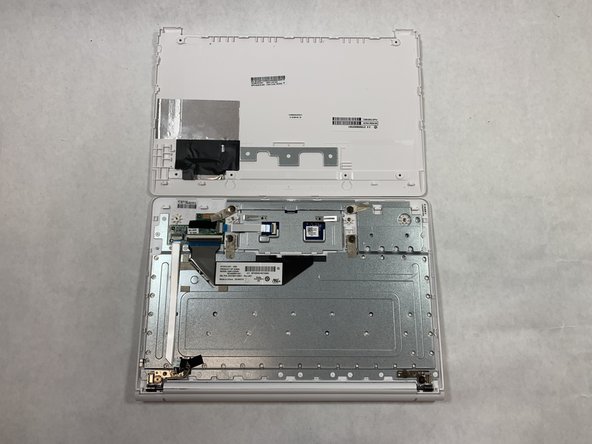
Unscrew the four screws located at the marked locations using the Phillips #0 screwdriver.
-
-
-
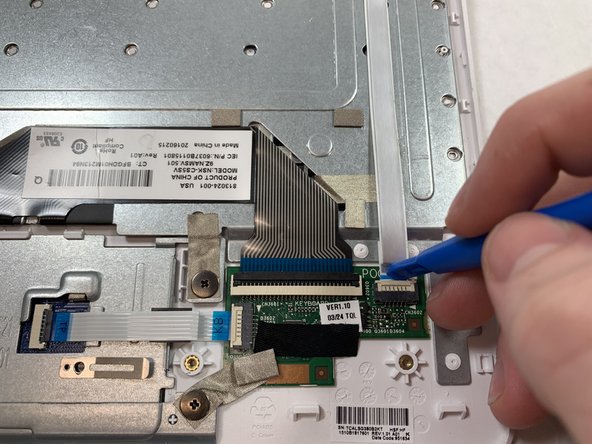
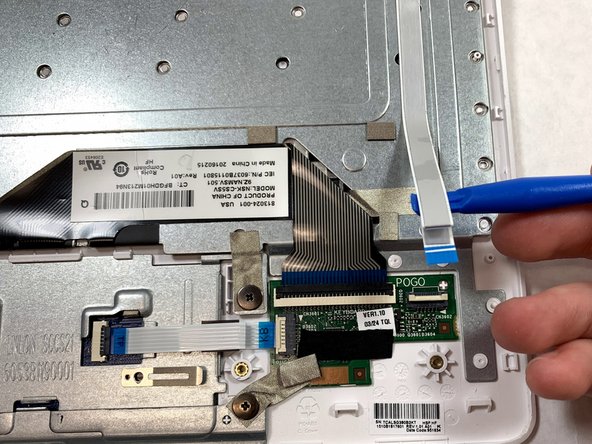
Using a plastic spudger, flip open the switch for the connection port, allowing the ribbon cable to be removed.
-
-
-
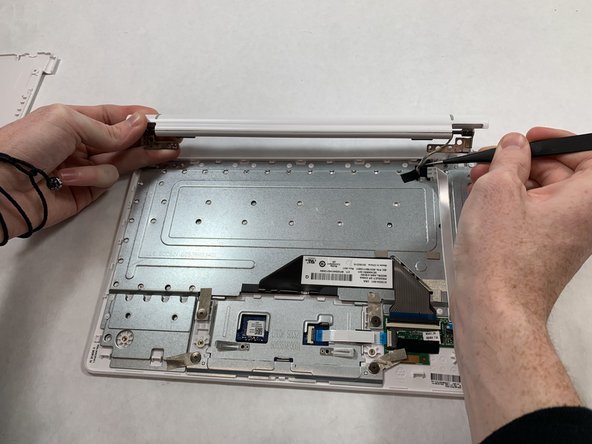
Gently lift the hinge from the attachment points as shown in the picture.
-
Tweezers can be also be used to ensure the ribbon cable does not get damaged in the process.
-
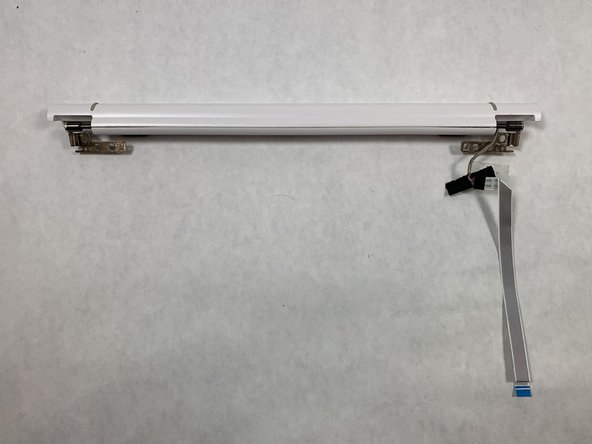
The hinge can now be completely separated.
-


To reassemble your device, follow these instructions in reverse order.
To reassemble your device, follow these instructions in reverse order.
Команда

IUPUI, Team S1-G4, Harley Spring 2019 Участник IUPUI, Team S1-G4, Harley Spring 2019
IUPUI-HARLEY-S19S1G4
3 членов
Автор 3 руководств