Введение
Have a look at the trouble shooting page before moving on to this guide. Sometimes the display problems are caused by drivers or touchscreen calibration issues, which are an easy fix.
The HP Pavilion x360 m3-u101dx display is what allows the user to see and interact with the laptop. This display works as a touch screen as well, allowing for hand gestures and direct interaction with what is on the screen. A broken or malfunctioning display might show unusual colors on screen, not register touchscreen input, have visible cracks on it, or spots where nothing appears on it. Often, the display will not show anything or flicker on and off.
When removing a display, be very careful as it is made of glass, especially if the display is shattered or cracked. The sharp edges of glass can cut, so proceed with caution and consider following these instructions when dealing with a cracked screen.
Выберете то, что вам нужно
-
-
Flip the laptop over so that the bottom of the laptop is facing up.
-
-
-
Remove the rubber grip using a plastic opening tool.
-
Remove five 1.7mm Phillips #1 screws.
-
-
-
-
Lift open the laptop screen and flip it around so that the keyboard is facing up.
-
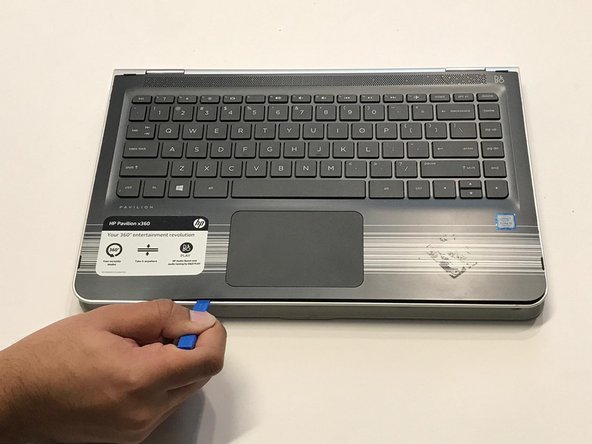
Insert a plastic opening tool into one of the corners to create a gap between the bottom panel and the keyboard panel.
-
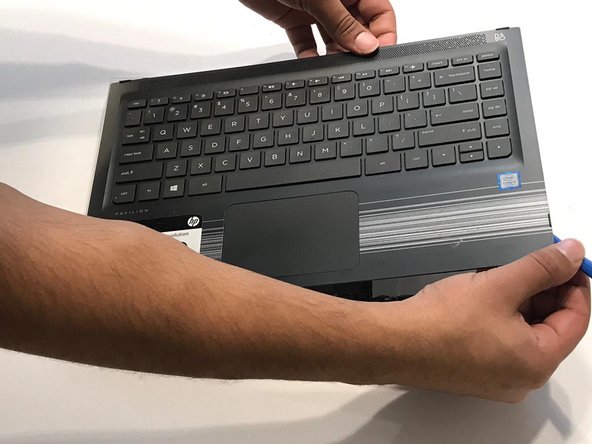
Guide the plastic opening tool around the perimeter of the panel to detach all the clips that are supporting it in place.
-
Detach the keyboard panel from the frame.
-
-
-
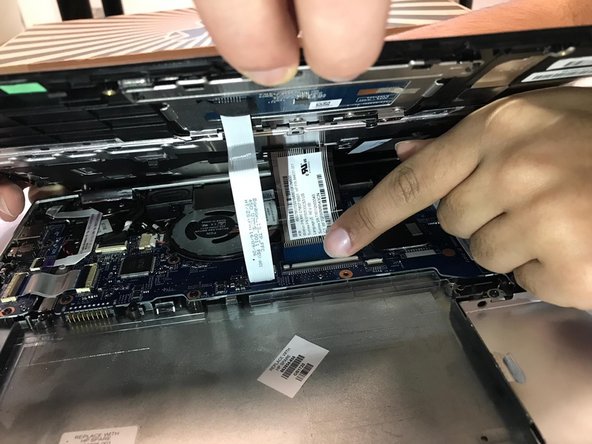
Remove the two ribbon cables connected to the inside of the laptop by using a finger to lift up on the latches.
-
Remove the keyboard panel from the rest of the laptop.
-
-
-
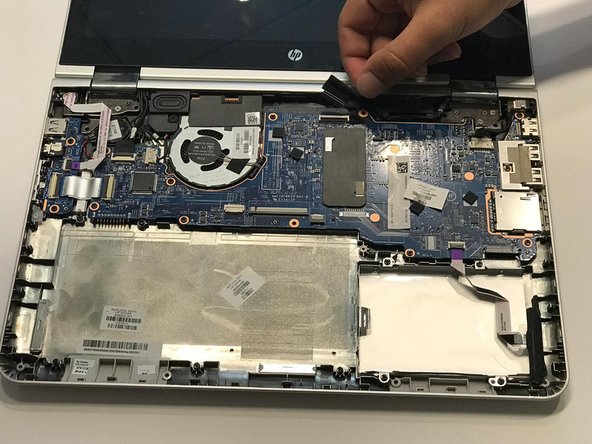
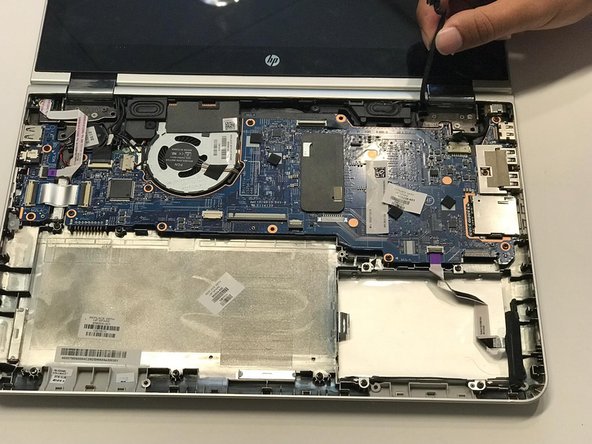
Use the iFixit opening tool to flip the cable tab up, located at the top right corner of the motherboard.
-
Detach the display power cable from the motherboard.
-
Once the cable is loose, remove it from the cable case.
-
-
-
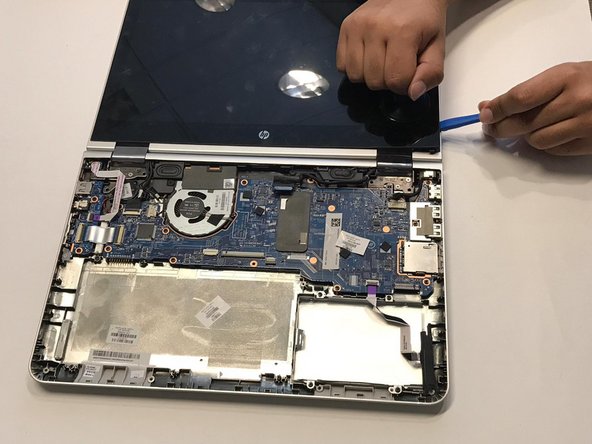
Use the suction handle and attach it to the bottom corner of the display.
-
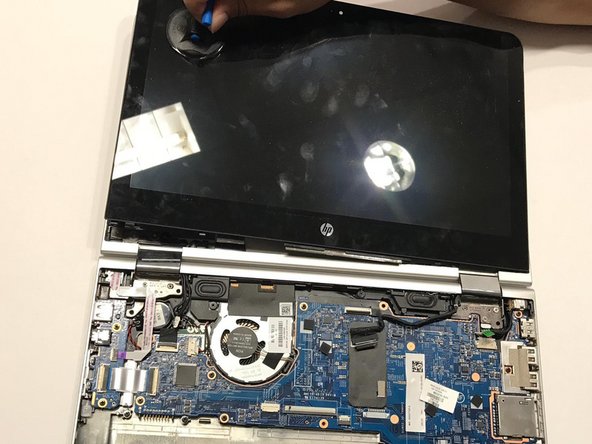
Slide the iFixit opening tool around the display to loosen the clips attaching it to the case.
-
When the display is removed from the case, pull the power cable from the bottom case through the hinge.
-


To reassemble your device, follow these instructions in reverse order.
To reassemble your device, follow these instructions in reverse order.
Отменить: Я не выполнил это руководство.
2 участников успешно повторили данное руководство.

Команда

York University, Team S8-G1, Turner Winter 2020 Участник York University, Team S8-G1, Turner Winter 2020
YORK-TURNER-W20S8G1
5 членов
Автор 7 руководств